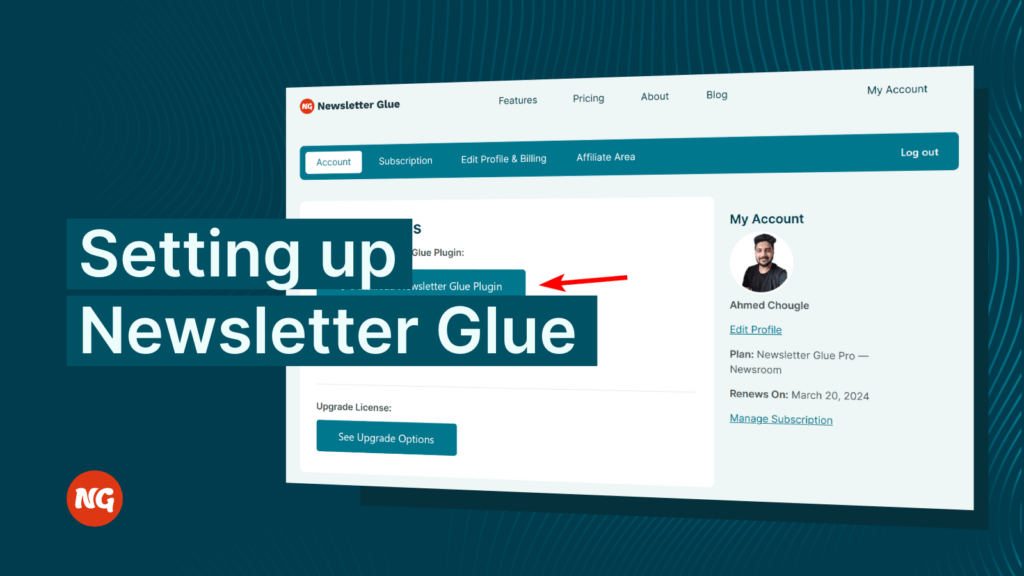
Newsletter Glue is a newsletter publishing platform for WordPress for publishing teams.
In this post, we’ll give you a tour of Newsletter Glue’s key features.
There are three main sections of Newsletter Glue:
- Settings
- Templates & Styles
- Emails
Settings
In the Settings section of Newsletter Glue, you can customize various settings and defaults.
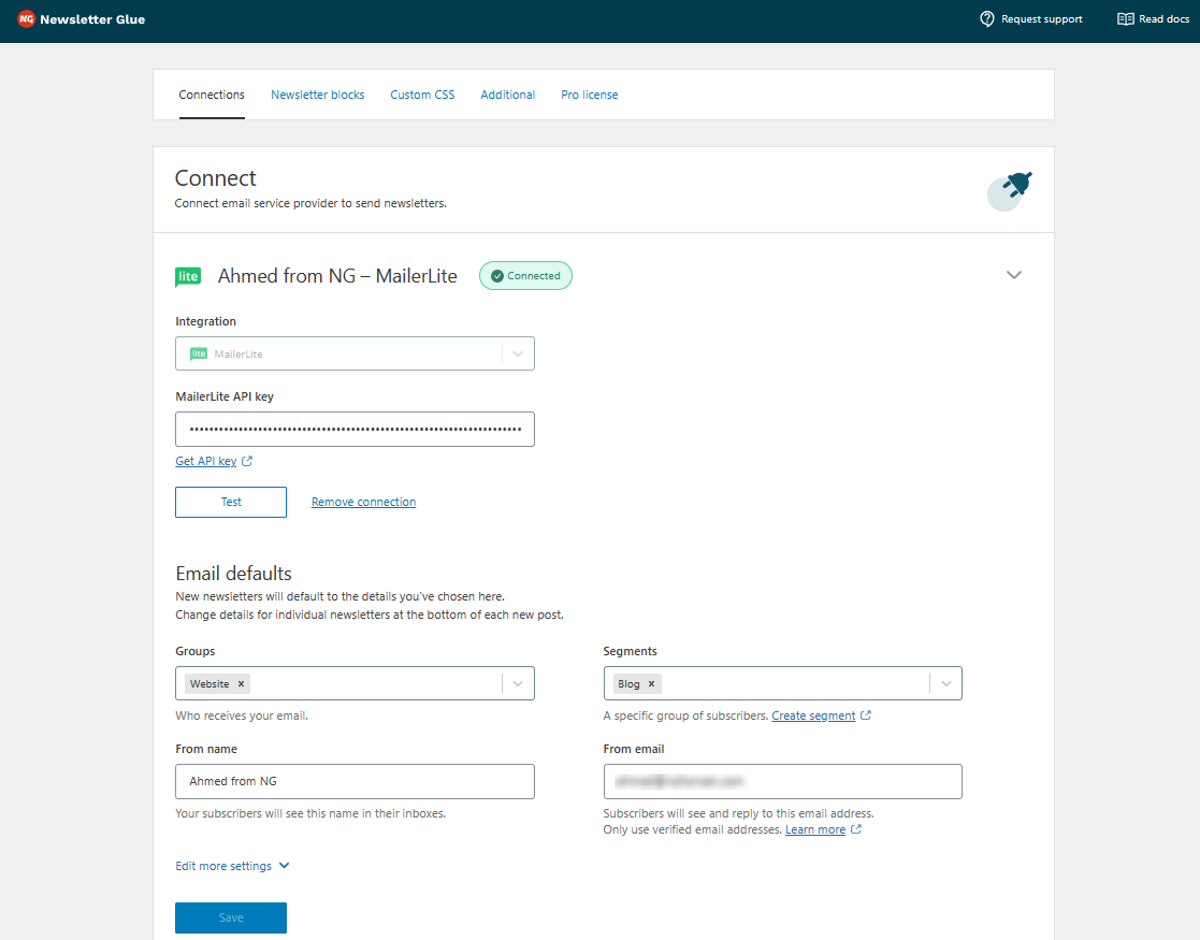
Connections
In the Connections settings, you can connect to your email service provider via API and set your email defaults. These defaults, such as from name, from email, segments, and lists will be pre-populated for every newsletter you write. You can always change them inside the newsletter itself.
Additional
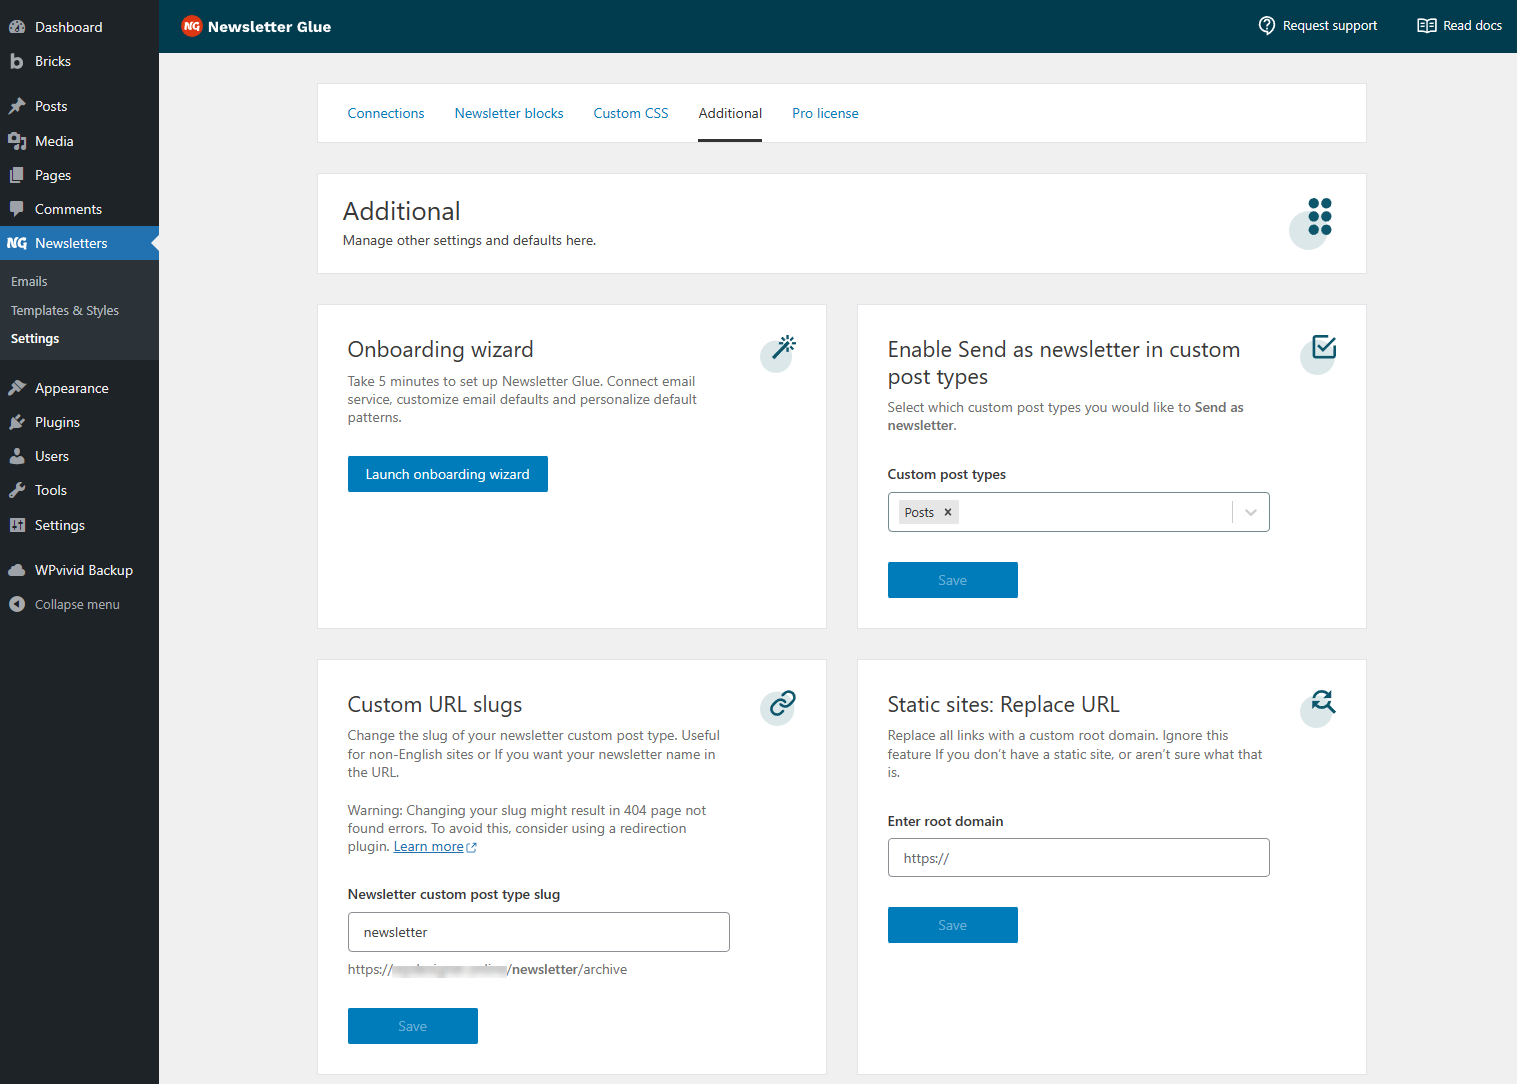
In the Additional settings, you will find various options including re-running the onboarding wizard and manually selecting your newsletter slug.
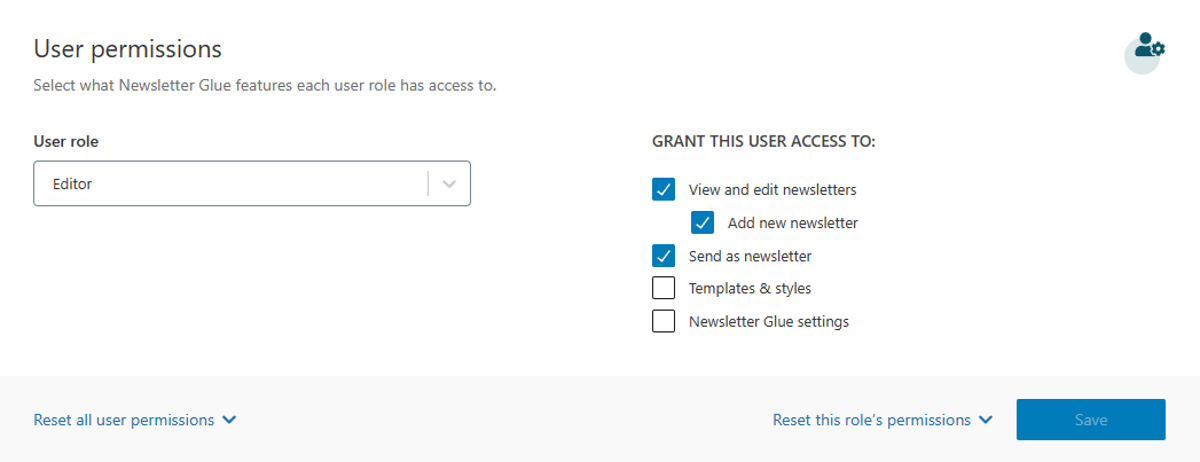
You can also select user permissions. This is useful for assigning the right permissions levels to your team members. For example, you can limit writers to newsletters and prevent them from accidentally editing templates or changing settings.
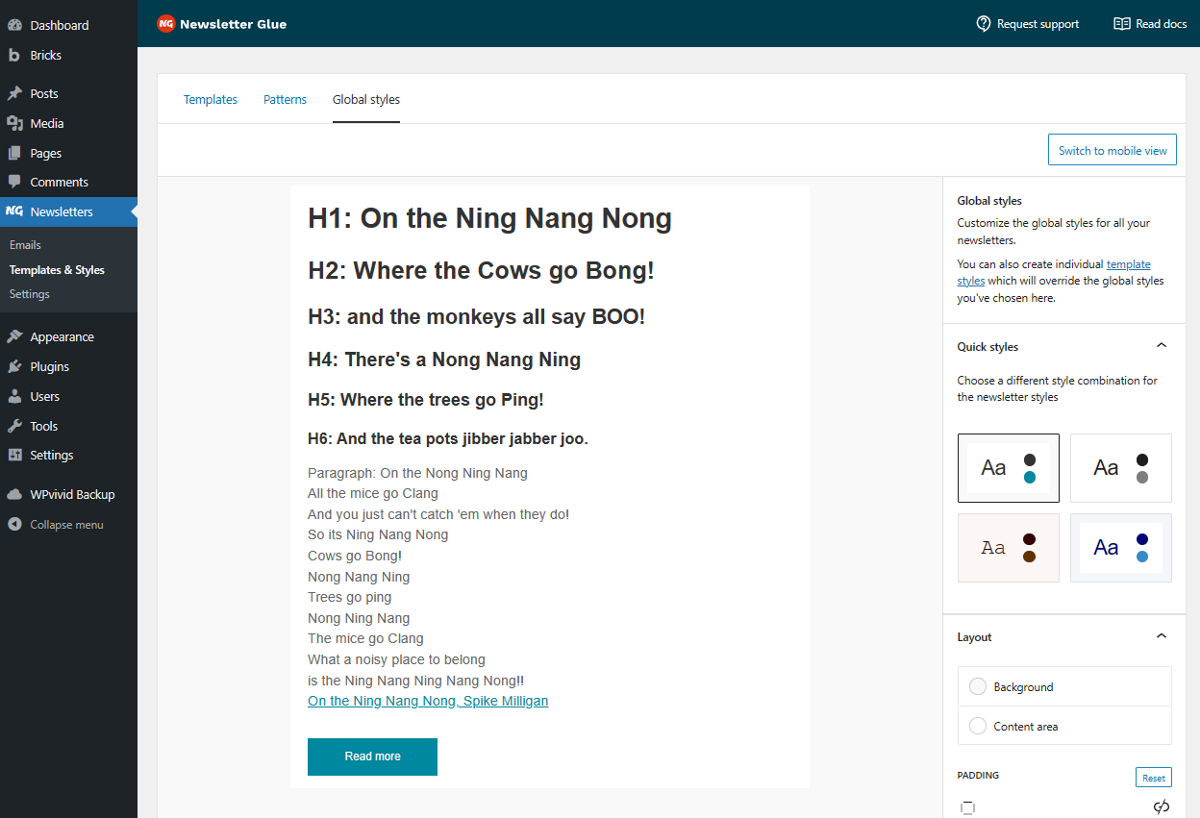
Templates & Styles
The next main section of Newsletter Glue is Templates & Styles.
Every new newsletter should begin with a template. Head to Newsletters > Templates & Styles to start.
You can edit any of our default templates or build your own from scratch.

We use the WordPress block editor for everything, so building a template or writing a newsletter feels like writing a blog post.

The Global Styles tab allows you to customize your email’s typography, background, and other design elements on a global level. This section also lets you instantly change the newsletter design with just a click.
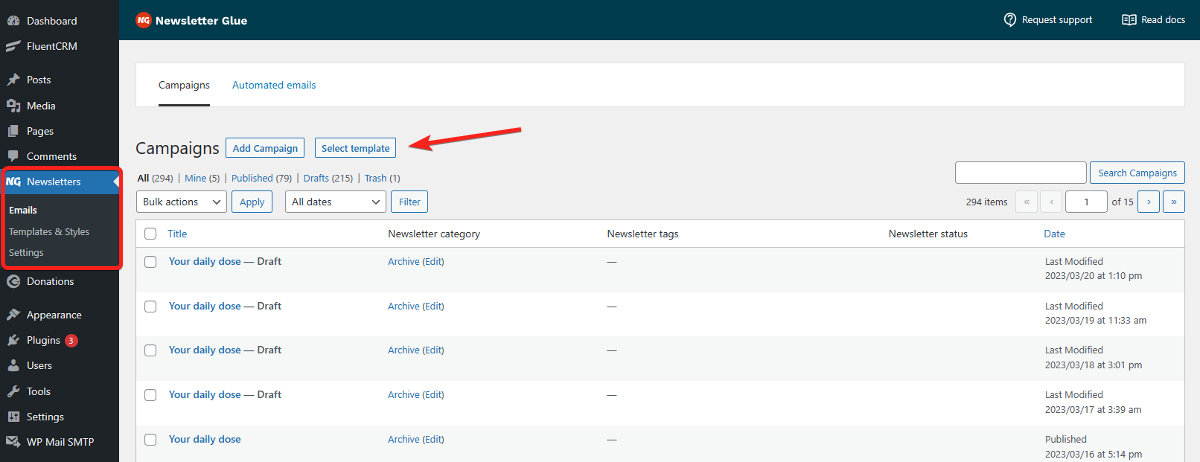
Emails
Once your settings and templates are set up, you won’t have to touch them anymore.
You’ll mainly work in the Emails section for your daily/weekly newsletters.
Emails are split into two categories: Campaigns and Automated emails.
Campaigns
Campaigns are one-time broadcast emails that you can send to your entire email list, or to a specific group of subscribers.
Creating a campaign is easy, you simply go to Newsletter > Emails and then click on either the “Add Campaign” button or the “Select Template” option under the Campaigns section.
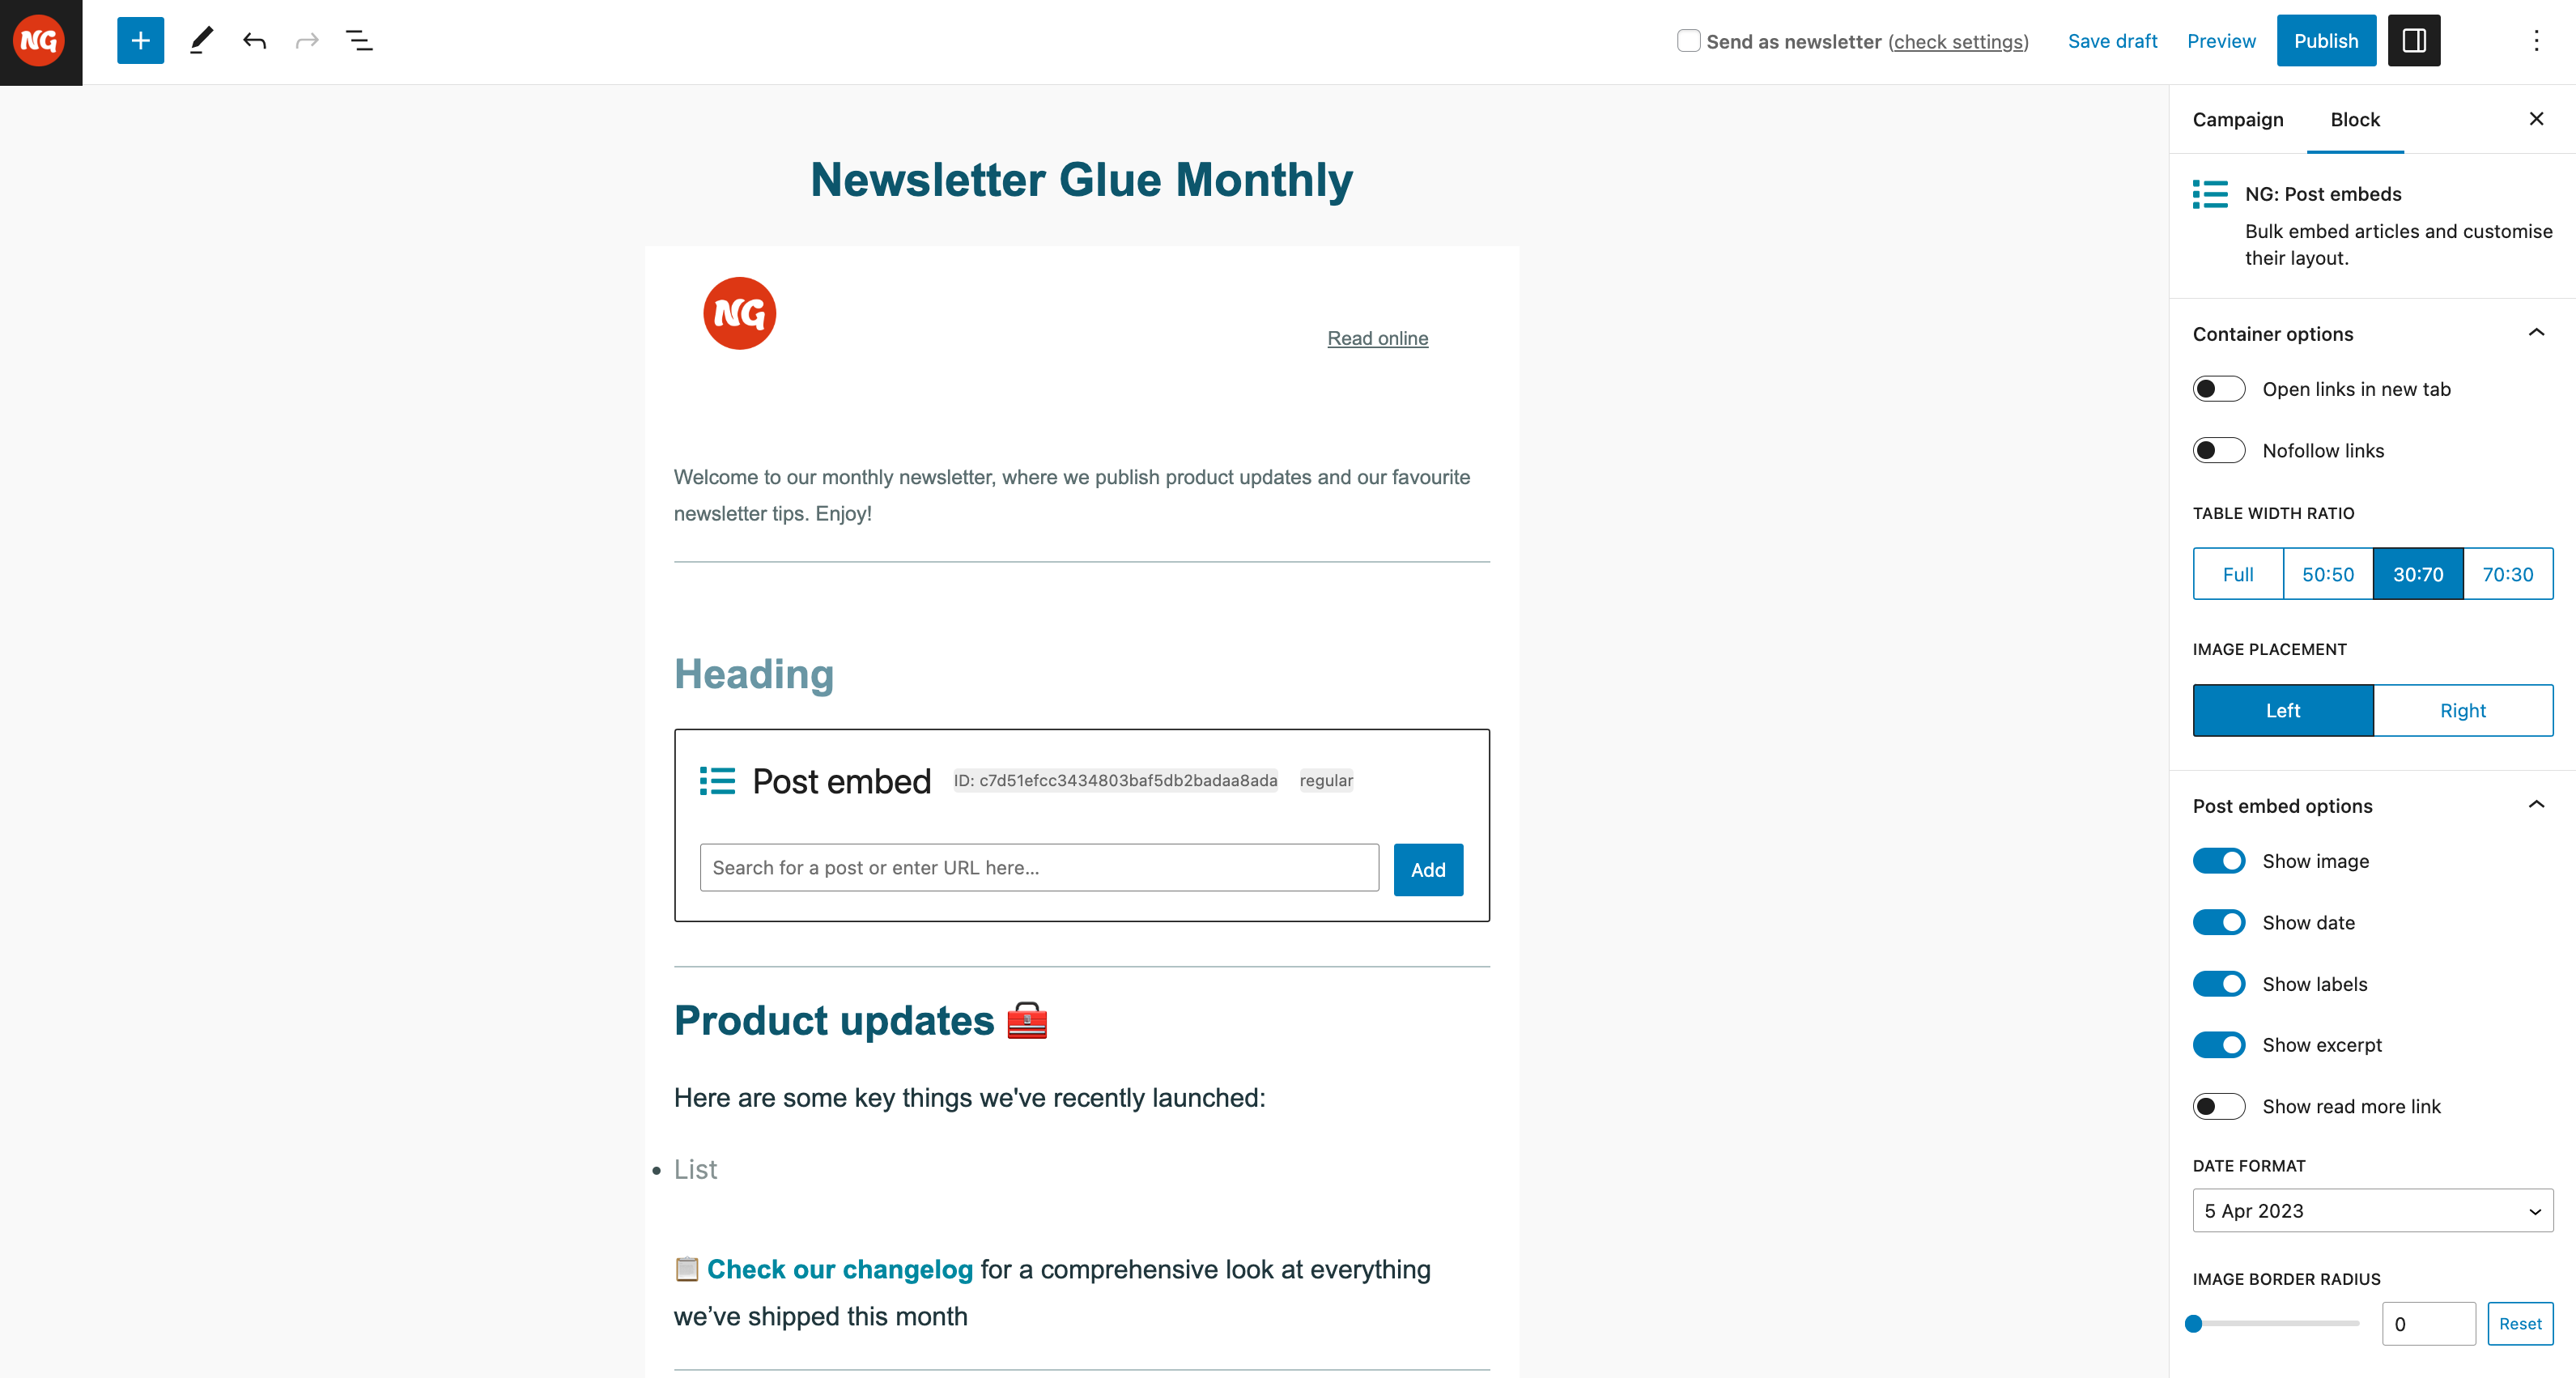
Once you’ve added your template, it’s time to fill it out with the latest content.
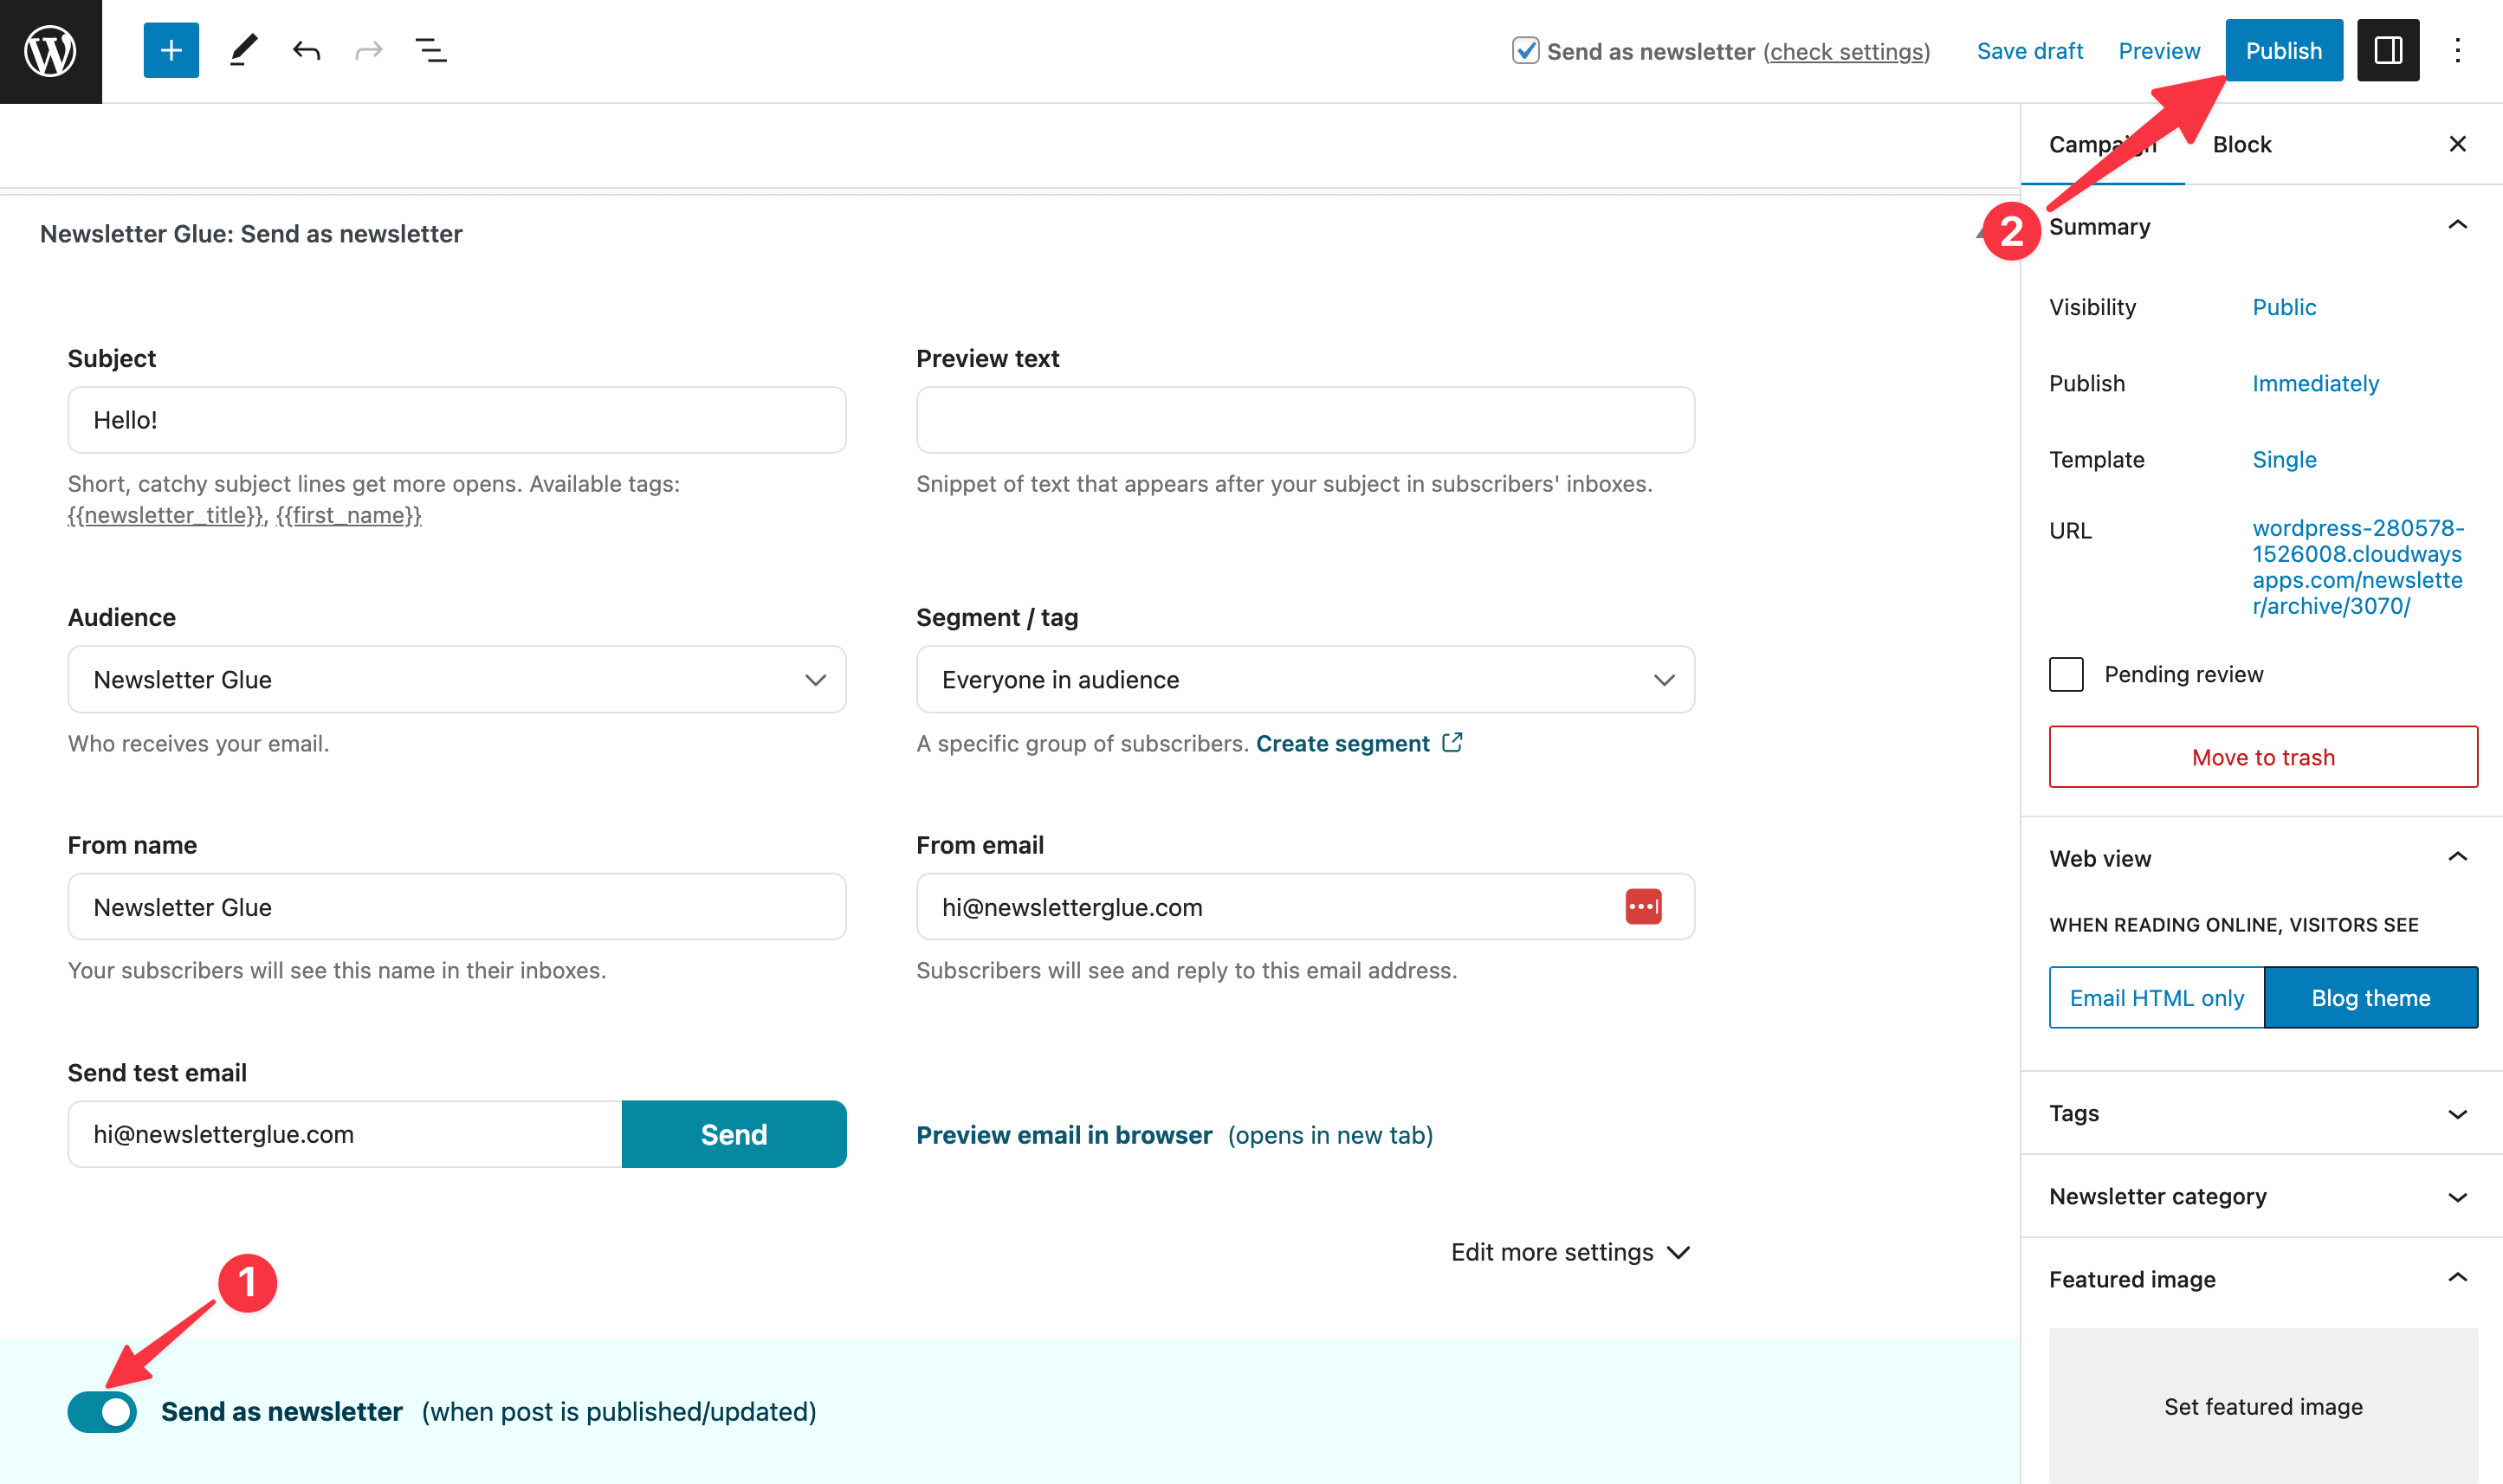
Publishing newsletters
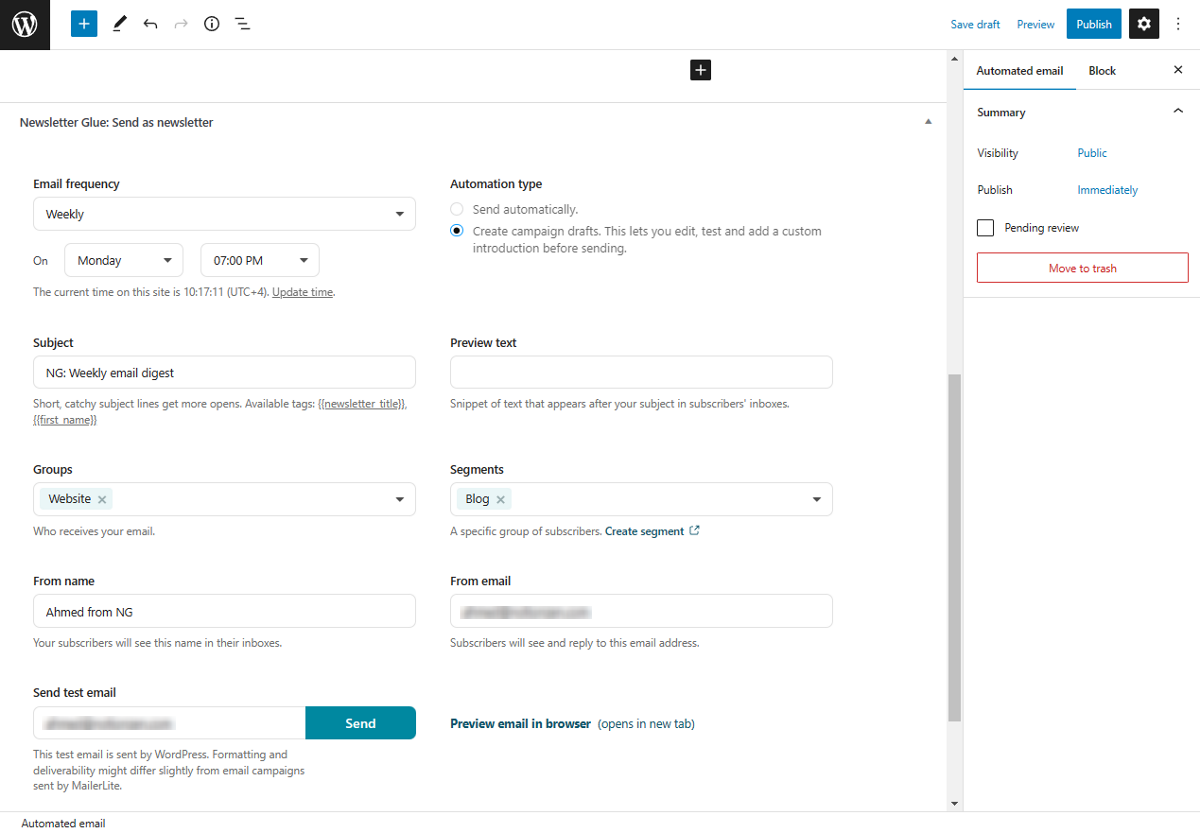
Once you’re done writing your newsletter, it’s time to publish.
Just scroll to the bottom, fill out your subject and preview text, make sure you’re sending to the right segment, toggle on Send as newsletter, and hit Publish.
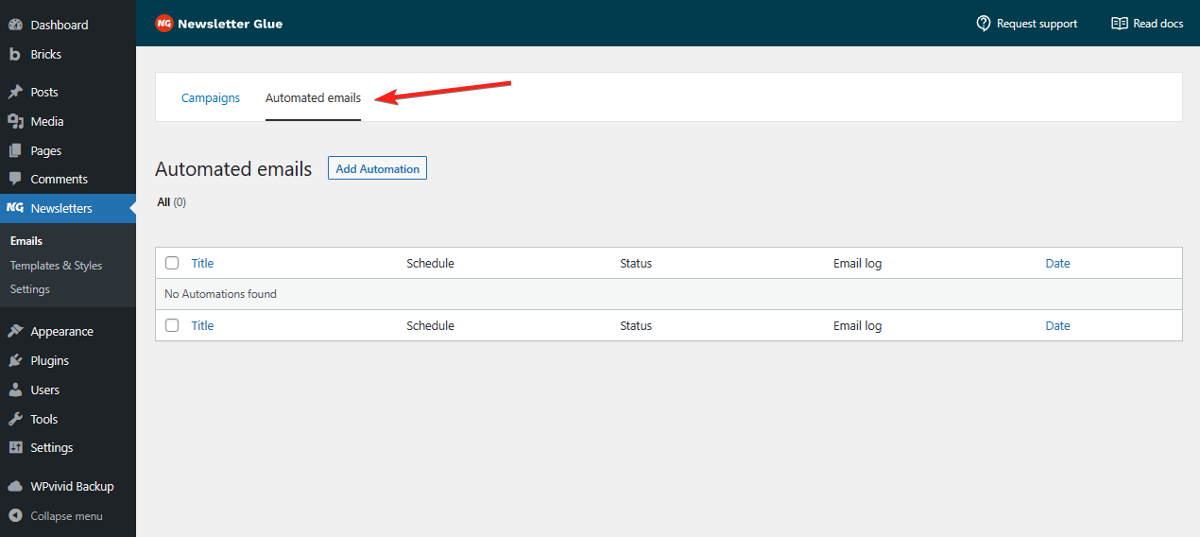
Automated Emails
Automated Emails, on the other hand, allows you to set up automated email sequences. With this feature, you can create emails that are sent out at specific times without you having to do anything.
To create an automated email sequence, navigate to Newsletter > Emails and switch to the “Automated Emails” tab.
Once you’ve customised your automated email, scroll down to set email frequency and automation type. With just a few clicks, you can create an automated email campaign.
Requesting Support
And that’s the tour of Newsletter Glue!
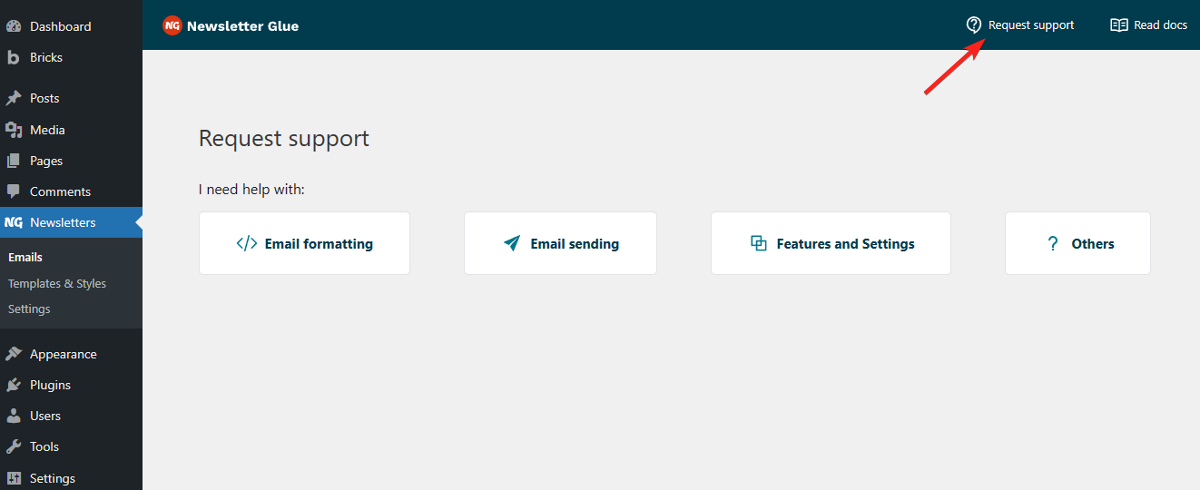
If you ever have any questions or run into issues while using Newsletter Glue, don’t worry.
You can easily reach out to the support team by submitting a support request directly from the plugin pages in your WordPress dashboard. Just look for the “Request support” button at the top-right corner of the page, click it, choose the type of query you have, fill out your information, and submit the ticket.
Conclusion
I hope Newsletter Glue saves you over an hour per newsletter and grows your audience!
Up next, we’ll show you how to purchase, install and set up Newsletter Glue.