Learn how to purchase, download and set up the plugin. We’ll also walk you through the onboarding wizard which makes it easy to set up the plugin in a few steps.
Let’s get started!
Purchase, install, and activate Newsletter Glue
Step 1: Purchase Newsletter Glue
To get started, you’ll need to purchase Newsletter Glue from the website. Once you complete the purchase, you’ll receive an email with a download link and your license key.
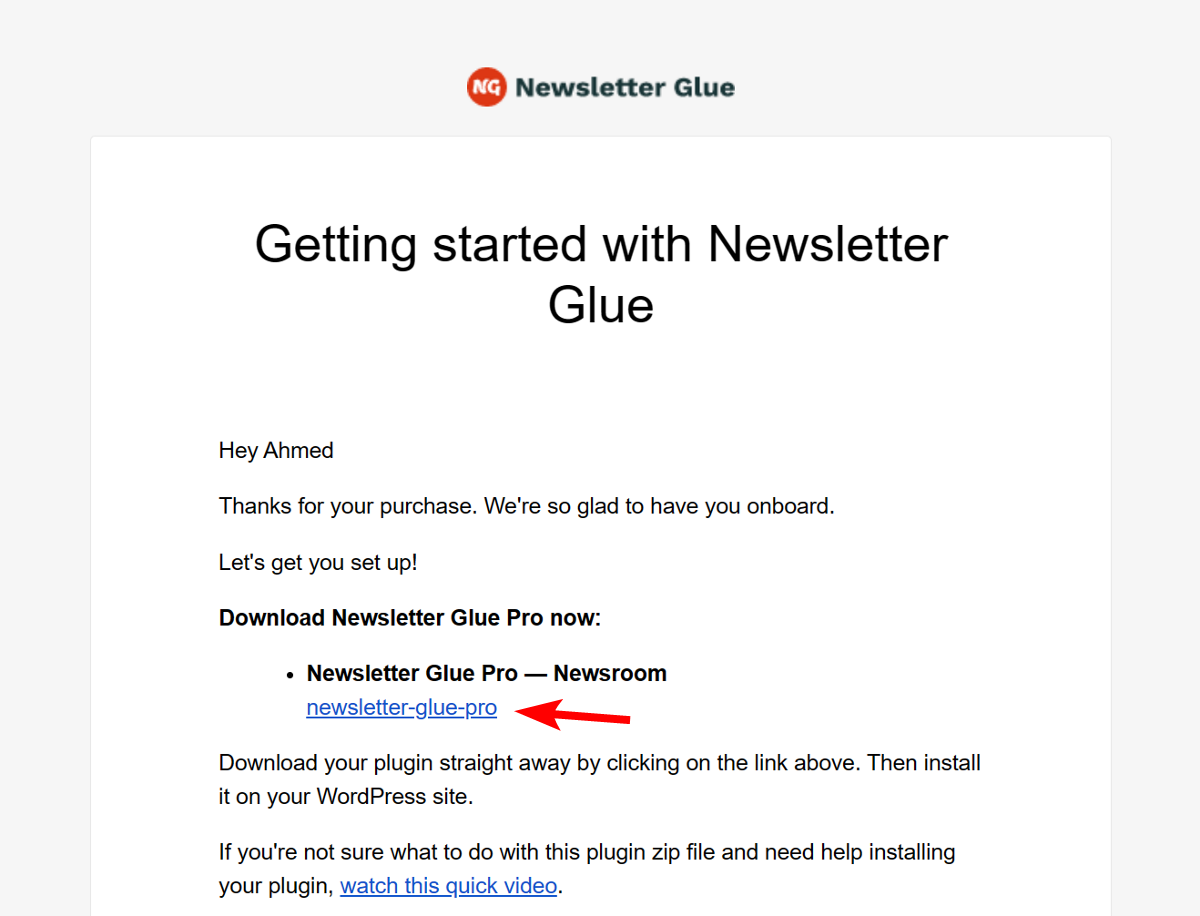
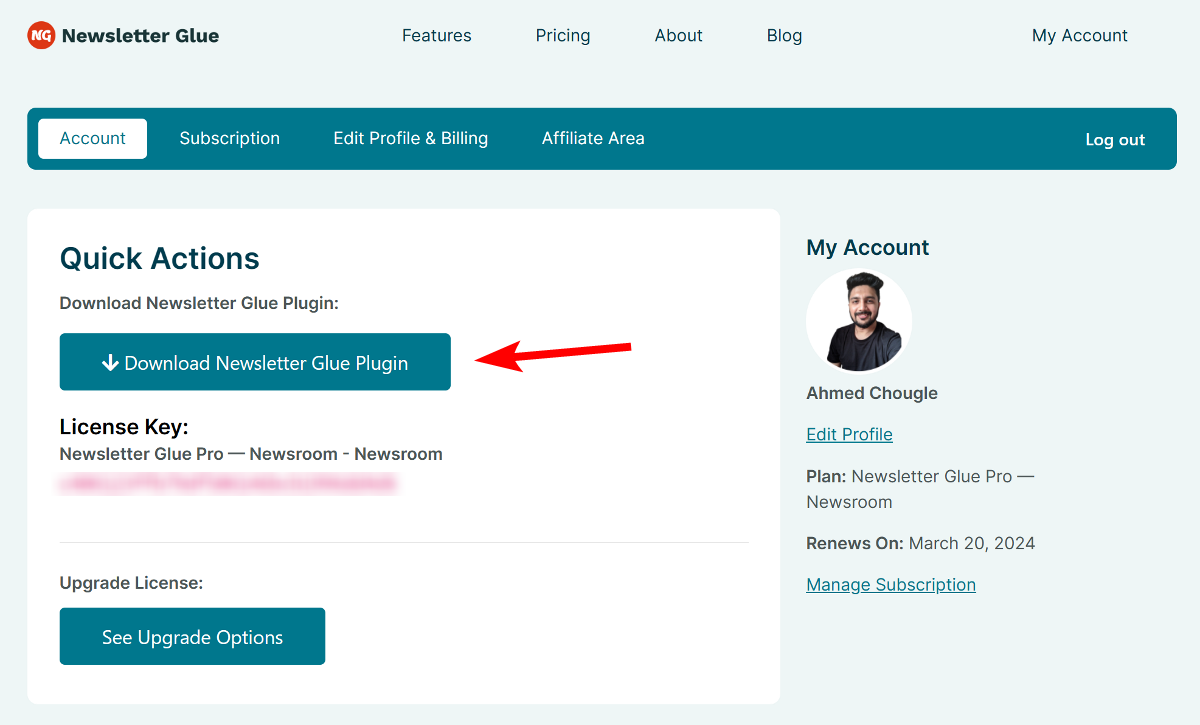
If the link expires, you can always download the plugin from your account page.
Step 2: Install the Plugin
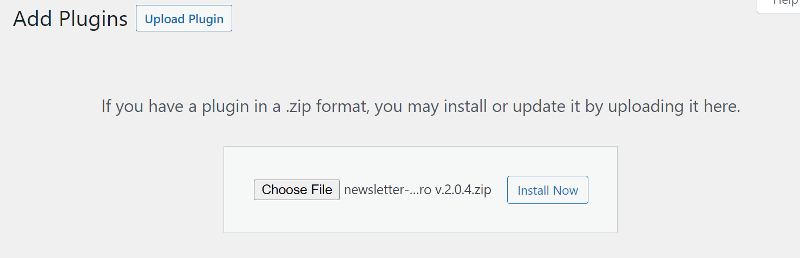
The next step is to install the Newsletter Glue plugin on your website. To do this, go to your WordPress dashboard and click on Plugins in the left-hand sidebar. Then click on Add New > Upload Plugin to upload the plugin zip file that you downloaded.
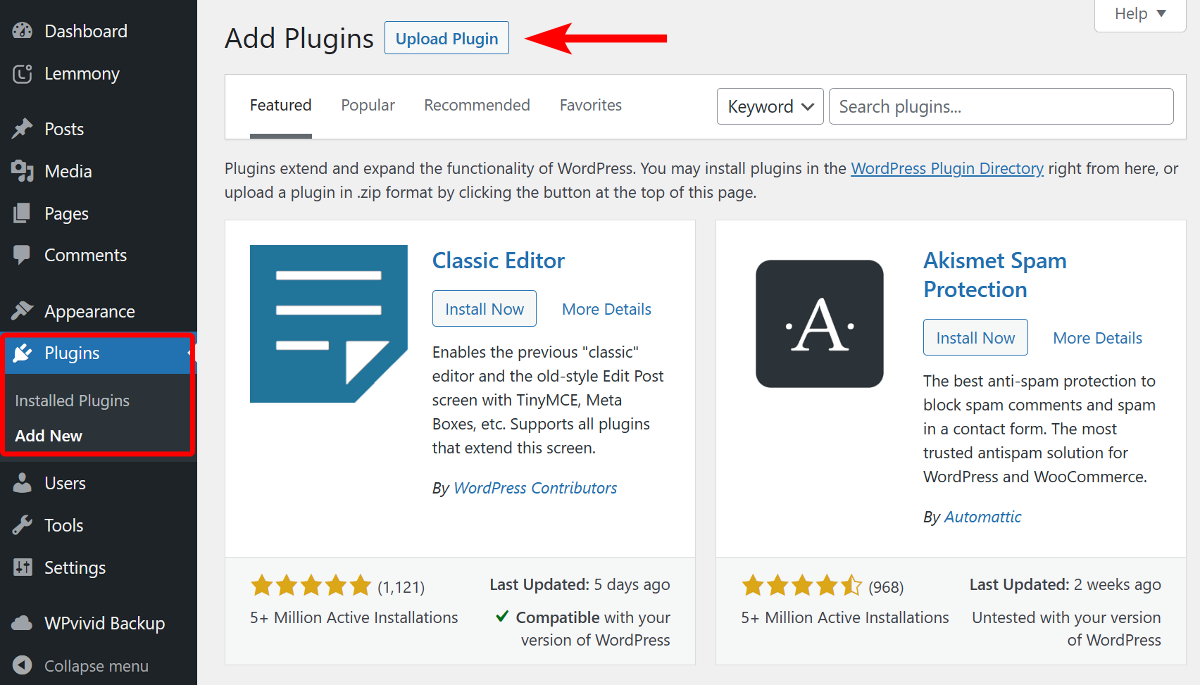
Next, click on Install Now and then activate the plugin.
When you activate the plugin for the first time, you’ll be taken to the onboarding wizard.
Onboarding wizard
As soon as you activate the plugin, the wizard runs automatically, guiding you through each step.
Alternatively, you can also run the wizard manually at any time. To do so, simply navigate to Newsletters > Settings, then switch to the Additional tab and click Launch onboarding wizard.
Let’s take a closer look at each of the steps in the onboarding wizard:
Step 1: License verification
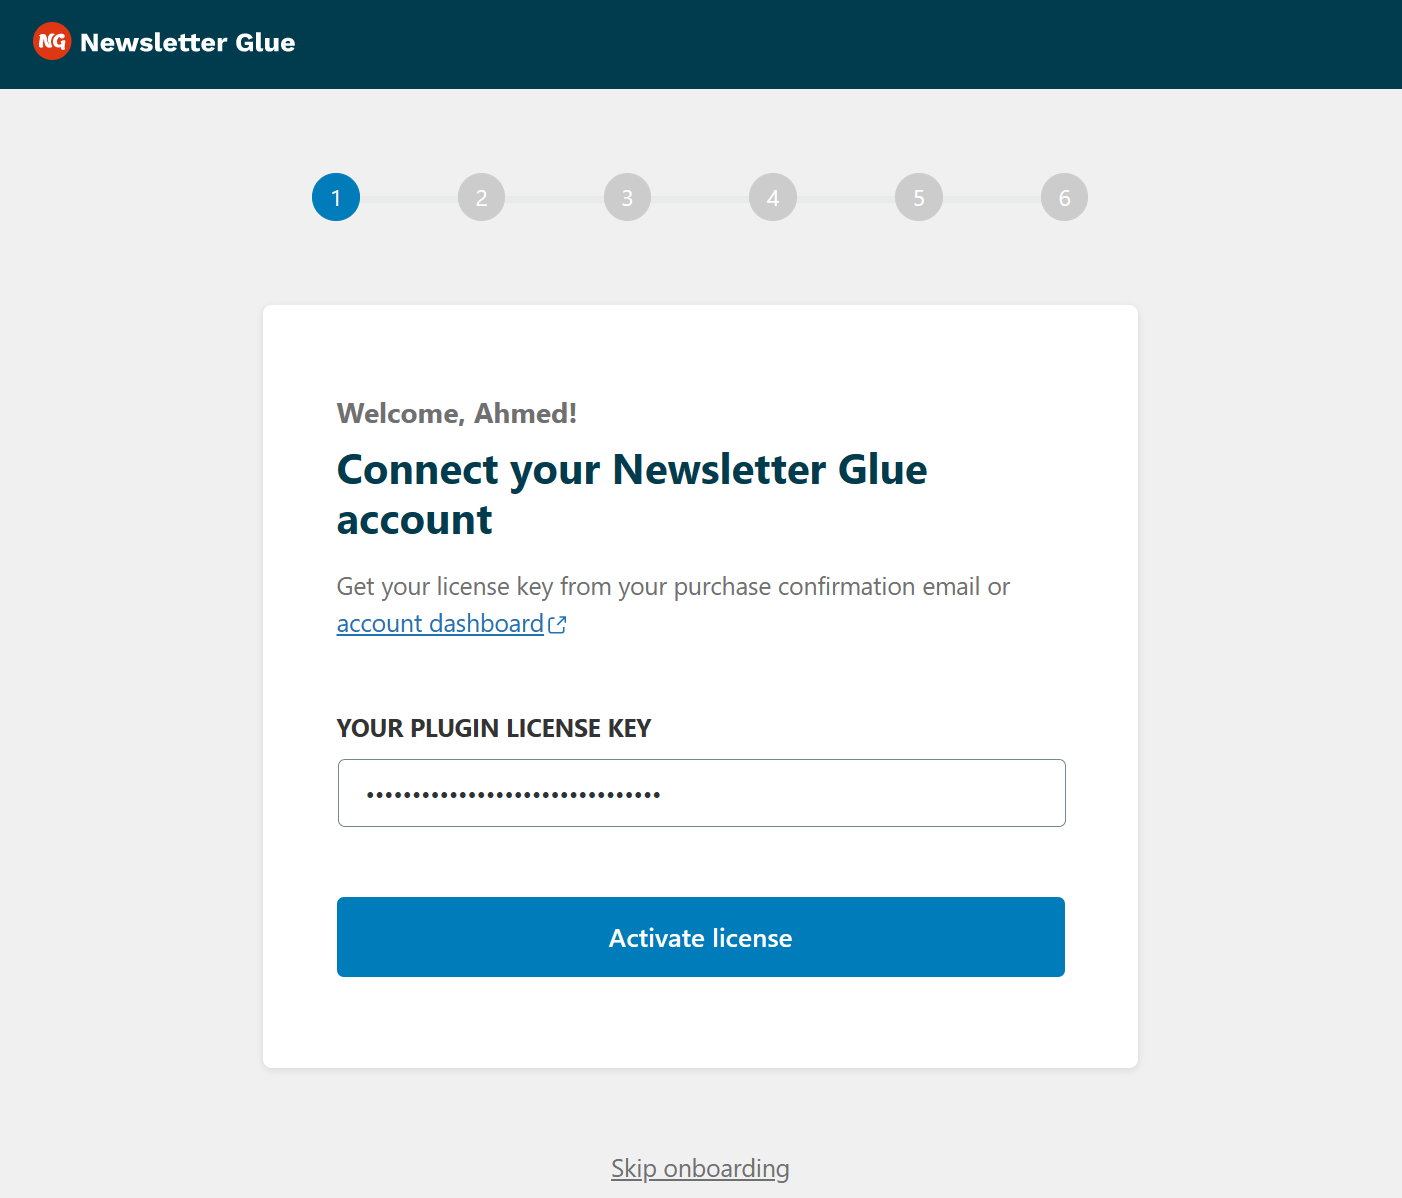
The first step in the onboarding wizard is to verify your license key. Enter the key you received via email when you purchased the plugin, then click Activate License to confirm and activate the plugin.
Step 2: Connect your email service provider
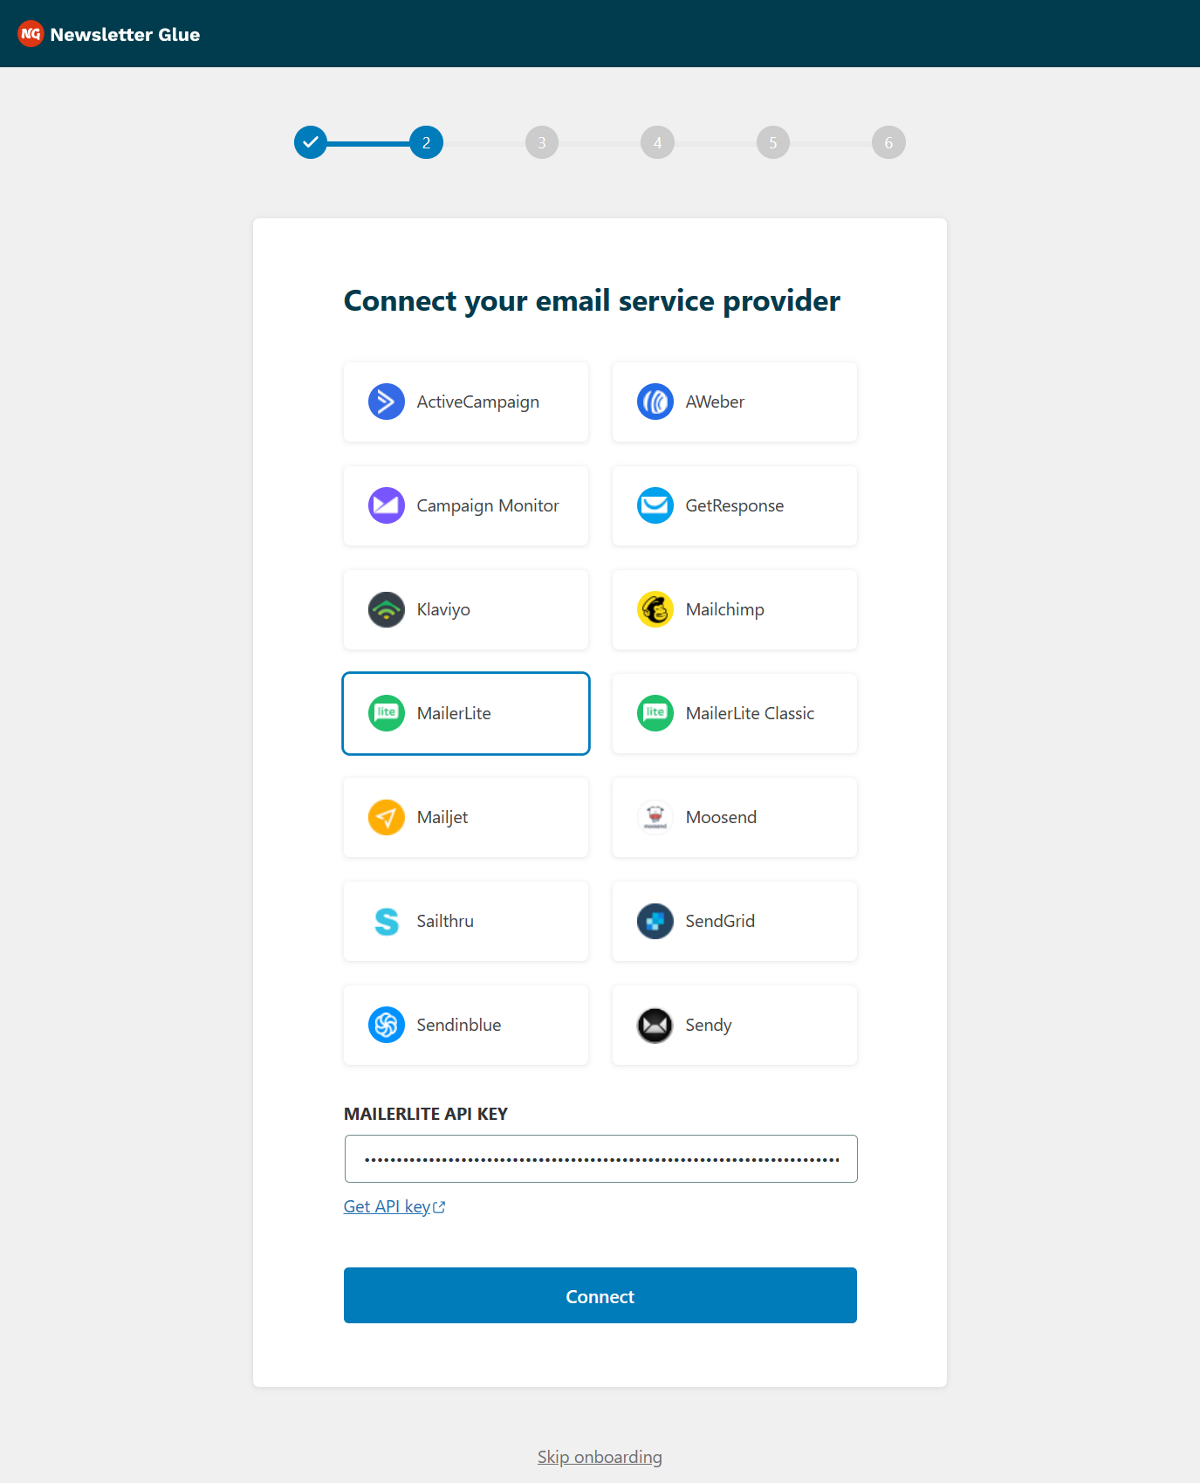
The second step is to connect your email service provider to Newsletter Glue. This will allow you to send your newsletters directly from your WordPress site. To do this, select your email service provider (ESP) from a list of supported options, then enter your API key in the box.
If you don’t have an API key, click the Get API Key link below the box to be directed to the ESP website to create a new API key. Once you have the key, enter it in the designated box to authorize the connection.
Step 3: Set your default newsletter settings
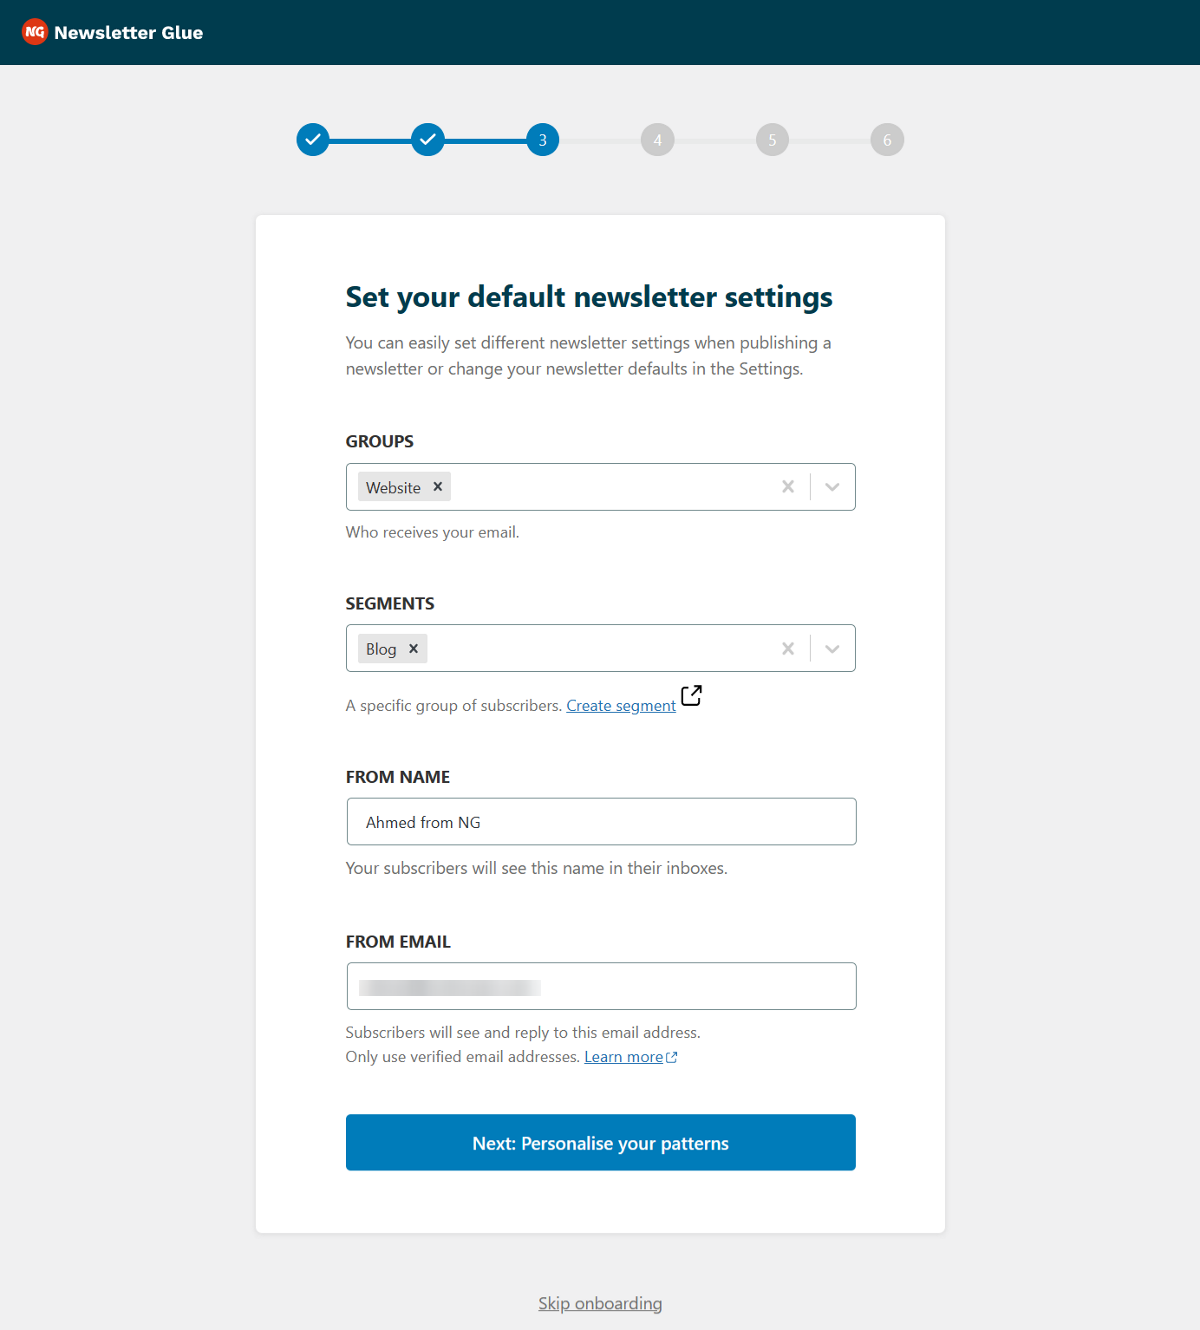
The final step in the onboarding wizard is to set your default newsletter settings. This allows you to specify the group and segment within your email list, as well as the sender name and email address to use when sending newsletters. By setting these values here, you can ensure consistency across all your newsletters.
Step 4. Play with the demo newsletter
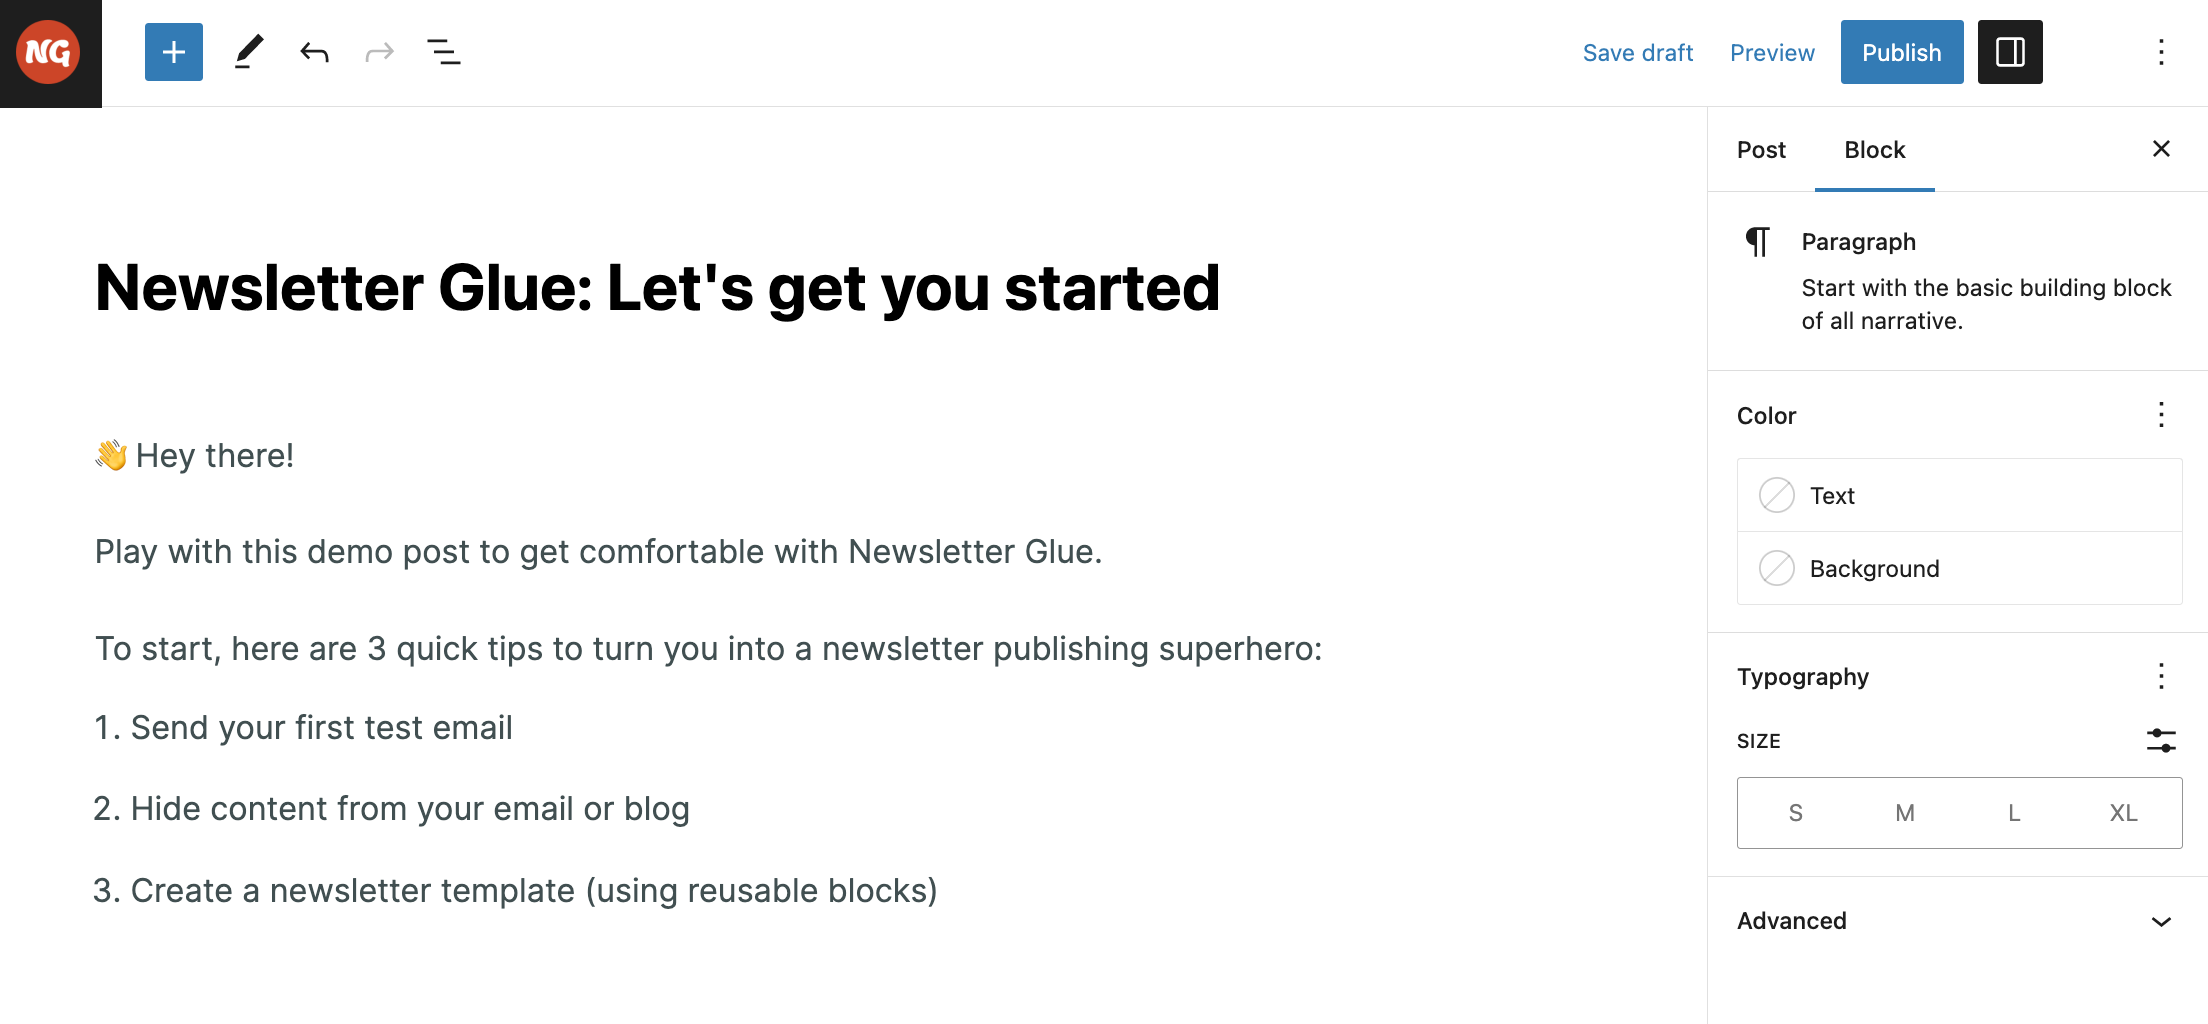
Once you’ve completed the onboarding wizard, you’ll be taken to a demo newsletter. It’s a hands on tutorial that lets you familiarise yourself with our features and also send your first test newsletter.
Conclusion
If you’ve followed the steps above, you’ll have successfully installed and set up Newsletter Glue. You’ll even have sent your very first test email.
In the next article, we’ll show you how to create your very first newsletter template.