Now that we’ve set our template, it’s time to use it to build and publish our first newsletter. Let’s take a look at how to do this.
Create a new campaign
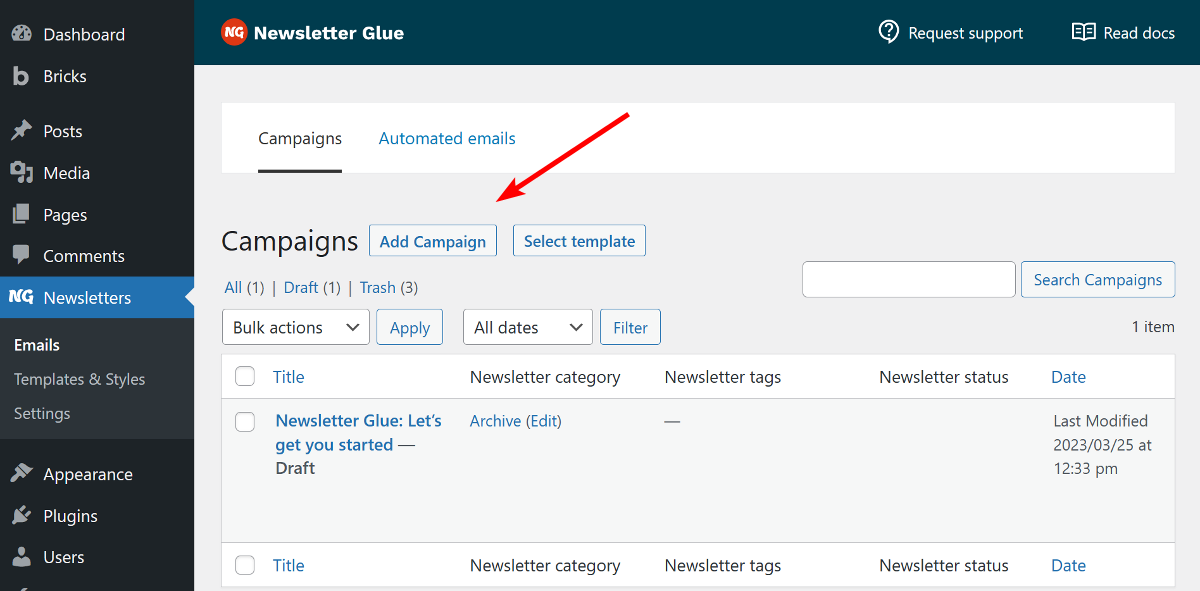
In your WordPress dashboard, navigate to Newsletters > Emails, and under Campaigns, click the Add Campaign button.
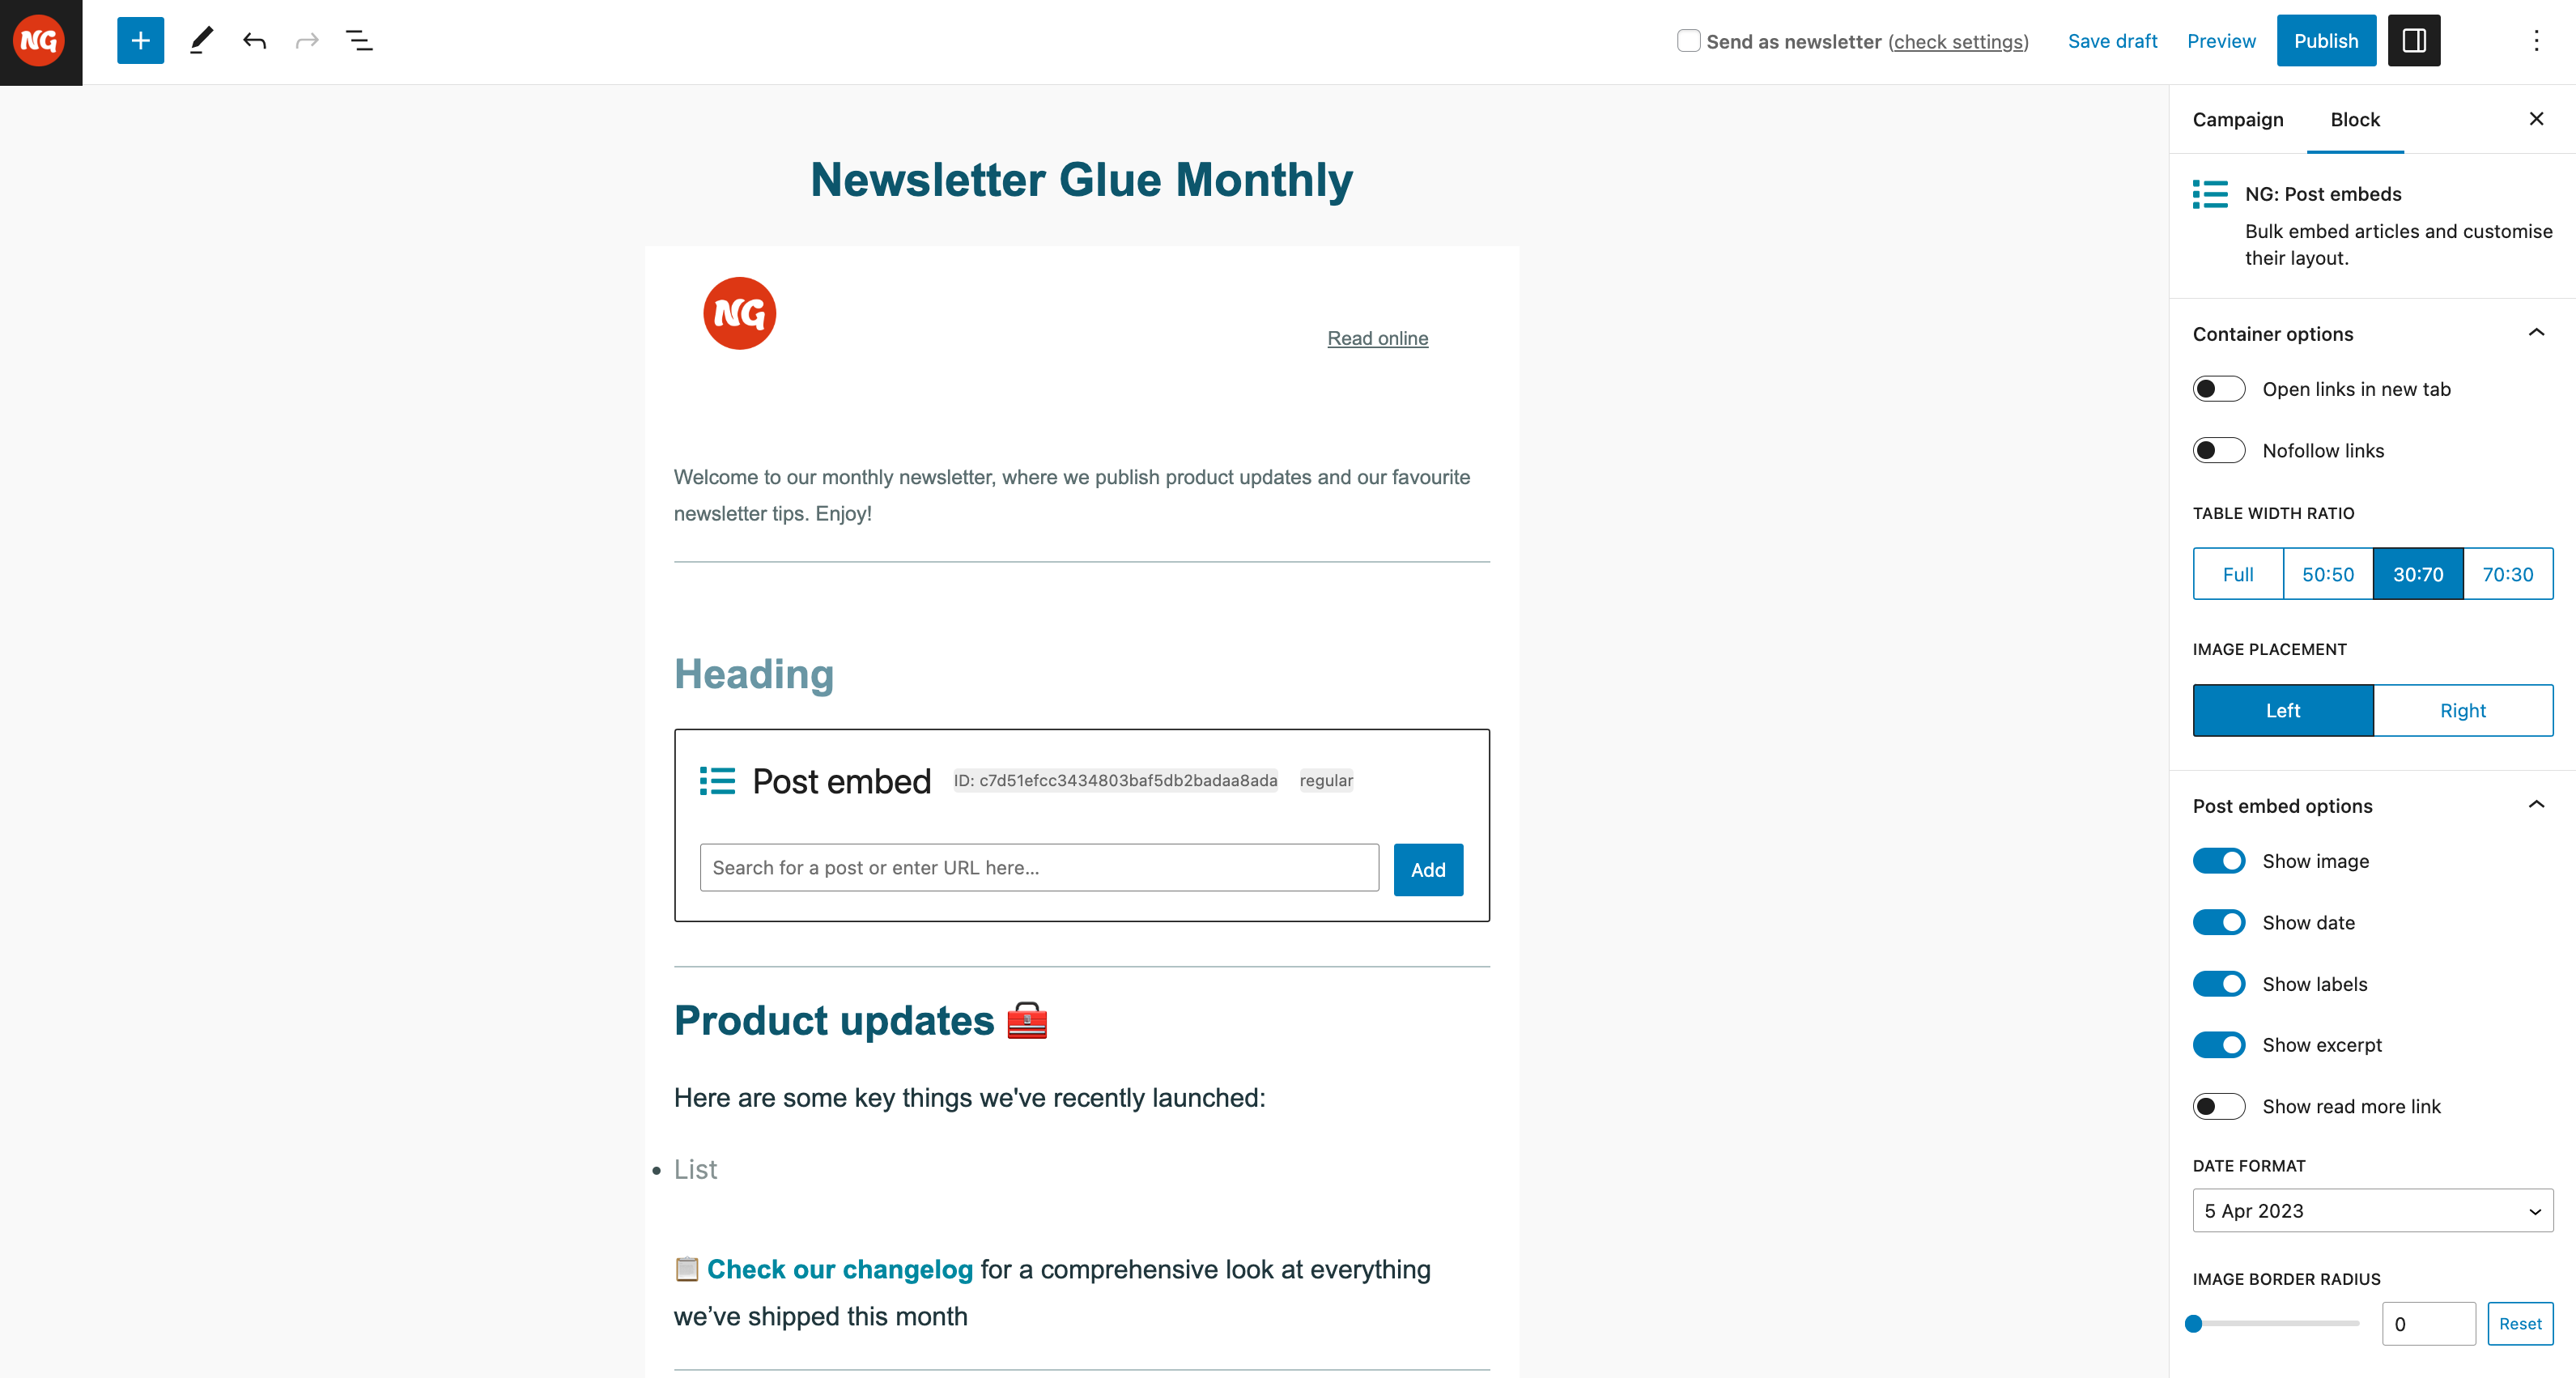
This will automatically add the template you set as active into the editor.
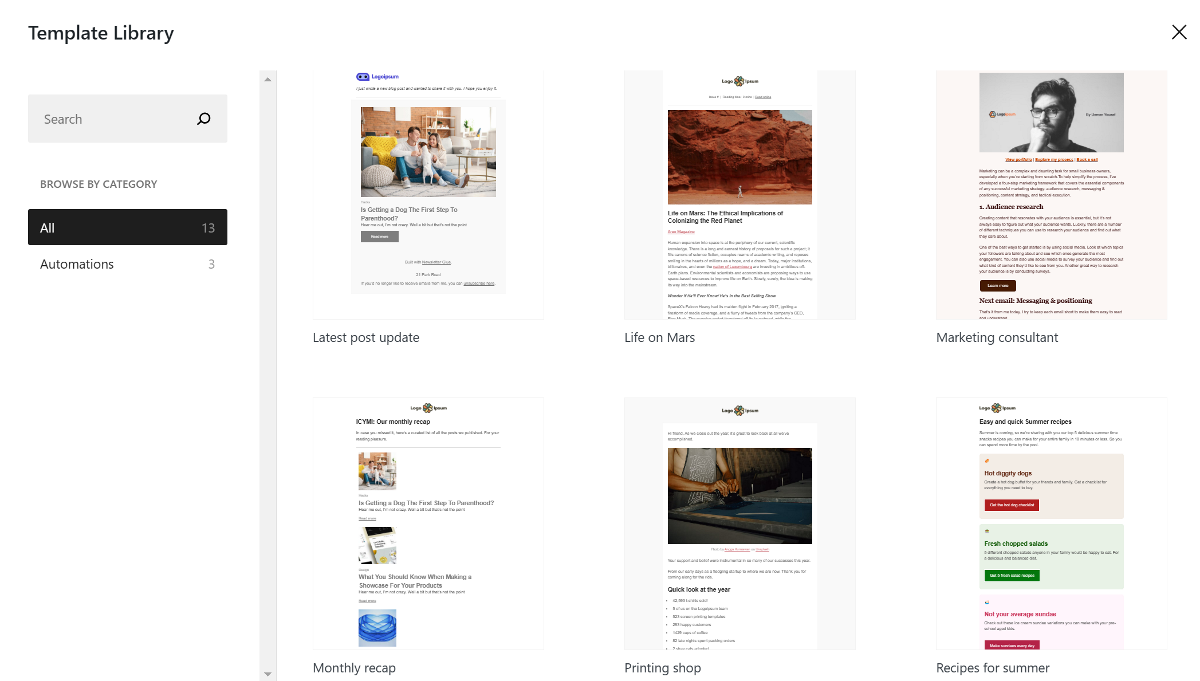
Alternatively, if you have multiple templates, you can choose your preferred one by clicking the Select Template button.
Once your template is loaded into the editor, it’s time to write your newsletter. With a properly created template, this will feel like filling in the blanks, rather than starting from scratch.
Testing your newsletter
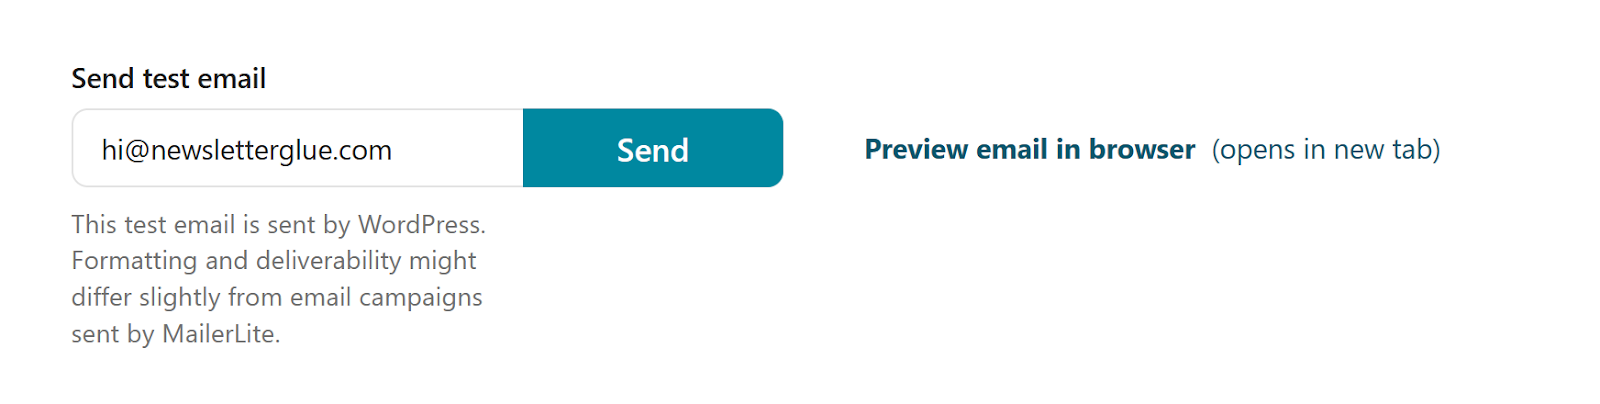
After you’ve finished adding all your content, scroll down to the bottom of the page and enter an email address in the Send test email box. Send yourself a test email and check for errors, such as broken links and typos.
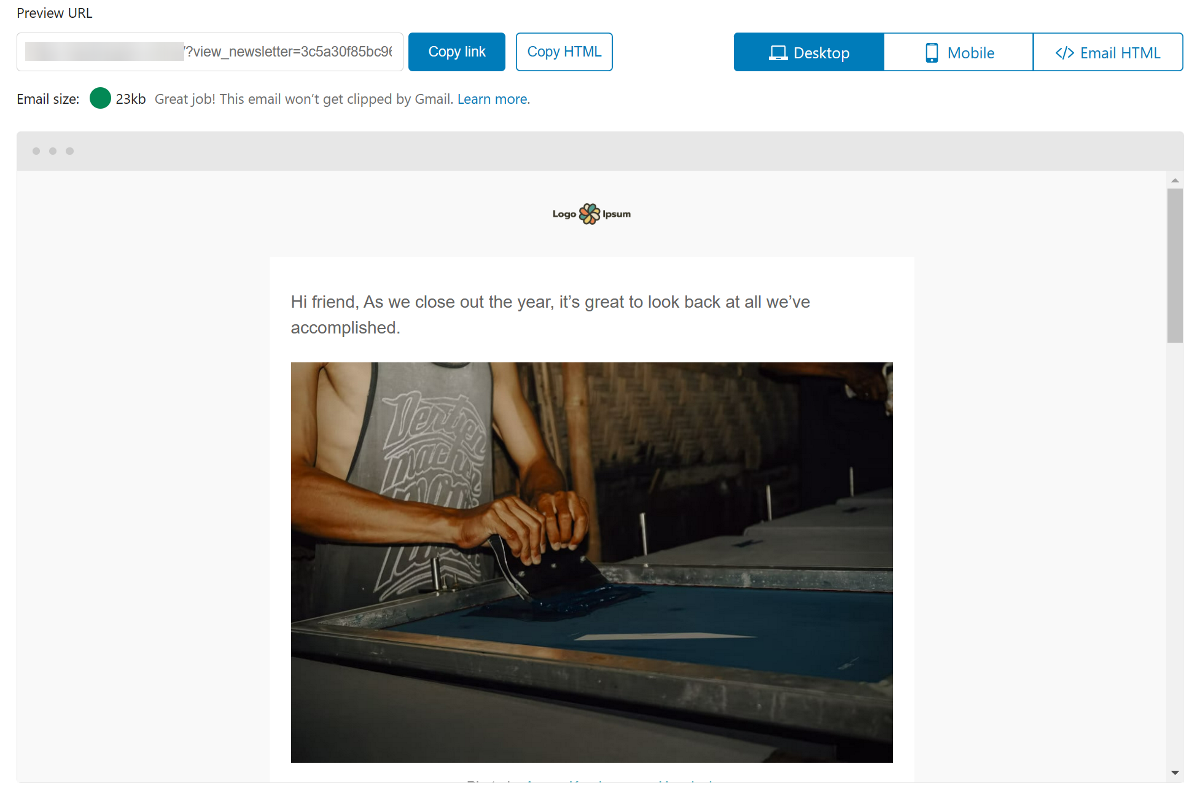
You can also preview the newsletter by clicking the Preview email in browser link and checking how the newsletter will appear on desktop and mobile displays.
Sending your newsletter
When you are ready to send, fill in the subject line and preview text, and select the groups and segments to whom you want to send the newsletter. Other details such as From name and From email will be automatically filled in based on the information you entered during the onboarding wizard.
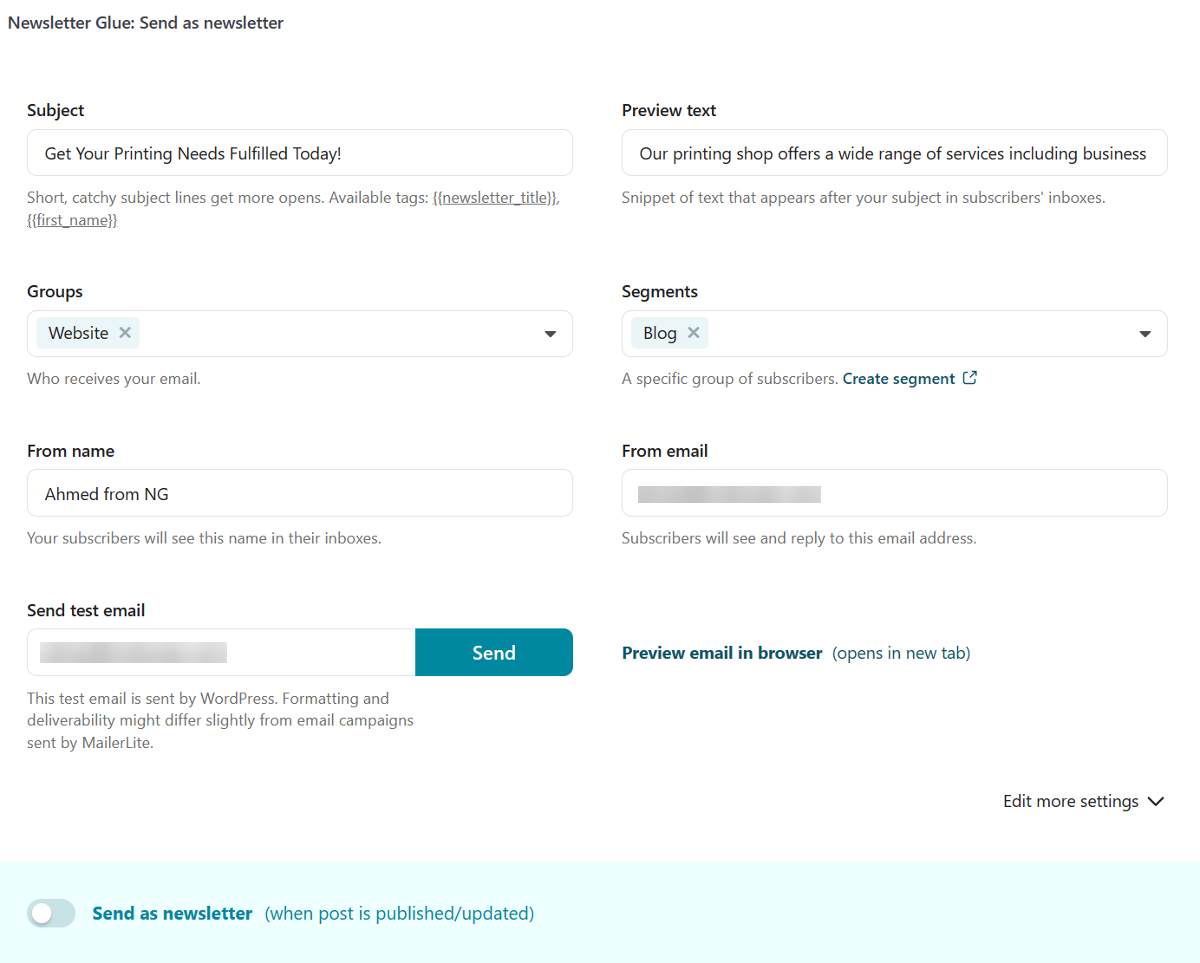
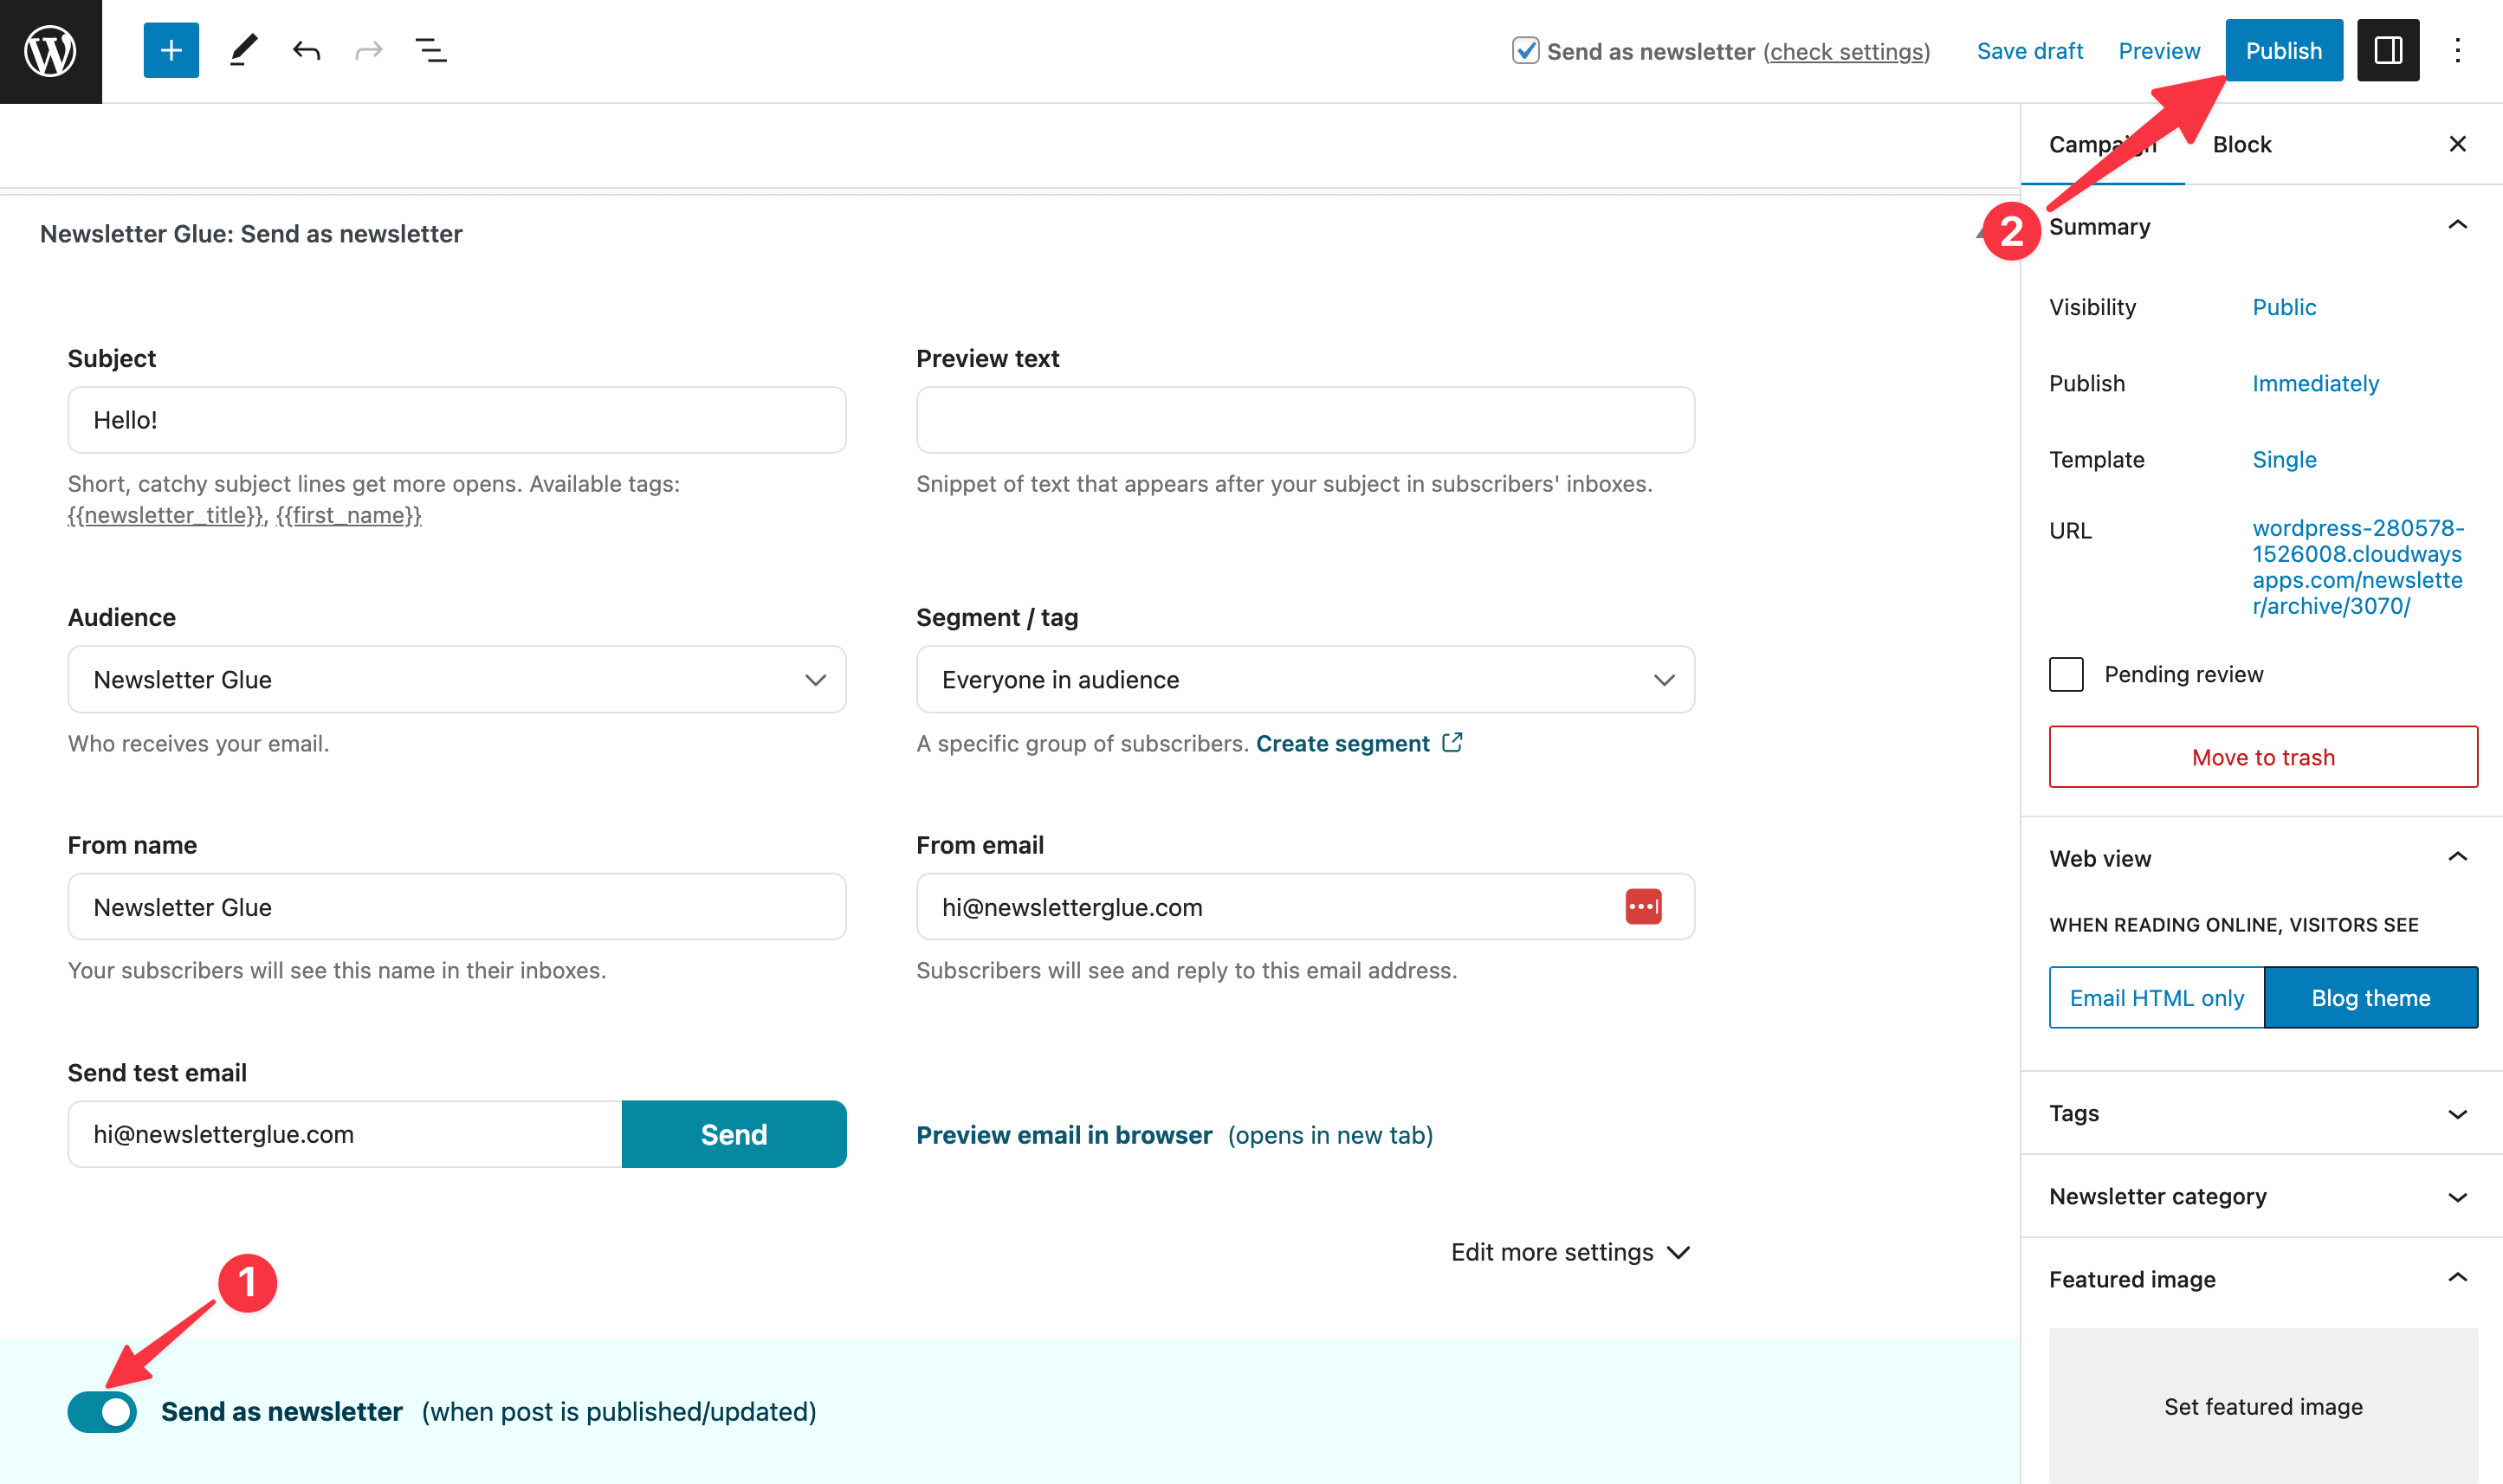
Once all the information is correctly filled in, activate the Send as newsletter toggle at the bottom of the page.
Finally, click on the Publish button in the top header to send the newsletter to your email list and publish it as a post on your website.
That’s it! Up next is our final article, where we’ll look at how to customize the newsletter archive, where all of your previously published newsletters are stored.