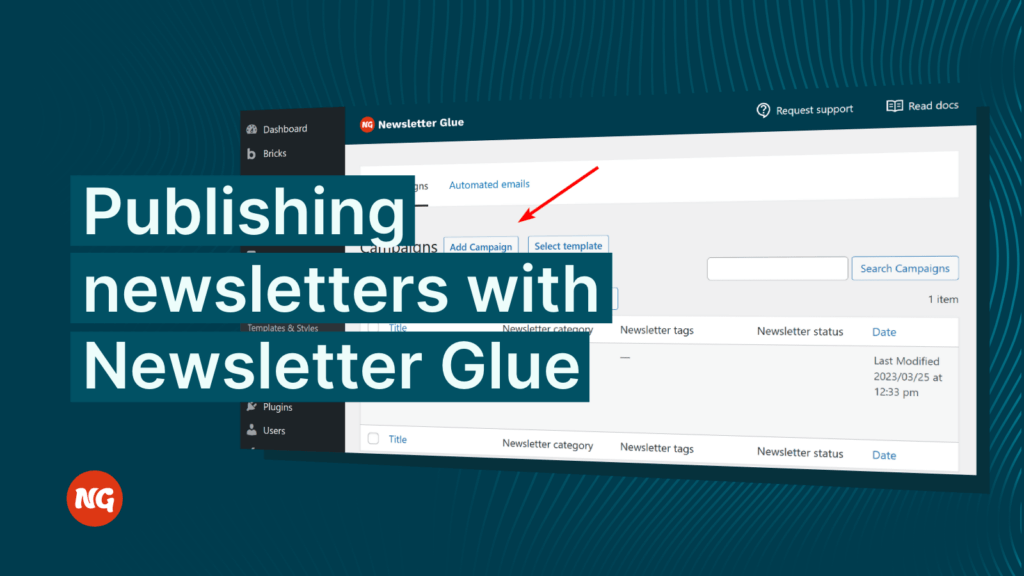
Now that our set up is complete, it’s time to create our very first newsletter template.
But first, let’s learn what a newsletter template is and why you should build one.
What is a newsletter template
A newsletter template is a pre-designed layout that you can use repeatedly for your future newsletters.
By creating a template, you can save time by avoiding the repetitive tasks of designing every single newsletter from start. You can also avoid unexpected bugs from the constant duplication of past newsletters.
Plus, a template ensures your newsletter is consistent with branding.
You can create a new template by navigating to Newsletters > Templates & Styles and under the Templates tab, click the Add New button.
You can also edit a one of our pre-built templates to speed up the process.
What blocks can we use
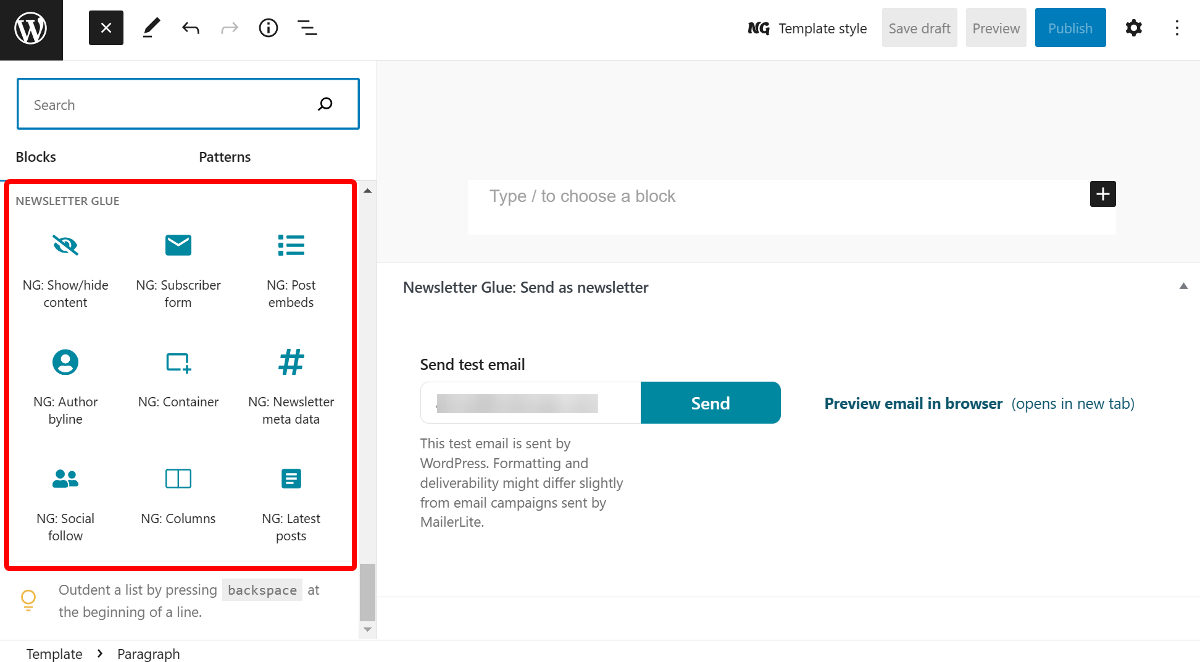
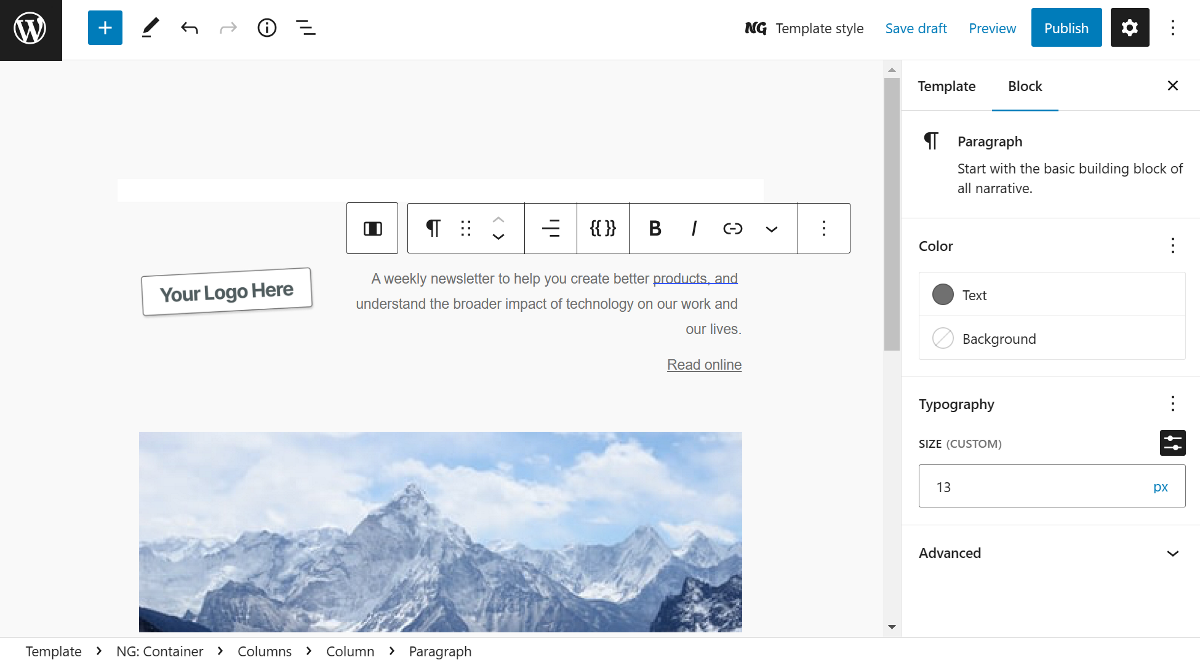
Newsletter Glue uses the block editor. You can use many of the default blocks such as paragraph, heading, image, and more. Newsletter Glue also comes with 9 custom blocks specifically made to help you with designing newsletters.
You can find more information about what blocks you can use in our documentation article.
How to add Newsletter blocks
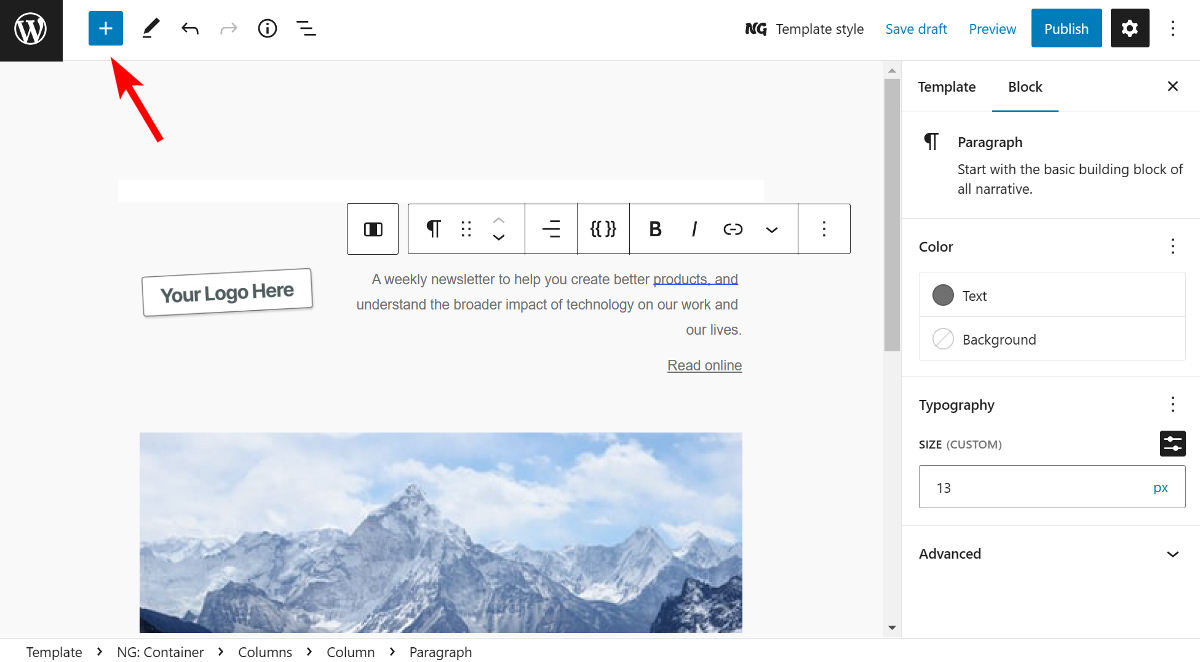
Depending on your WordPress site, you can simply start typing to add the relevant block into the editor.
Alternatively, use the block inserter located at the top left of the editor screen. Click the plus “+” sign to open the block inserter and choose the block you want to add.
The key Newsletter Glue blocks
Ue the shortcut “/ng” to easily add Newsletter Glue blocks with just a few clicks.
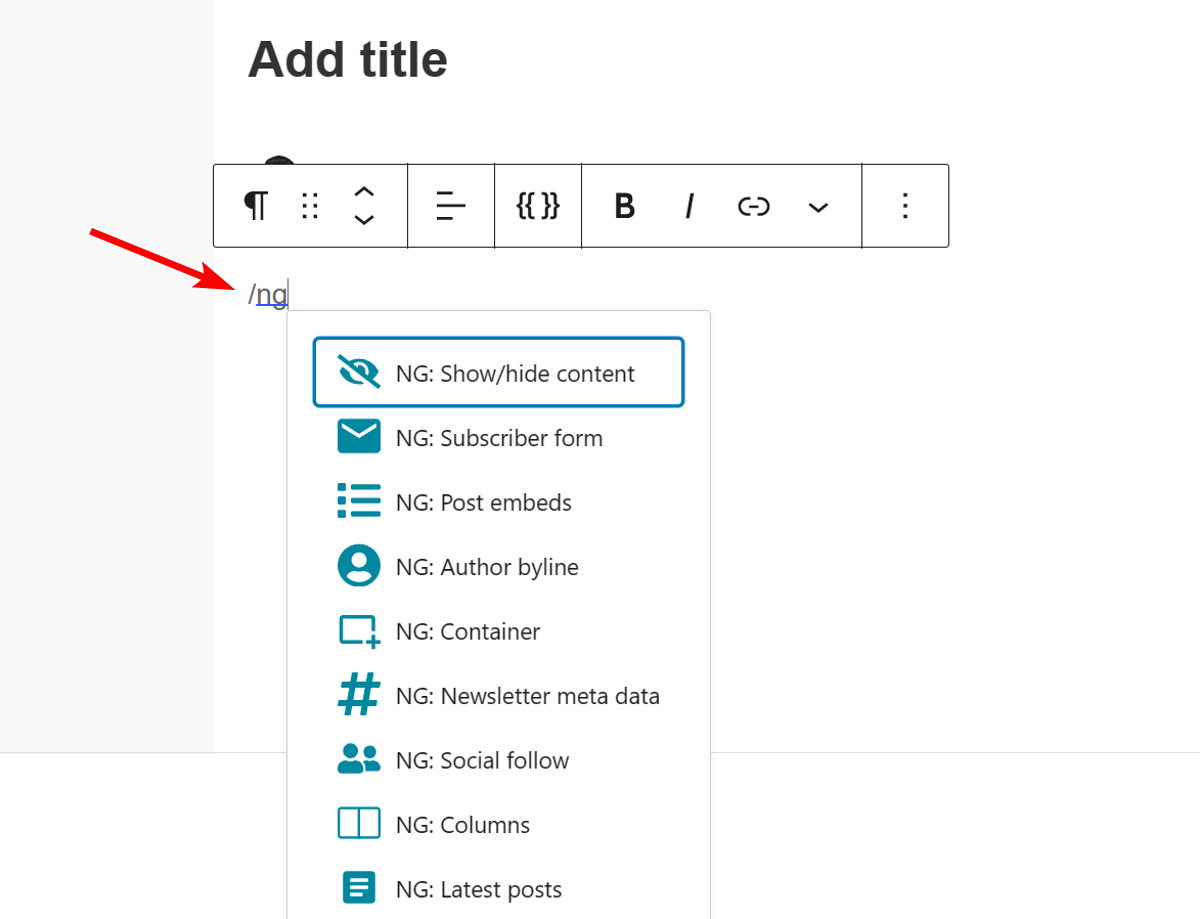
Newsletter Glue has three key blocks that you’ll use the most in your newsletter building process. They are:
Container block
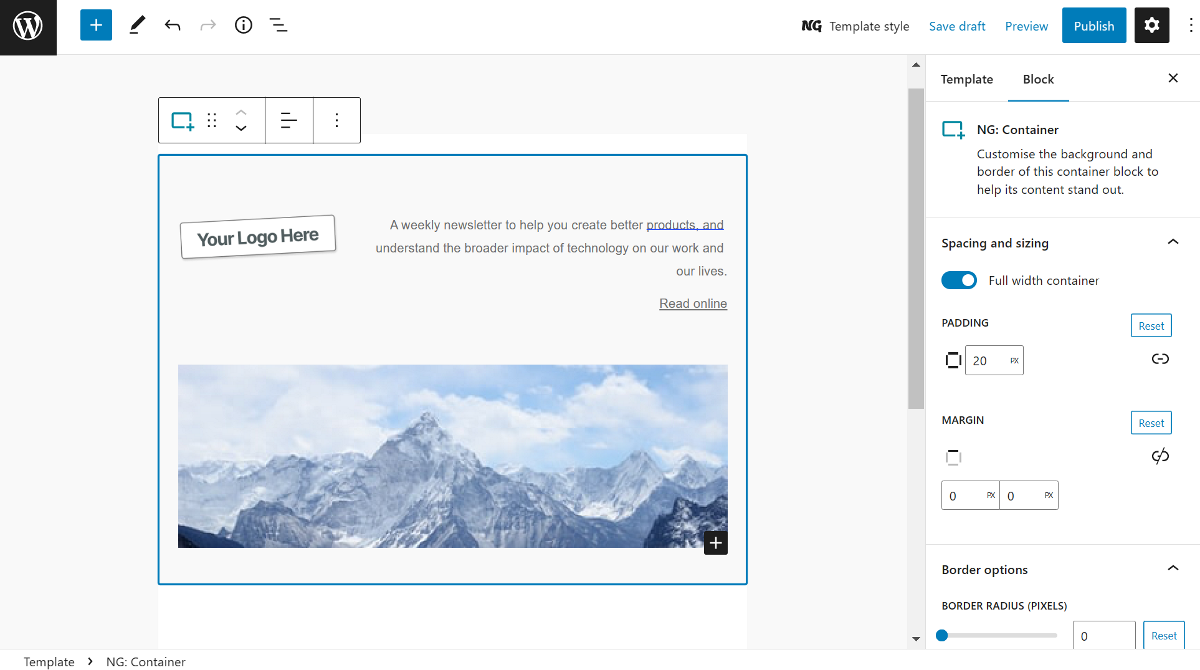
The container block makes your content stand out on a page by allowing you to group different blocks and style them with background or border colours.
Post embed block
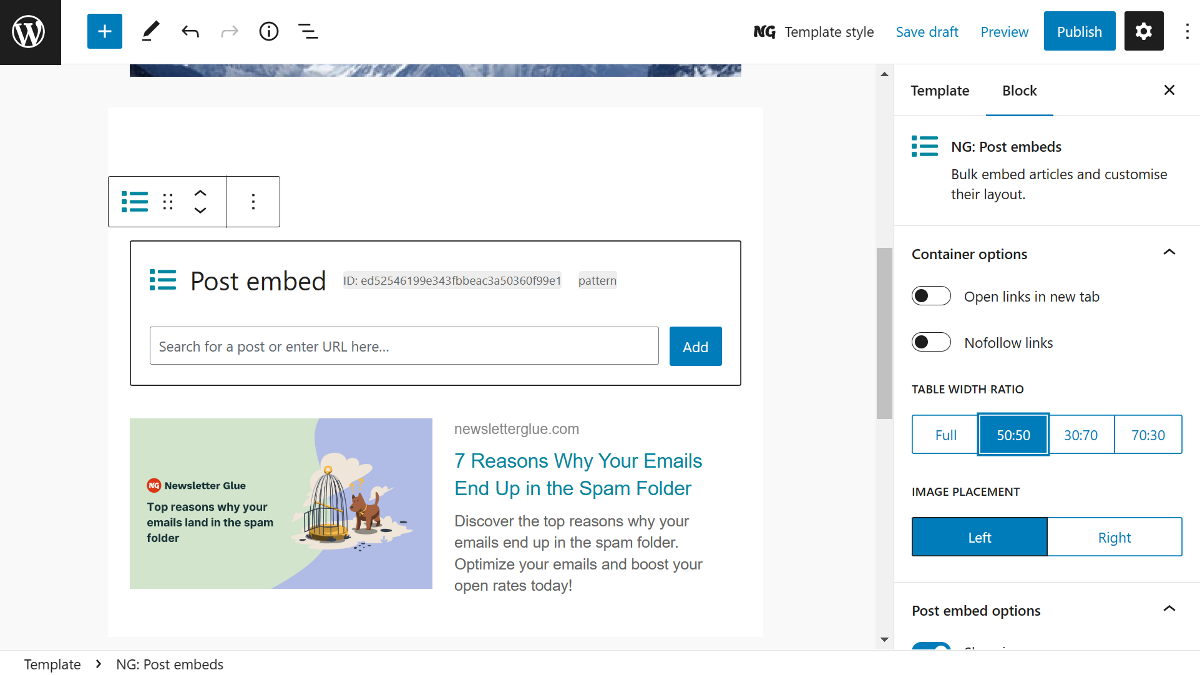
Post embed block allows you to quickly embed posts from your website as well as external websites into the newsletter. Simply paste the link and we’ll pull the headline, image and excerpt directly from the source.
Latest post block
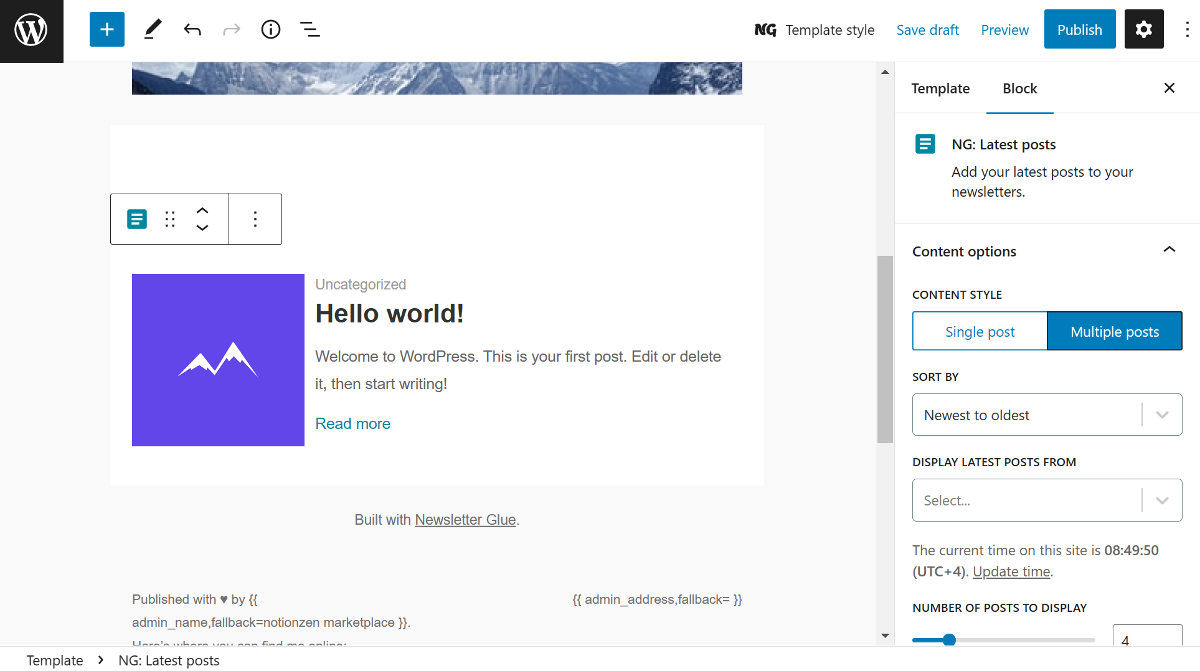
The Latest post block is similar to the Post embed block, with the exception that it embeds the most recent posts from your website. It is highly customizable and useful for creating automated weekly or monthly roundup newsletters.
Add an unsubscribe link using mergetags
After creating the newsletter template, the next step is to add an unsubscribe link in the footer. This is important to make your newsletters comply with anti-spam regulations and offer recipients an easy way to unsubscribe.
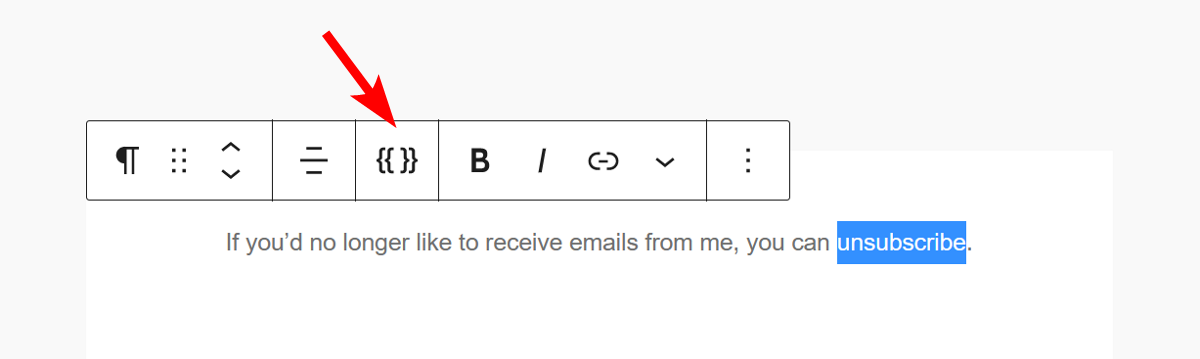
You can do this by adding a new paragraph block and entering the unsubscribe text. For example, you can use this template “If you’d no longer like to receive emails from me, you can unsubscribe.”
Then, highlight the word “unsubscribe” and click on the bracket icon on the toolbar.
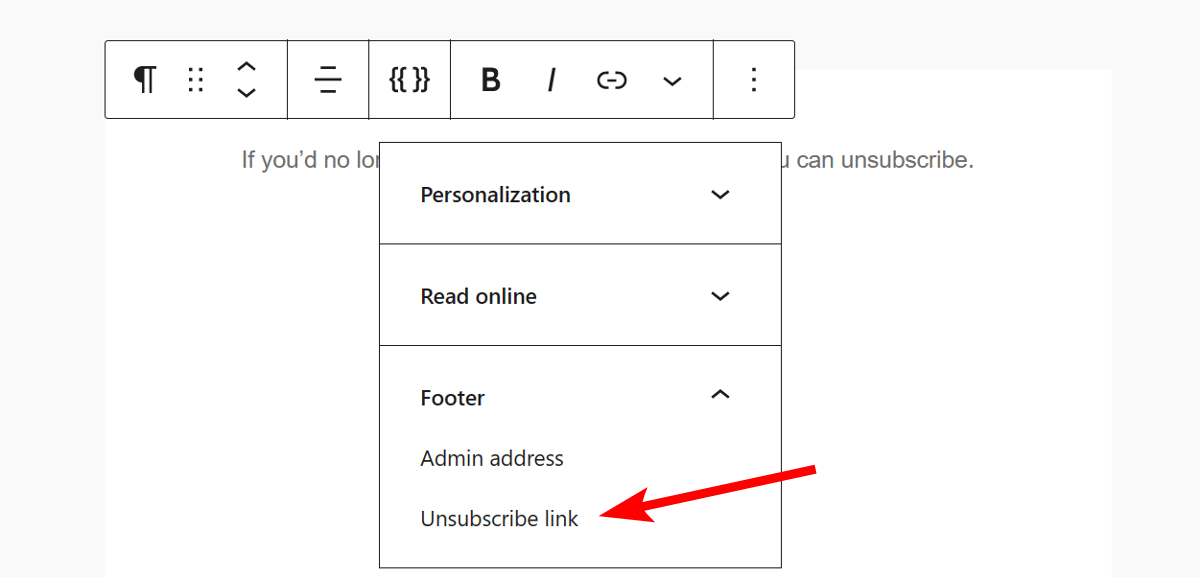
Then, click on the Footer option in the dropdown menu, and click Unsubscribe Link.
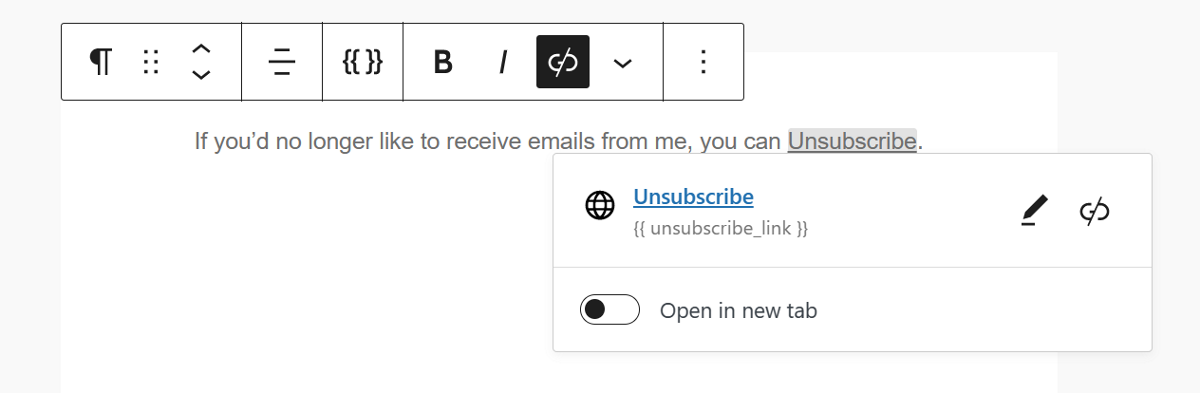
This will automatically add an unsubscribe link mergetag to the word which when clicked in the email will lead users to the unsubscribe page.
Now that our template is ready, let’s send a test email to see how it looks in actuality.
Sending test emails
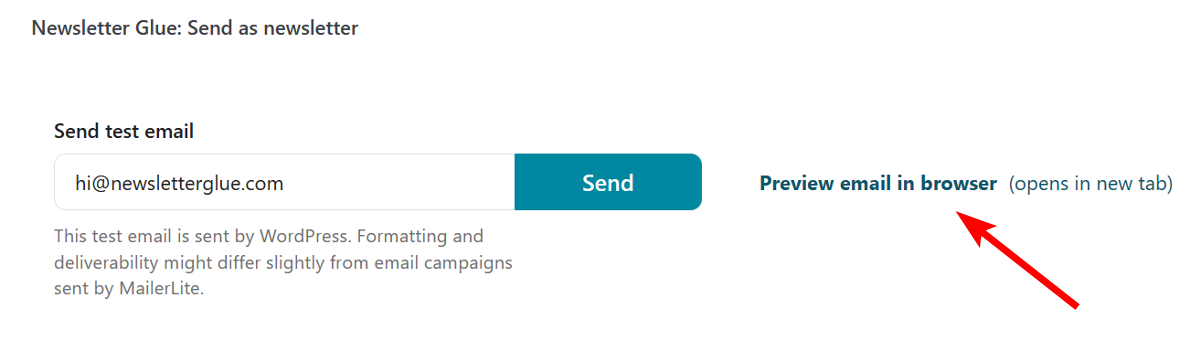
After you’ve filled in the newsletter details, scroll down and you’ll find an option to send a test email.
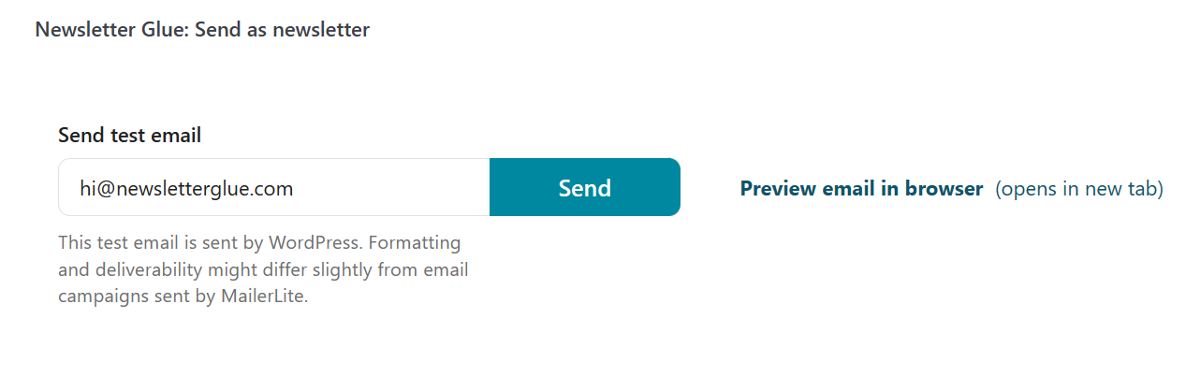
Here, you can enter the specific email address that you want to send the test email to and hit the Send button. After a few seconds, you should receive the test email in your inbox.
Previewing your template
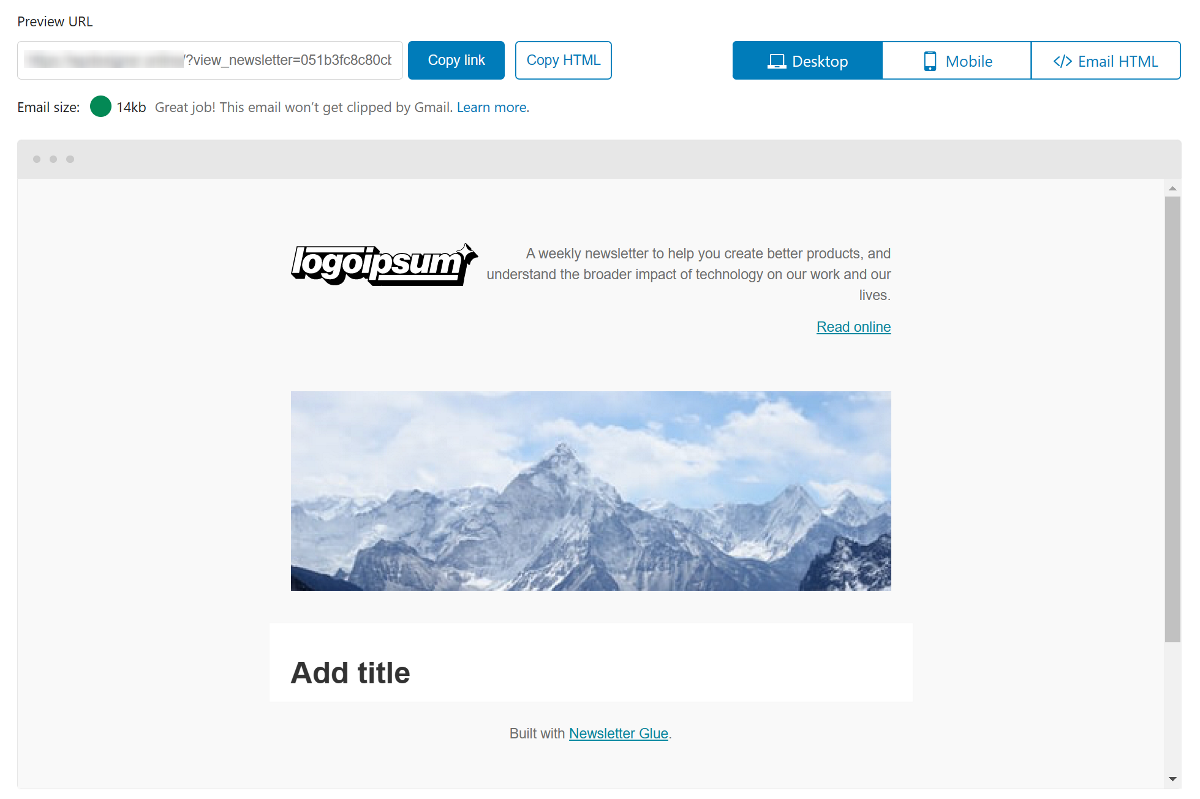
Just like the test email, you can also preview your newsletter to see how it looks on mobile and desktop. Click the Preview email in browser link next to the test email to open the preview in a new tab.
The preview feature also allows you to check the newsletter for email clipping to ensure it correctly shows up in the inbox. Furthermore, the preview also allows you to view and copy the underlying HTML code of the newsletter.
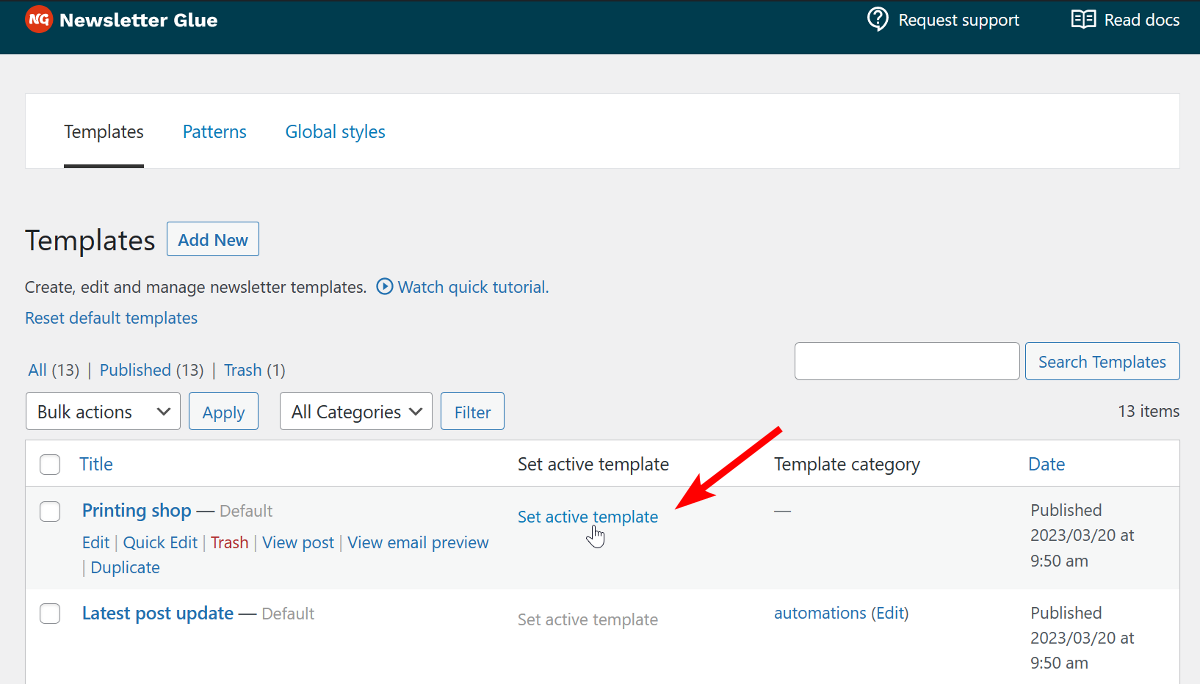
Setting an active template
Once your template is ready, you need to set it as an active template so that it is automatically added to the editor whenever you create a new newsletter.
Navigate back to the Templates section and click the Set active template link next to the template you want to make active.
Conclusion and best practices
Now that you know how to create your own newsletter template, here are some tips to get the most out of your newsletter template:
- Instead of writing generic placeholder text in your newsletter template, consider leaving it blank for faster editing. Doing so will give you the feeling of filling out a form, saving time from the hassle of deleting or replacing text.
- Design multiple variants of the inner sections as patterns to quickly add them from the block inserter.
Up next, we’ll learn about your newsletter archive and how you can customise it.