
This post is part 2 of 4 in the mega guide to setting up a paid newsletter with Memberful. Read part 1, 3, 4.
Activate Memberful plugin in WordPress
Head to Settings > Integrate > Your website and click the I’m using WordPress button.
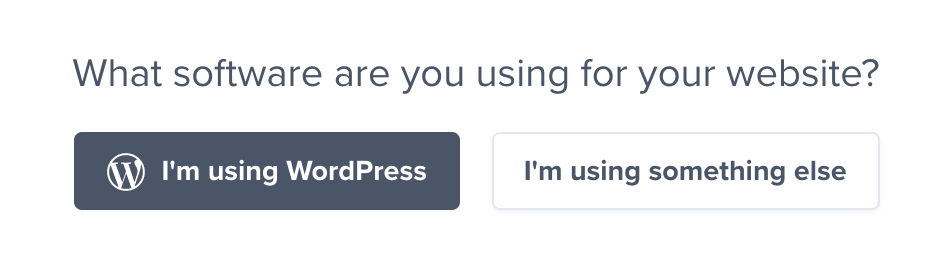
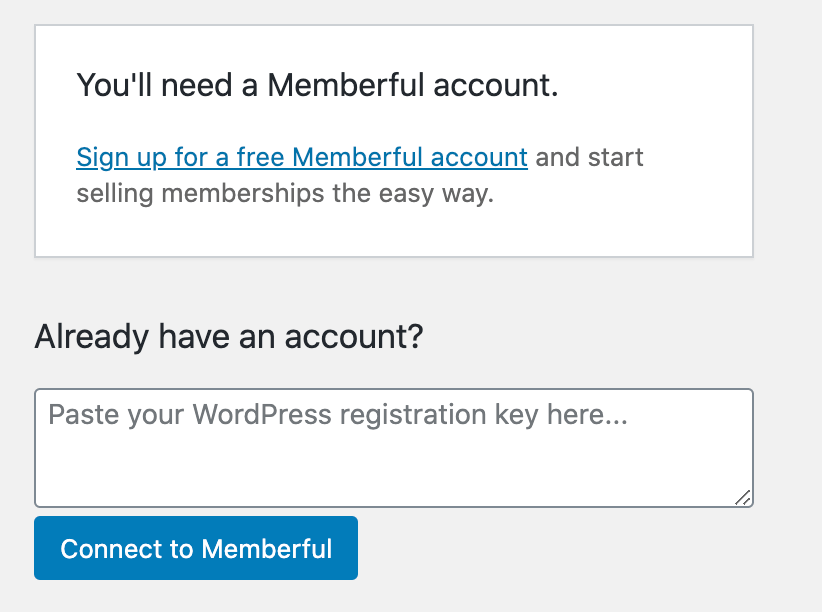
You’ll see the following page.
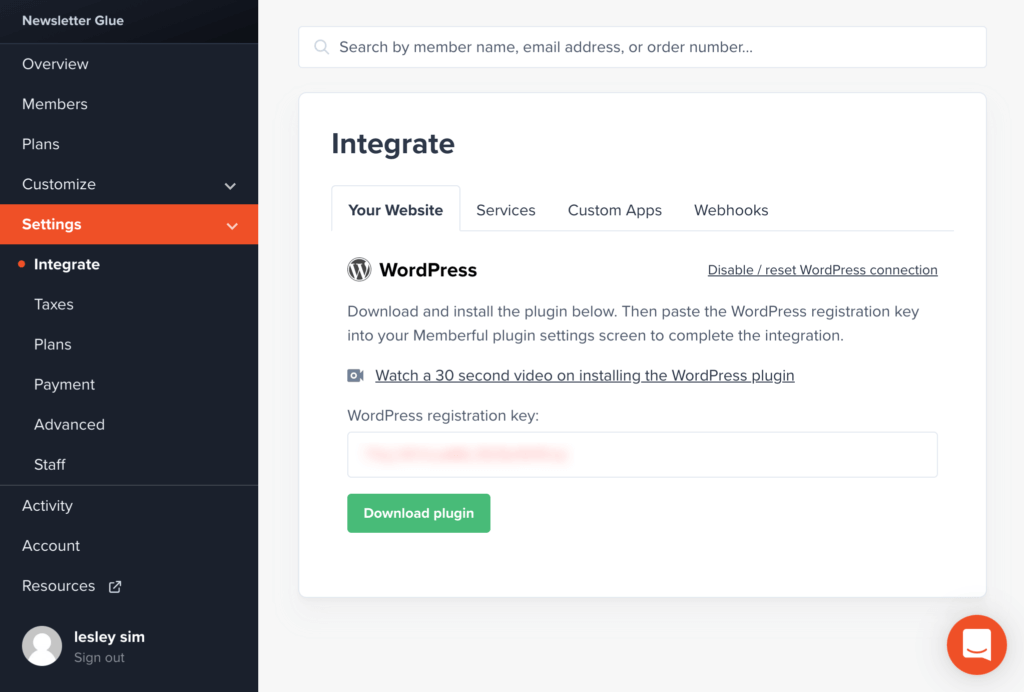
Copy your WordPress registration key. Then head to your WordPress site.
Go to Plugins > Add new and search for Memberful.
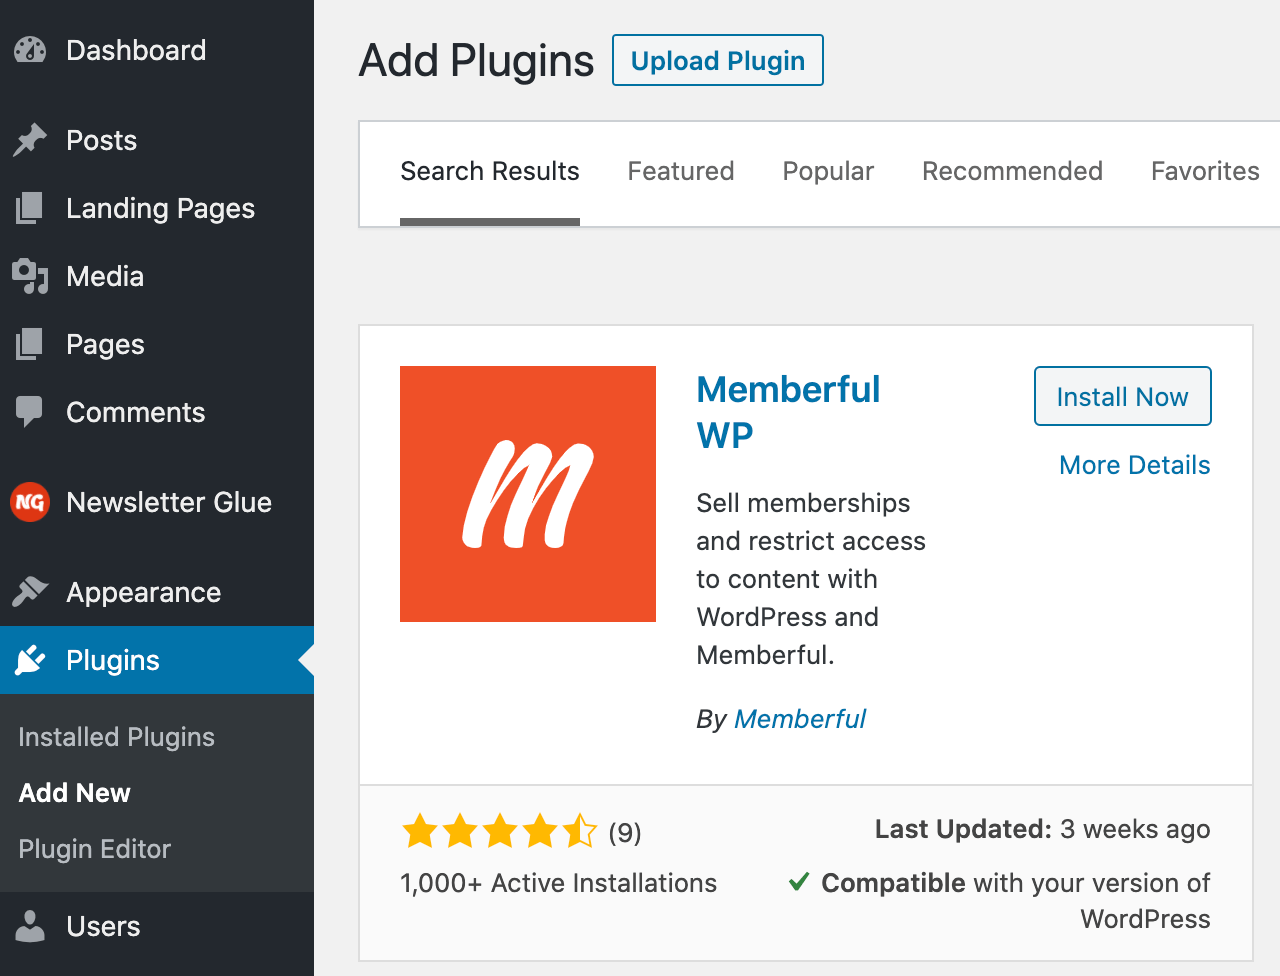
Then install and activate the plugin.
In the WP-admin, head to Settings > Memberful and add your registration key.
You know, the one you copied in Memberful? Get it in your Memberful dashboard under Settings > Integrate.
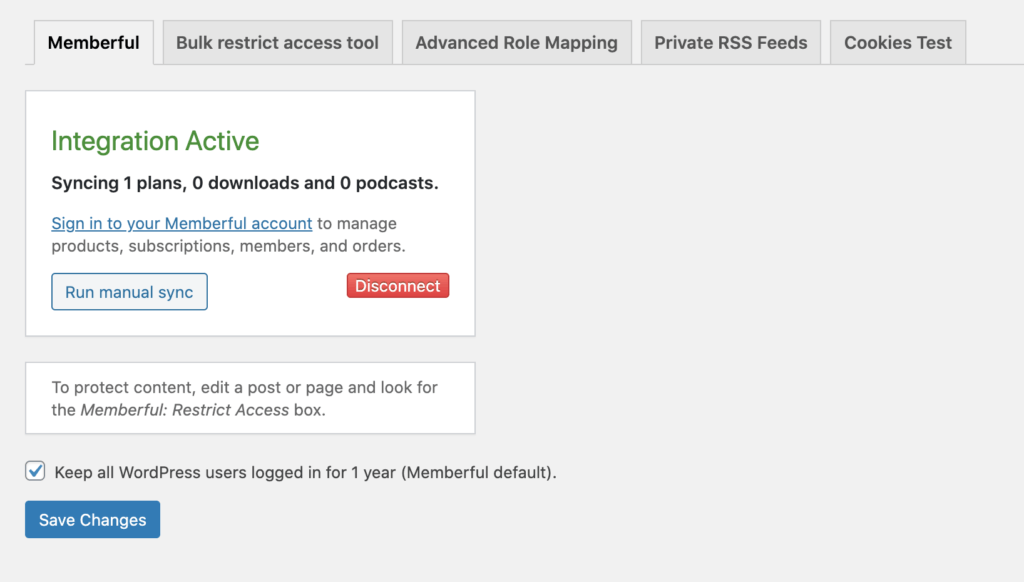
If you’ve done everything right, you should see Integration Active. Hooray!
Enjoying this post?
Don't miss the next one.
Subscribe to get our latest product updates and blog posts.

You’ll also see other tabs in the settings. But let’s leave them alone for now. We’ll look at them in the next post.
For now, we have something more exciting (and important) to tackle… Setting up checkout!
Add Purchase button
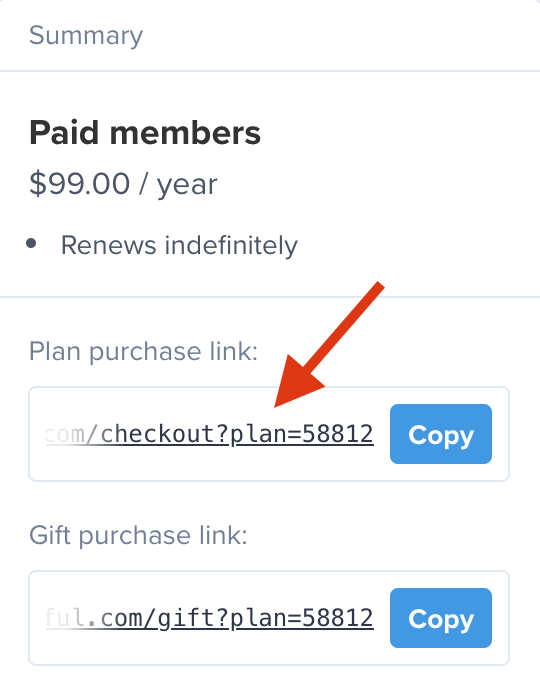
Remember this plan purchase link from step 1? It’s time to put it to use!
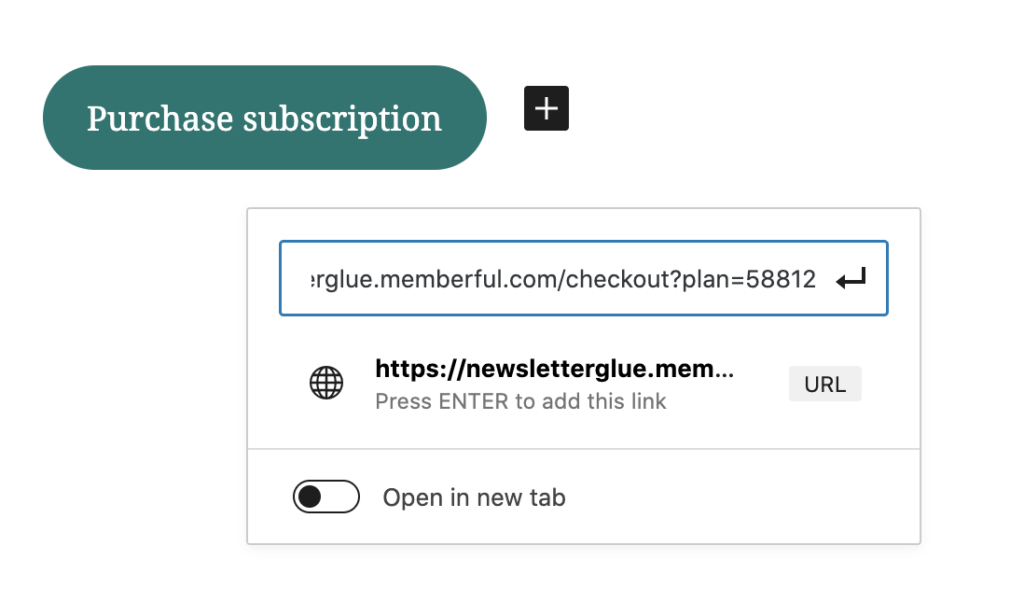
Create buttons, menu items, pop-ups, sidebars and more. Then link them to the plan purchase link.
For example, create a button inside a blog post, then link the button to the plan purchase link. Easy!
Examples of paid newsletter calls to action
Now, I can’t tell you how to design your site or where to put your Purchase subscription call to actions.
But I can give you some inspiration from three prolific newsletter writers…
Example 1: Stratechery
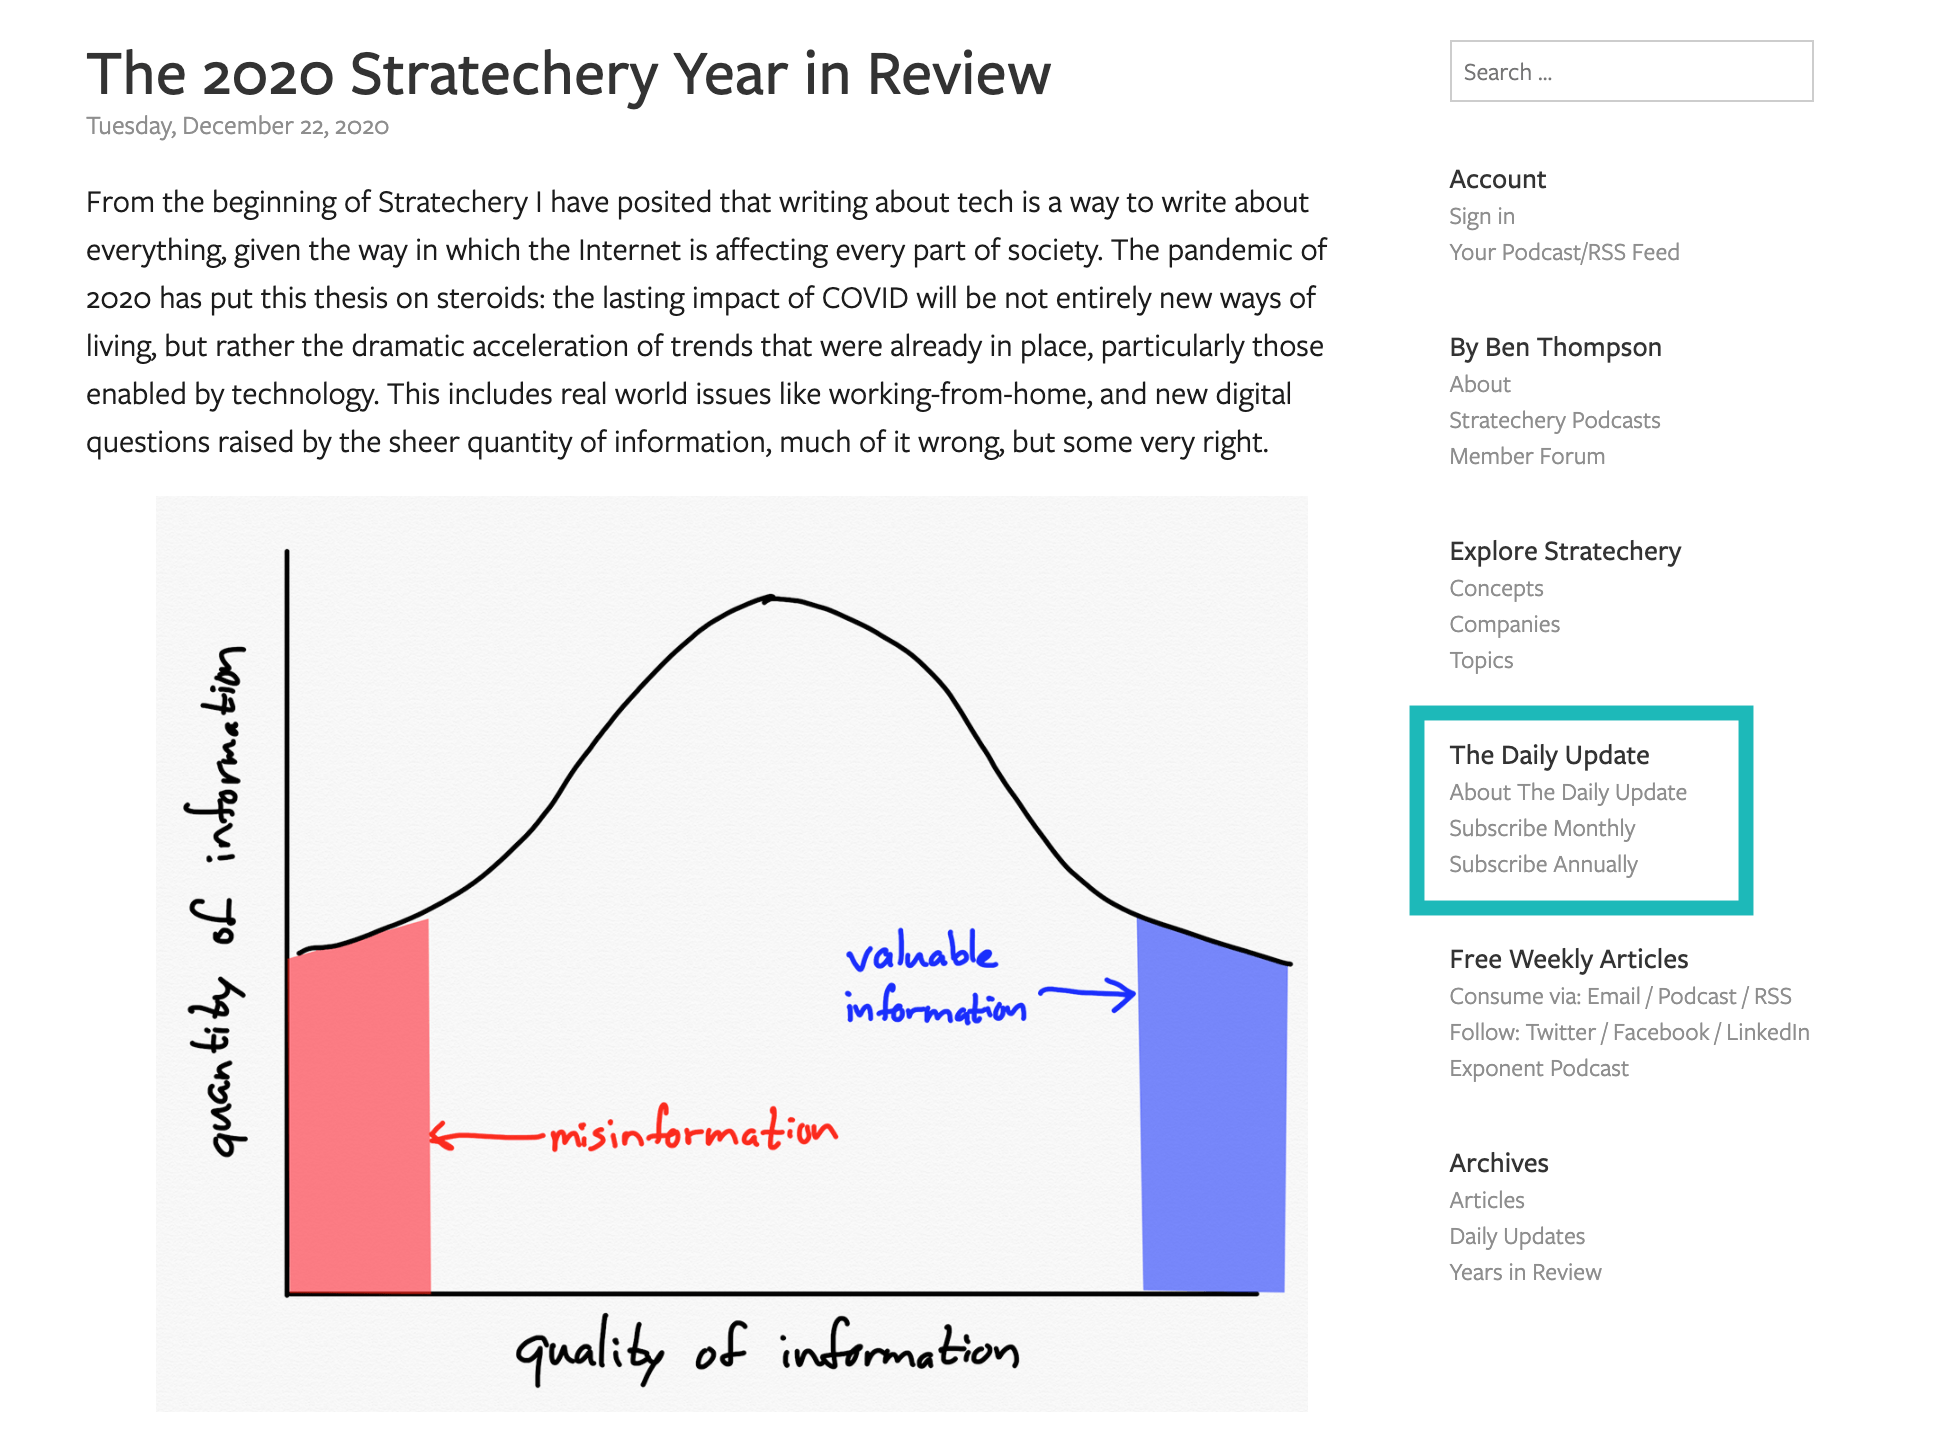
Stratechery, Ben Thompson’s popular tech and media newsletter has subscription links on the right side panel.
Example 2: A Media Operator
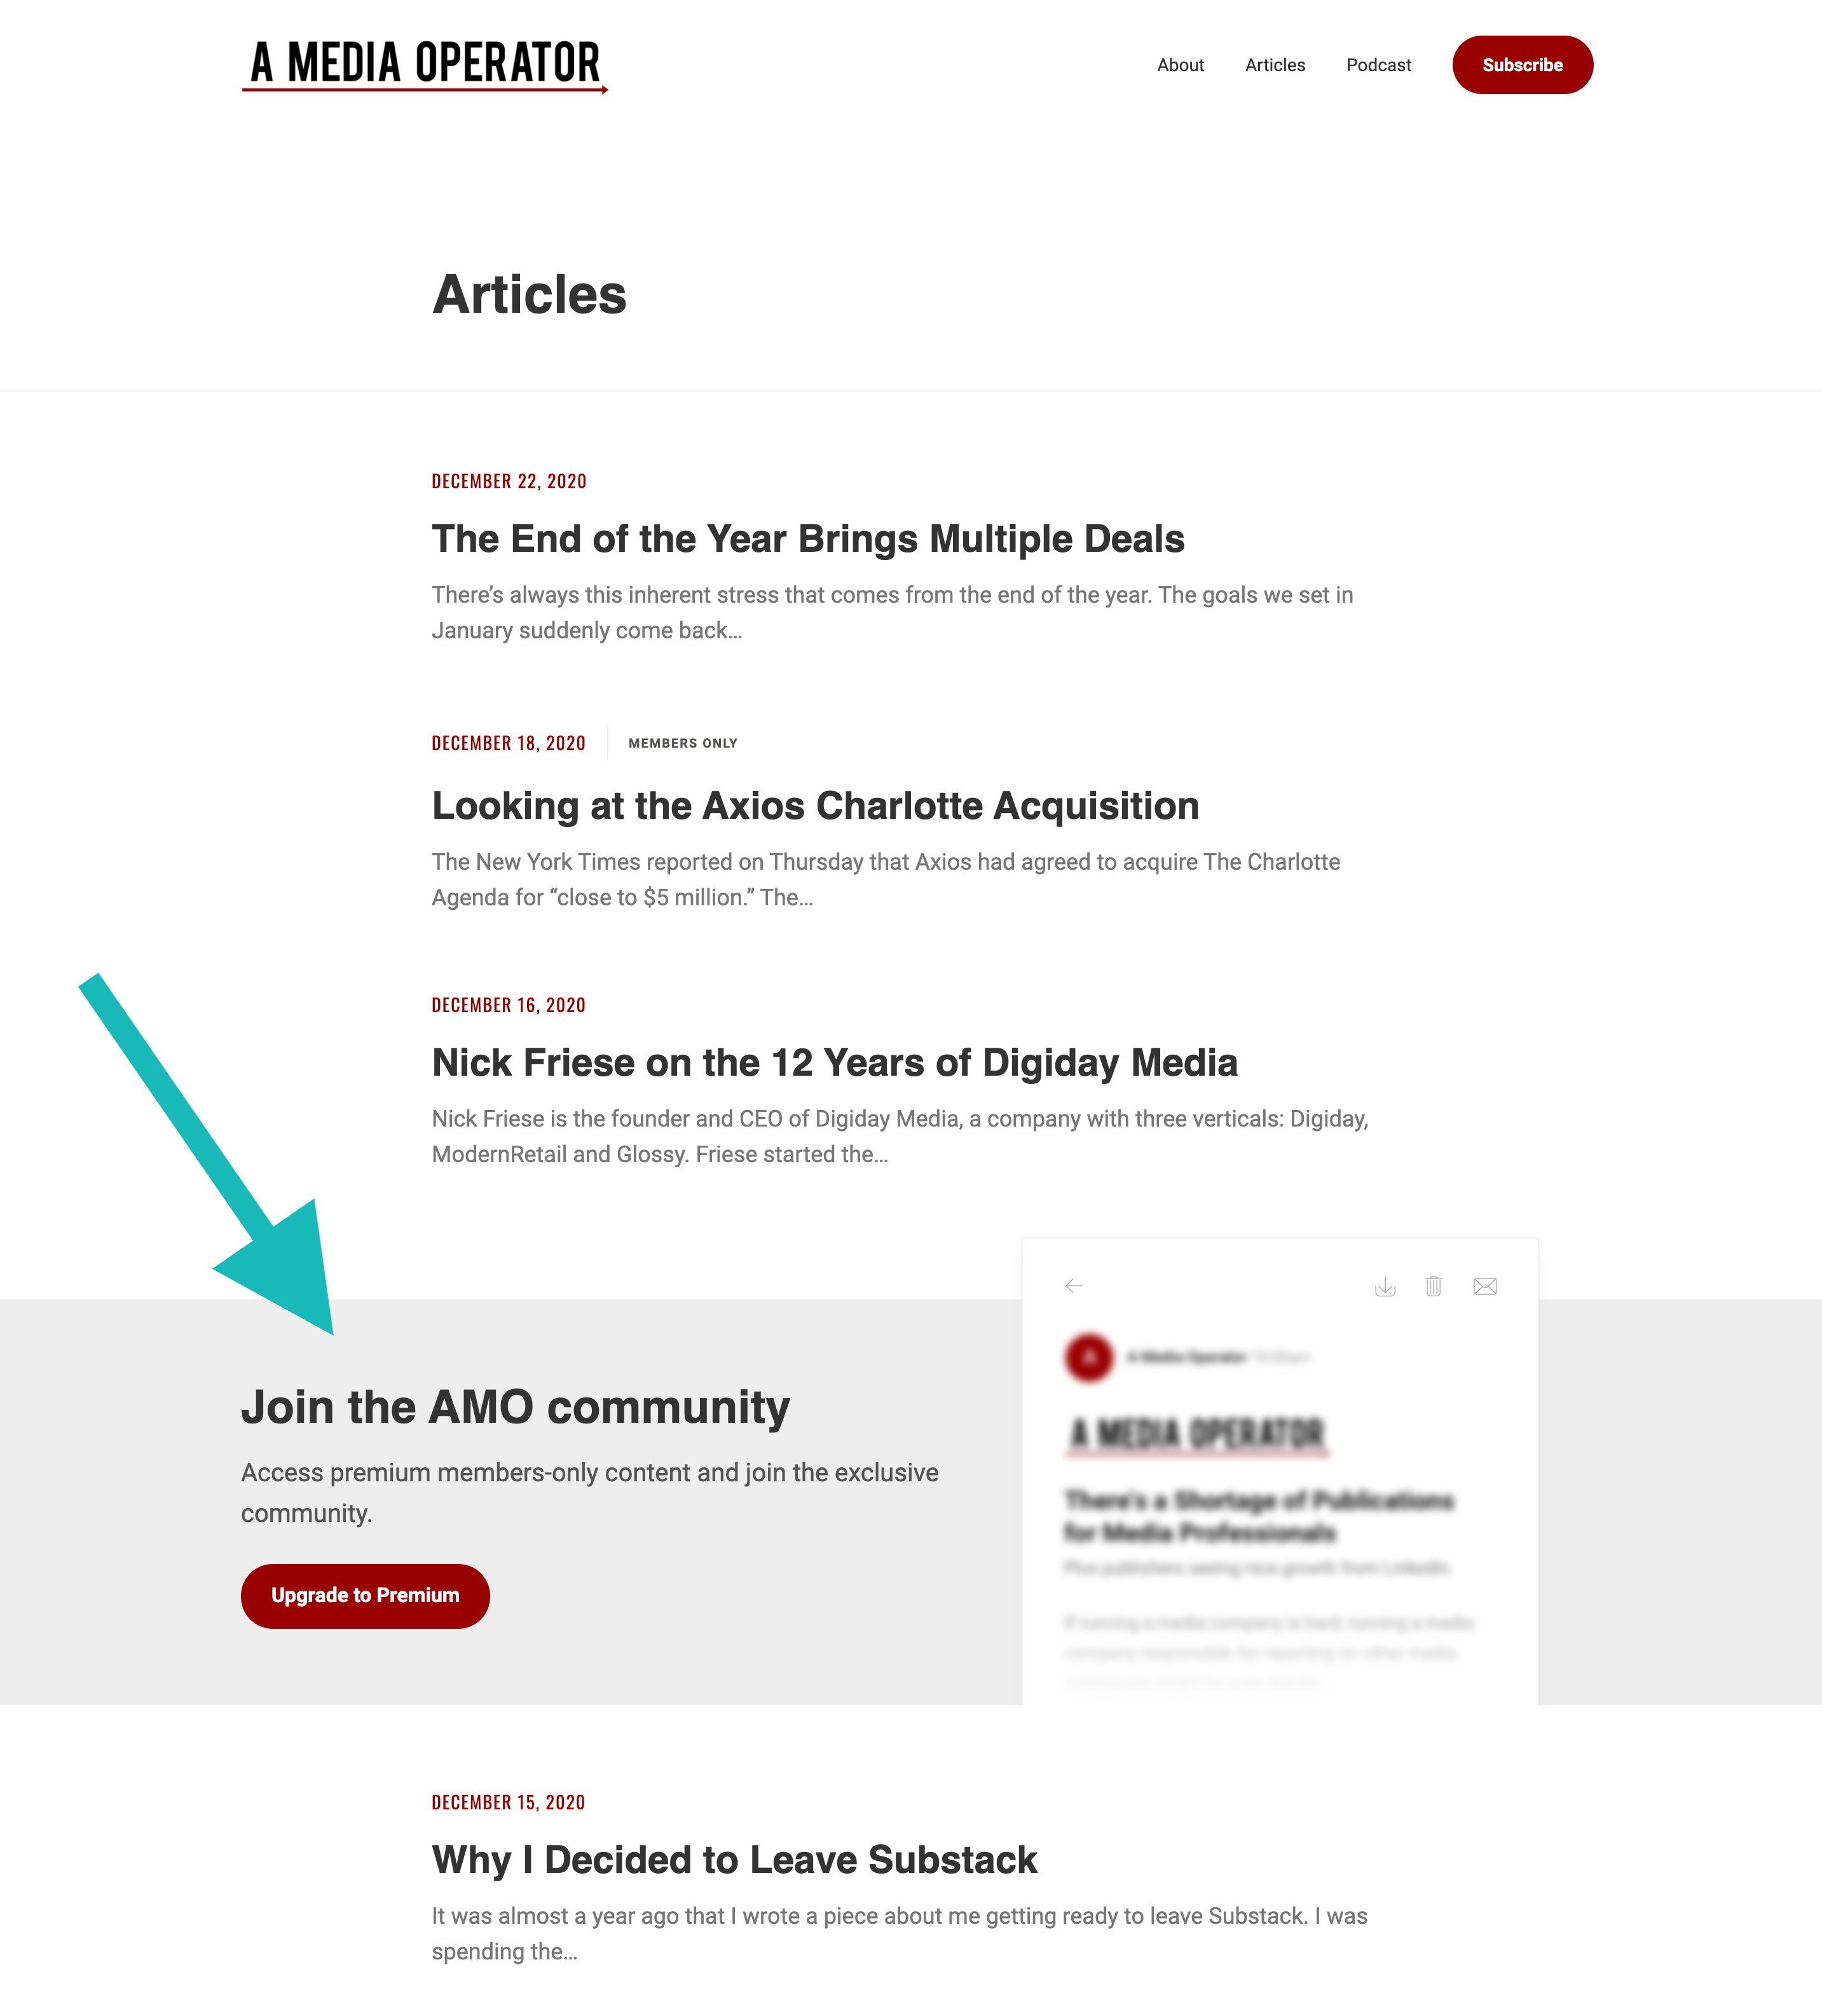
Jacob Donnelly’s A Media Operator highlights his premium AMO community in the middle of his archives.
He has the same section at the end of every free article.
As a side note: A Media Operator uses Newsletter Glue for building and publishing newsletters, but uses Pico (not Memberful) to process and manage subscriptions.
Example 3: Benedict Evans
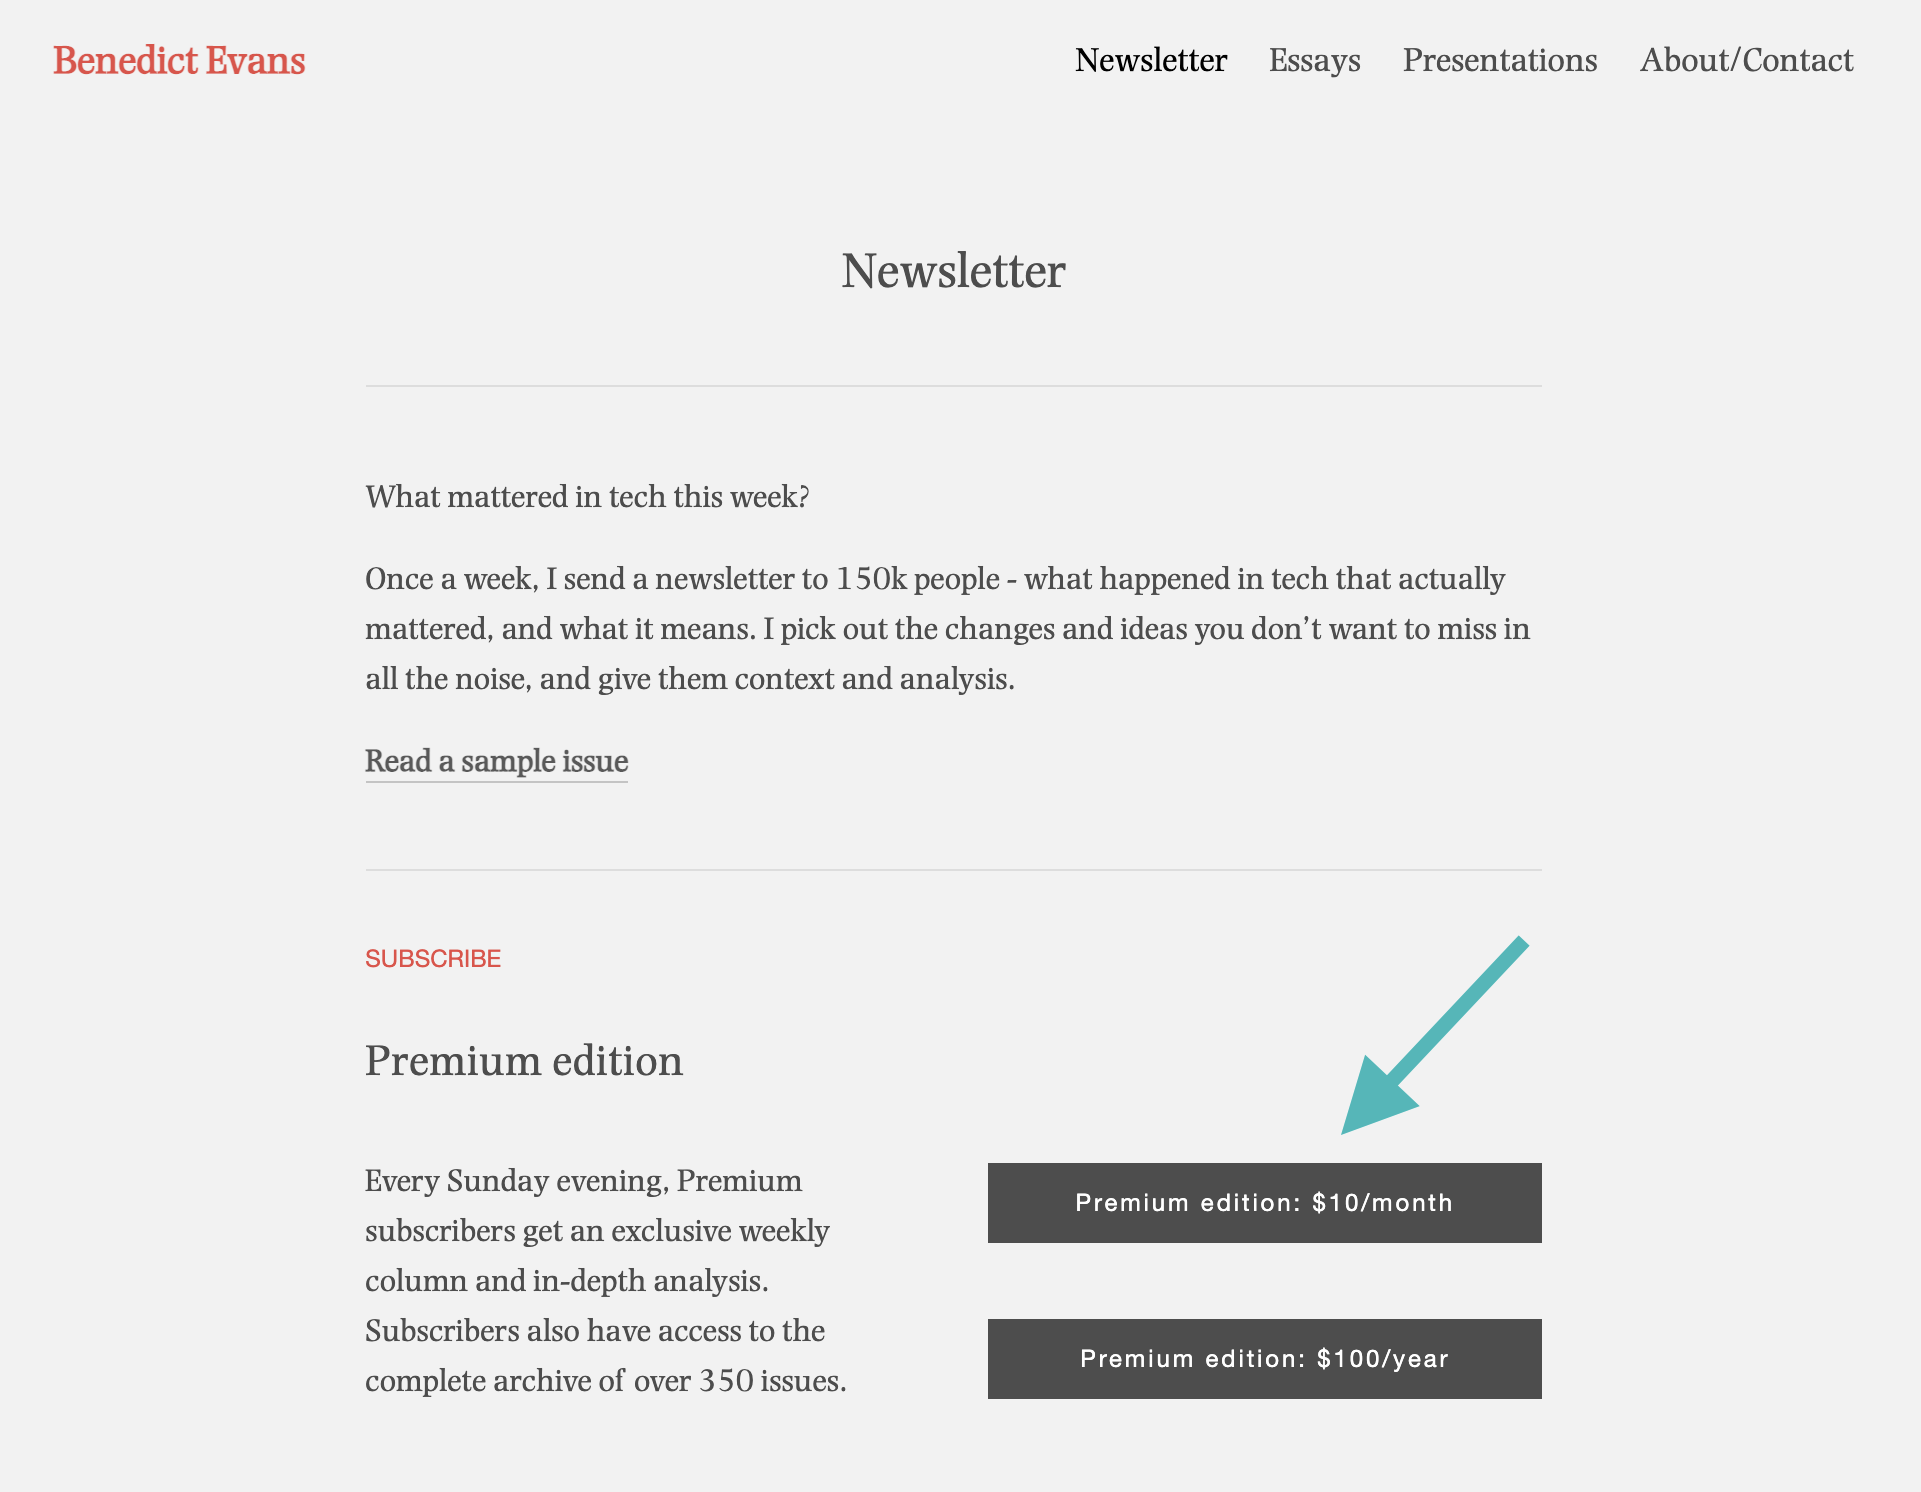
Benedict Evan’s tech newsletter has a special newsletter landing page which advertises his Premium edition newsletter.
Summary
There are many ways to advertise your paid newsletter on your website. Whether it’s in a side panel, inside your archives, or a dedicated landing page.
Decide what works best for you. The good news is that Memberful has made it easy for you and your subscribers by enabling checkouts using a single link.
Add customer account management
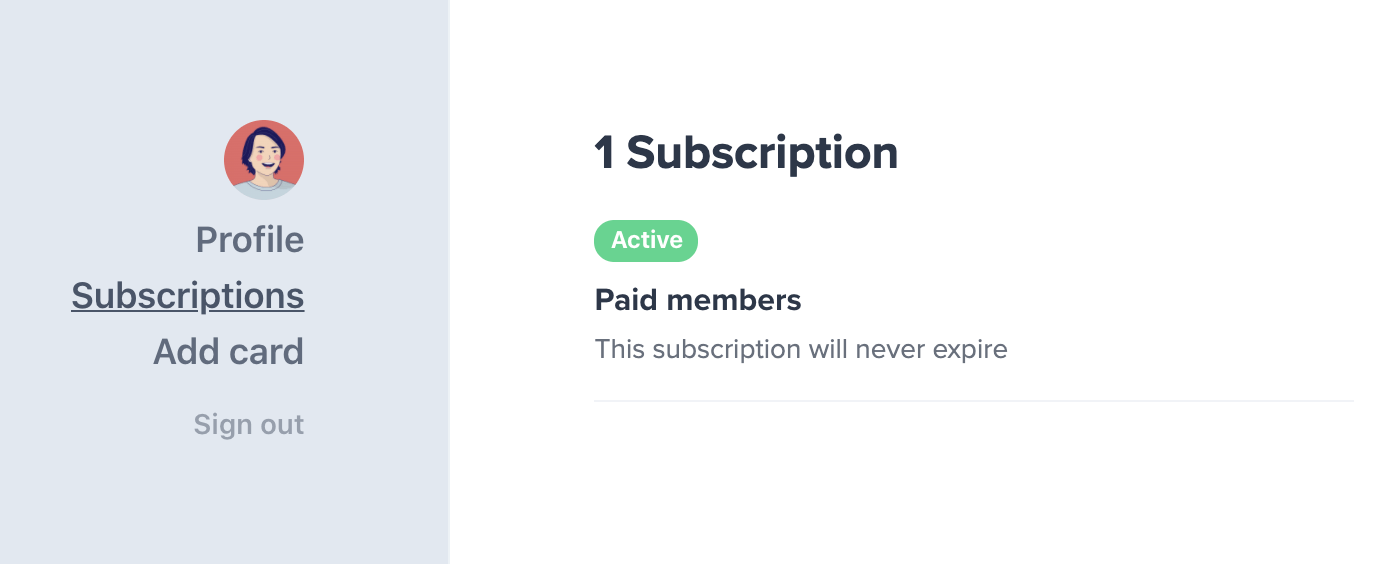
Add a Login/My Account button to your site, the same way you added a Purchase button. This lets your subscribers login to their accounts and manage their subscriptions.
Use this URL: https://YOURSITE.memberful.com/account
Just like the Purchase button, this URL can easily be linked in your menu bar, footer or side panels.
Here’s an example of what your paid subscribers will see when they click on this link.
Create a better subscriber experience with these free plugins
We’re almost at the end of this post. But before I go, I just wanted to share a quick tip from Memberful.
To provide a more professional experience for your paid subscribers, you’ll want to hide your WordPress admin toolbar from them. Do this easily with the hide admin toolbar plugin.

Memberful has two more plugin recommendations to improve user experience from your subscribers. Learn all about them here.
Lastly, it’s worth noting that Memberful is incompatible with the following themes and page builders: Avia, Uncode, Thrive, Themify, SiteOrigin. Learn more here.
And we’re done! Hooray! 🥳 You’ve now integrated Memberful into your WordPress site and are ready to start accepting payments from new subscribers.
Sign up for more newsletter building and growth tips.

