
This post is part 1 of 4 in the mega guide to setting up a paid newsletter with Memberful. Read part 2, 3, 4.
What is Memberful and why you should use it
Memberful lets customers buy subscriptions to your website with a simple checkout form.
It’s easy to embed, doesn’t require any code, and integrates without fuss to WordPress and multiple email service providers (ESPs).
Hence, they’re what I recommend and will be using for this tutorial.
Create your first subscription plan
Start by heading to memberful.com to sign up.
Once you’re logged into the dashboard, head to Plans and click on the Create a new plan button.
You should see something like this 👇
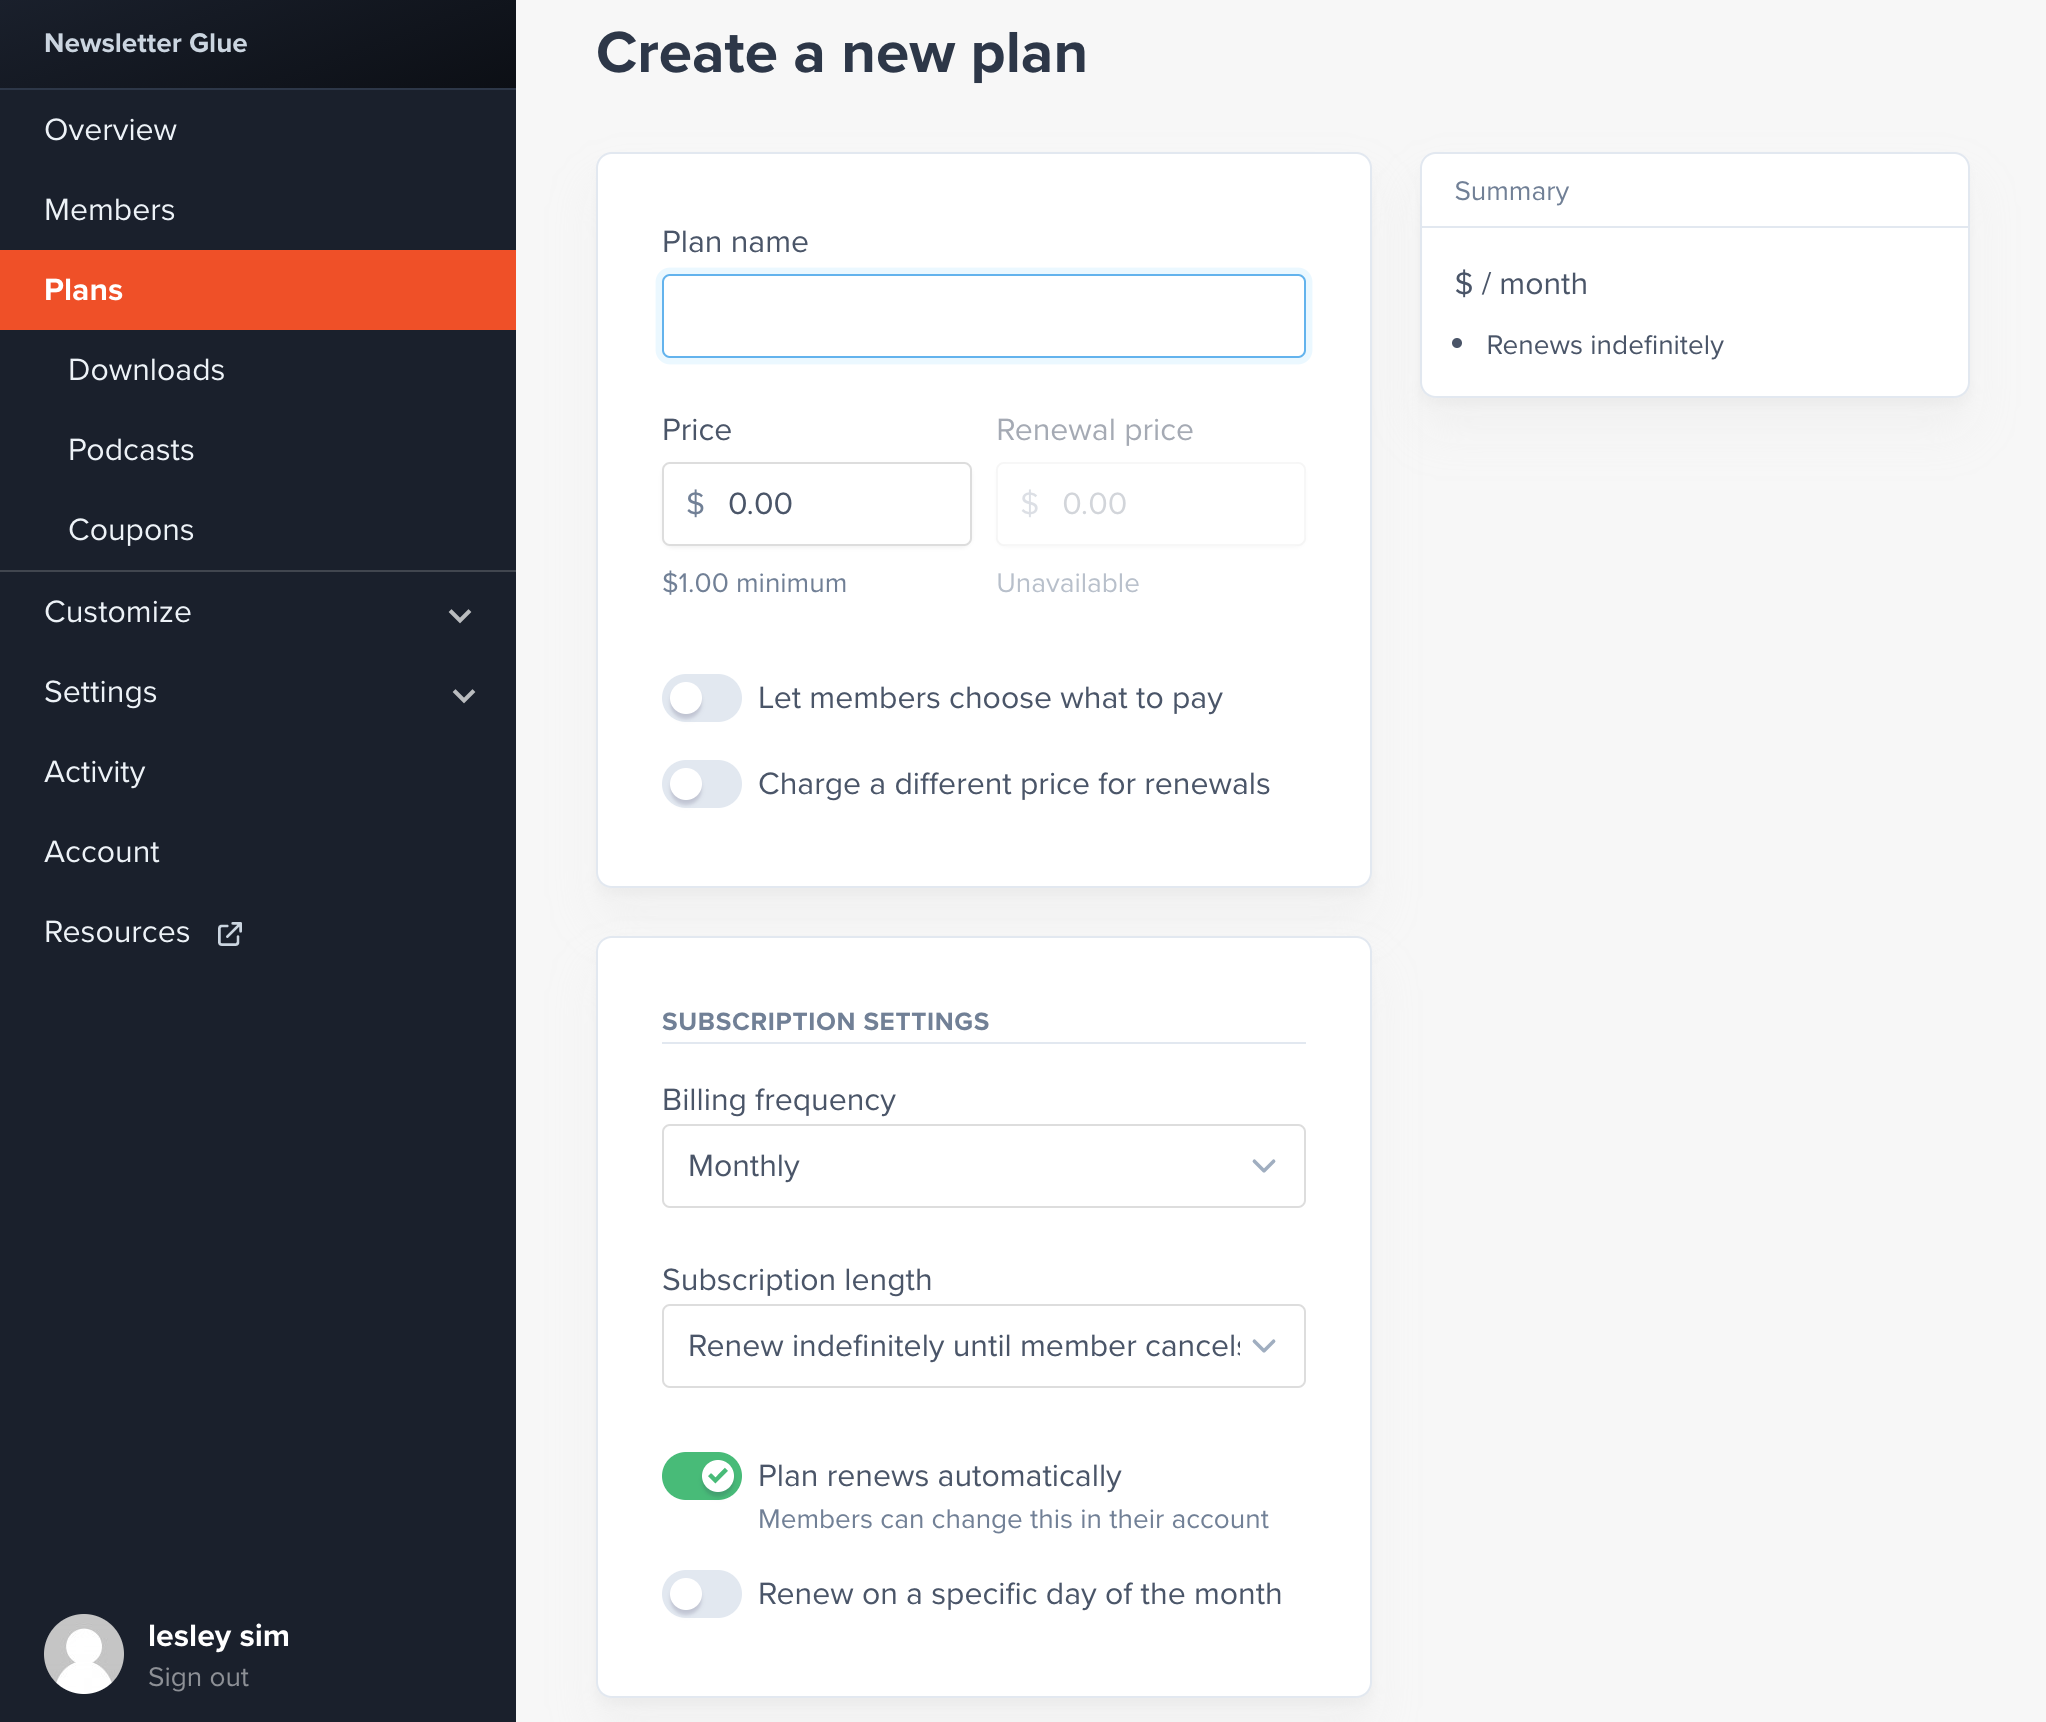
Once here, create your plan.
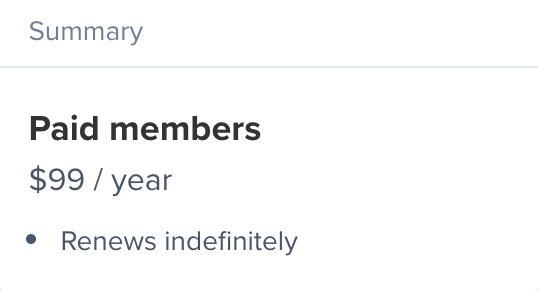
Let’s keep it simple. Our plan is called Paid members, costing $99/year, renews indefinitely.
Memberful has a few other features like free trials and upgrades which you can think about later on. If you’re setting up your first plan, it’s best to start simple, rather than worry too much about the details.
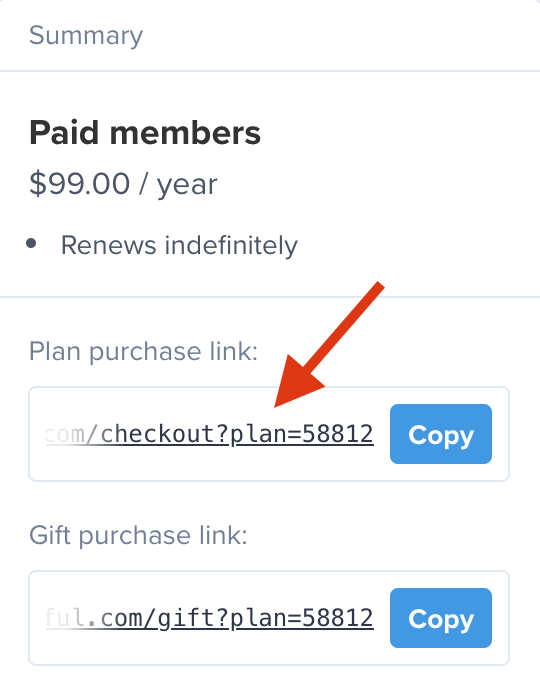
Once you’ve created and saved your plan, the page will update and you’ll see purchase links under the plan summary on the right column.
The plan purchase link is a crucial step for later. So store this away in your memory, and let’s move on!
A quick word about taxes
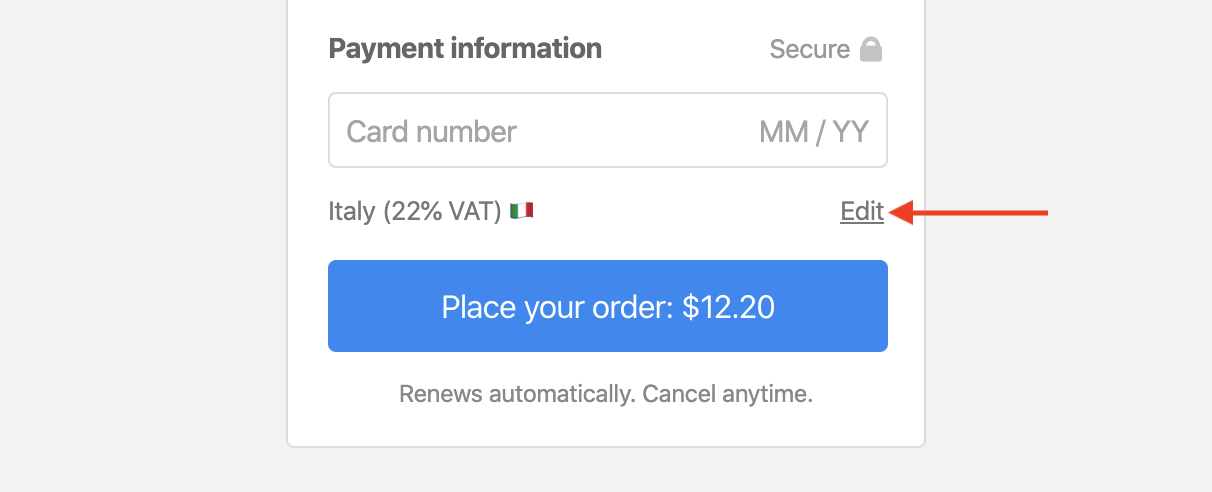
You’ll be happy to learn that Memberful automatically calculates VAT and other taxes for customers at checkout. Also giving them the option to edit the detected country if necessary.
To set up tax collection, head to Settings > Taxes.
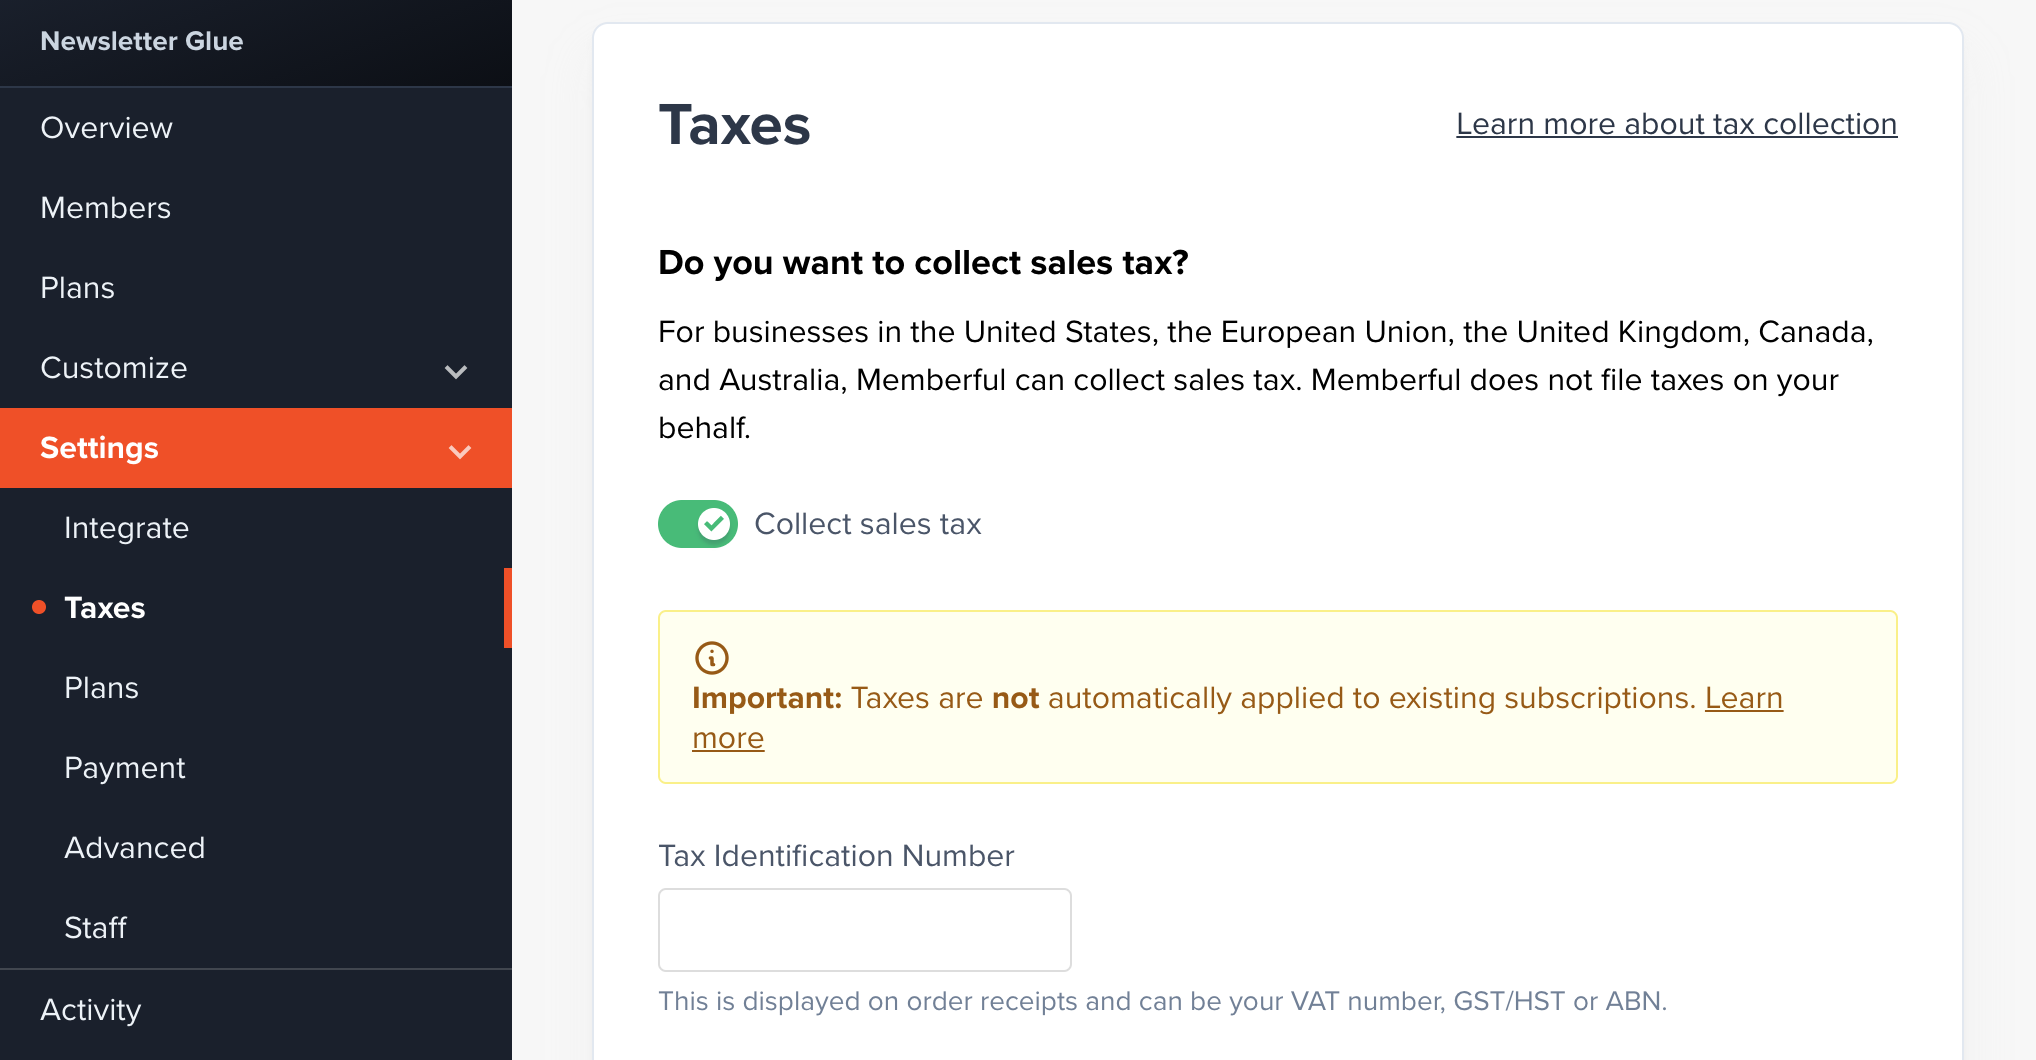
From there, fill out the required details. You can also decide if your plan should be inclusive or exclusive of tax.
Memberful includes the tax breakdown in Stripe, which you can then use for accounting and reporting purposes.
Connect Stripe
So far so good? Now let’s connect Stripe so we can get you paid! 💰
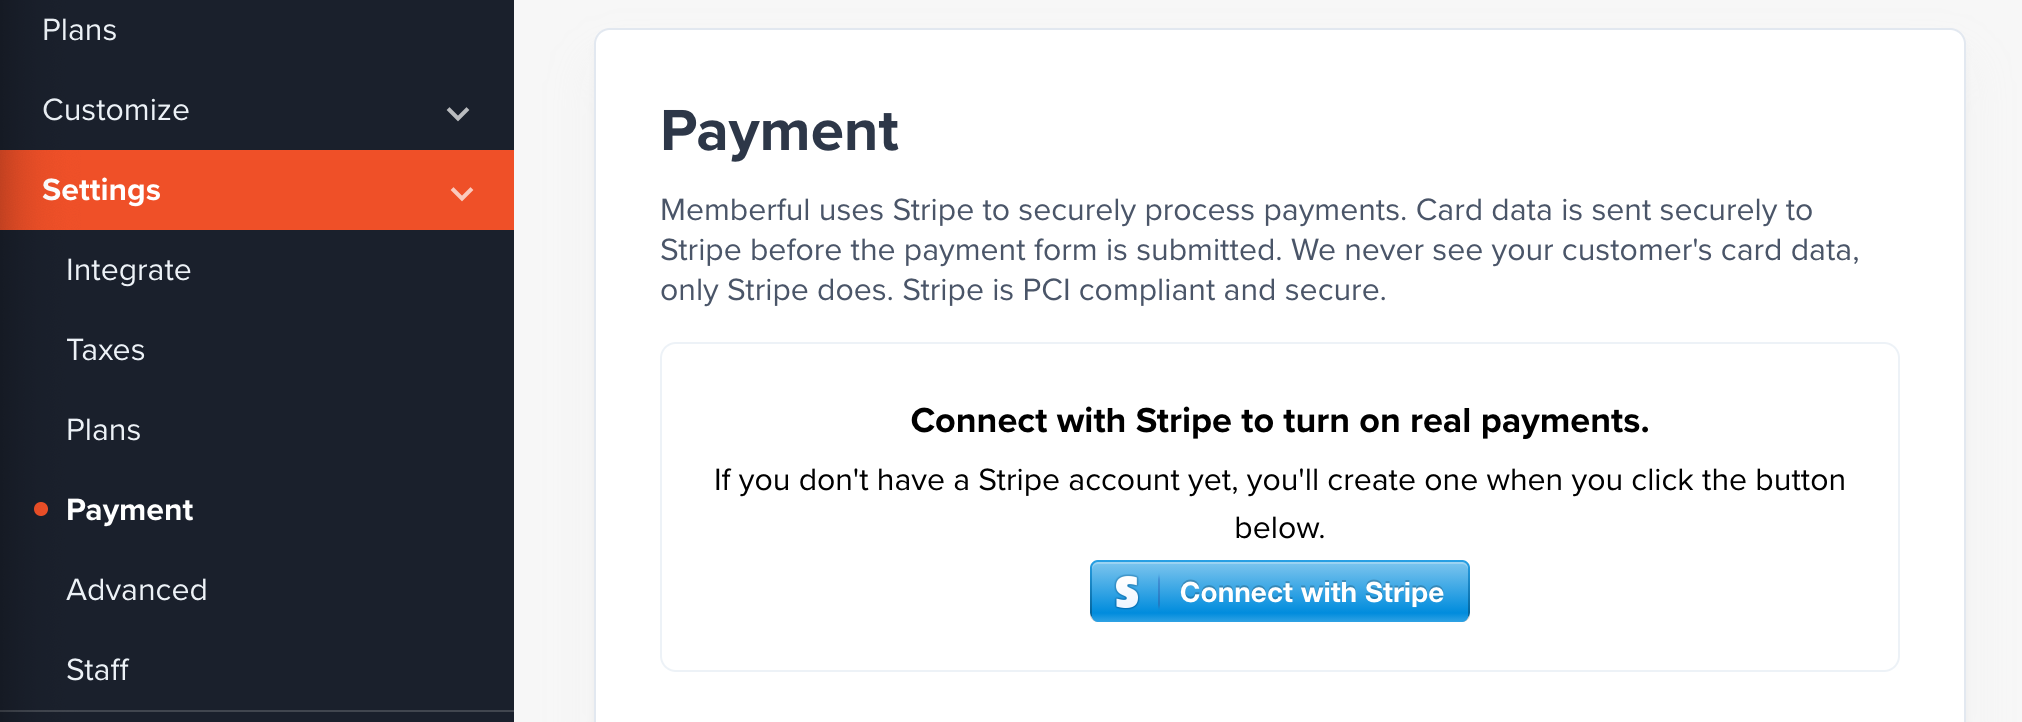
Head to Settings > Payment to connect Stripe.
You’ll be taken off Memberful and into Stripe to connect your account.
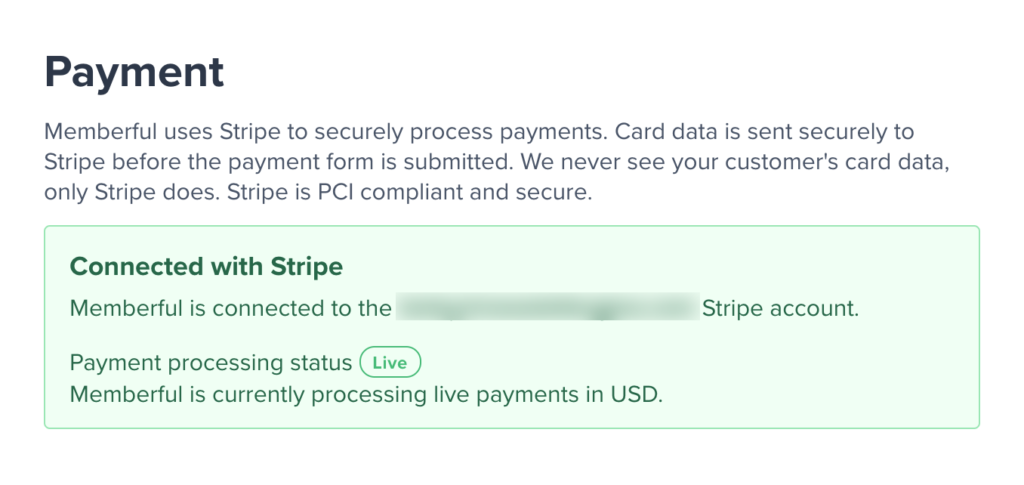
Once you’ve connected everything, you’ll be taken back to Memberful.
This is what you should see once you’re done.
Integrate your email service provider
We’re almost done! Let’s keep going…
We now want to integrate with our email service provider (ESP).
Memberful integrates with 5 different ones. But Newsletter Glue only integrates with Mailchimp, MailerLite and Campaign Monitor right now. So these are what we’ll focus on.
We’ll use Mailchimp for this example, but the process for Campaign Monitor and MailerLite are similar.
Head into Mailchimp and create a new list for your paid plan.
If you haven’t already, head into Mailchimp and create a separate list for your paid members. For simplicity, give it the same name as your paid plan.
Memberful will sync between this Mailchimp list and your Memberful list, so you want to make sure you’ve picked the right one.
Now, back to the Memberful dashboard.
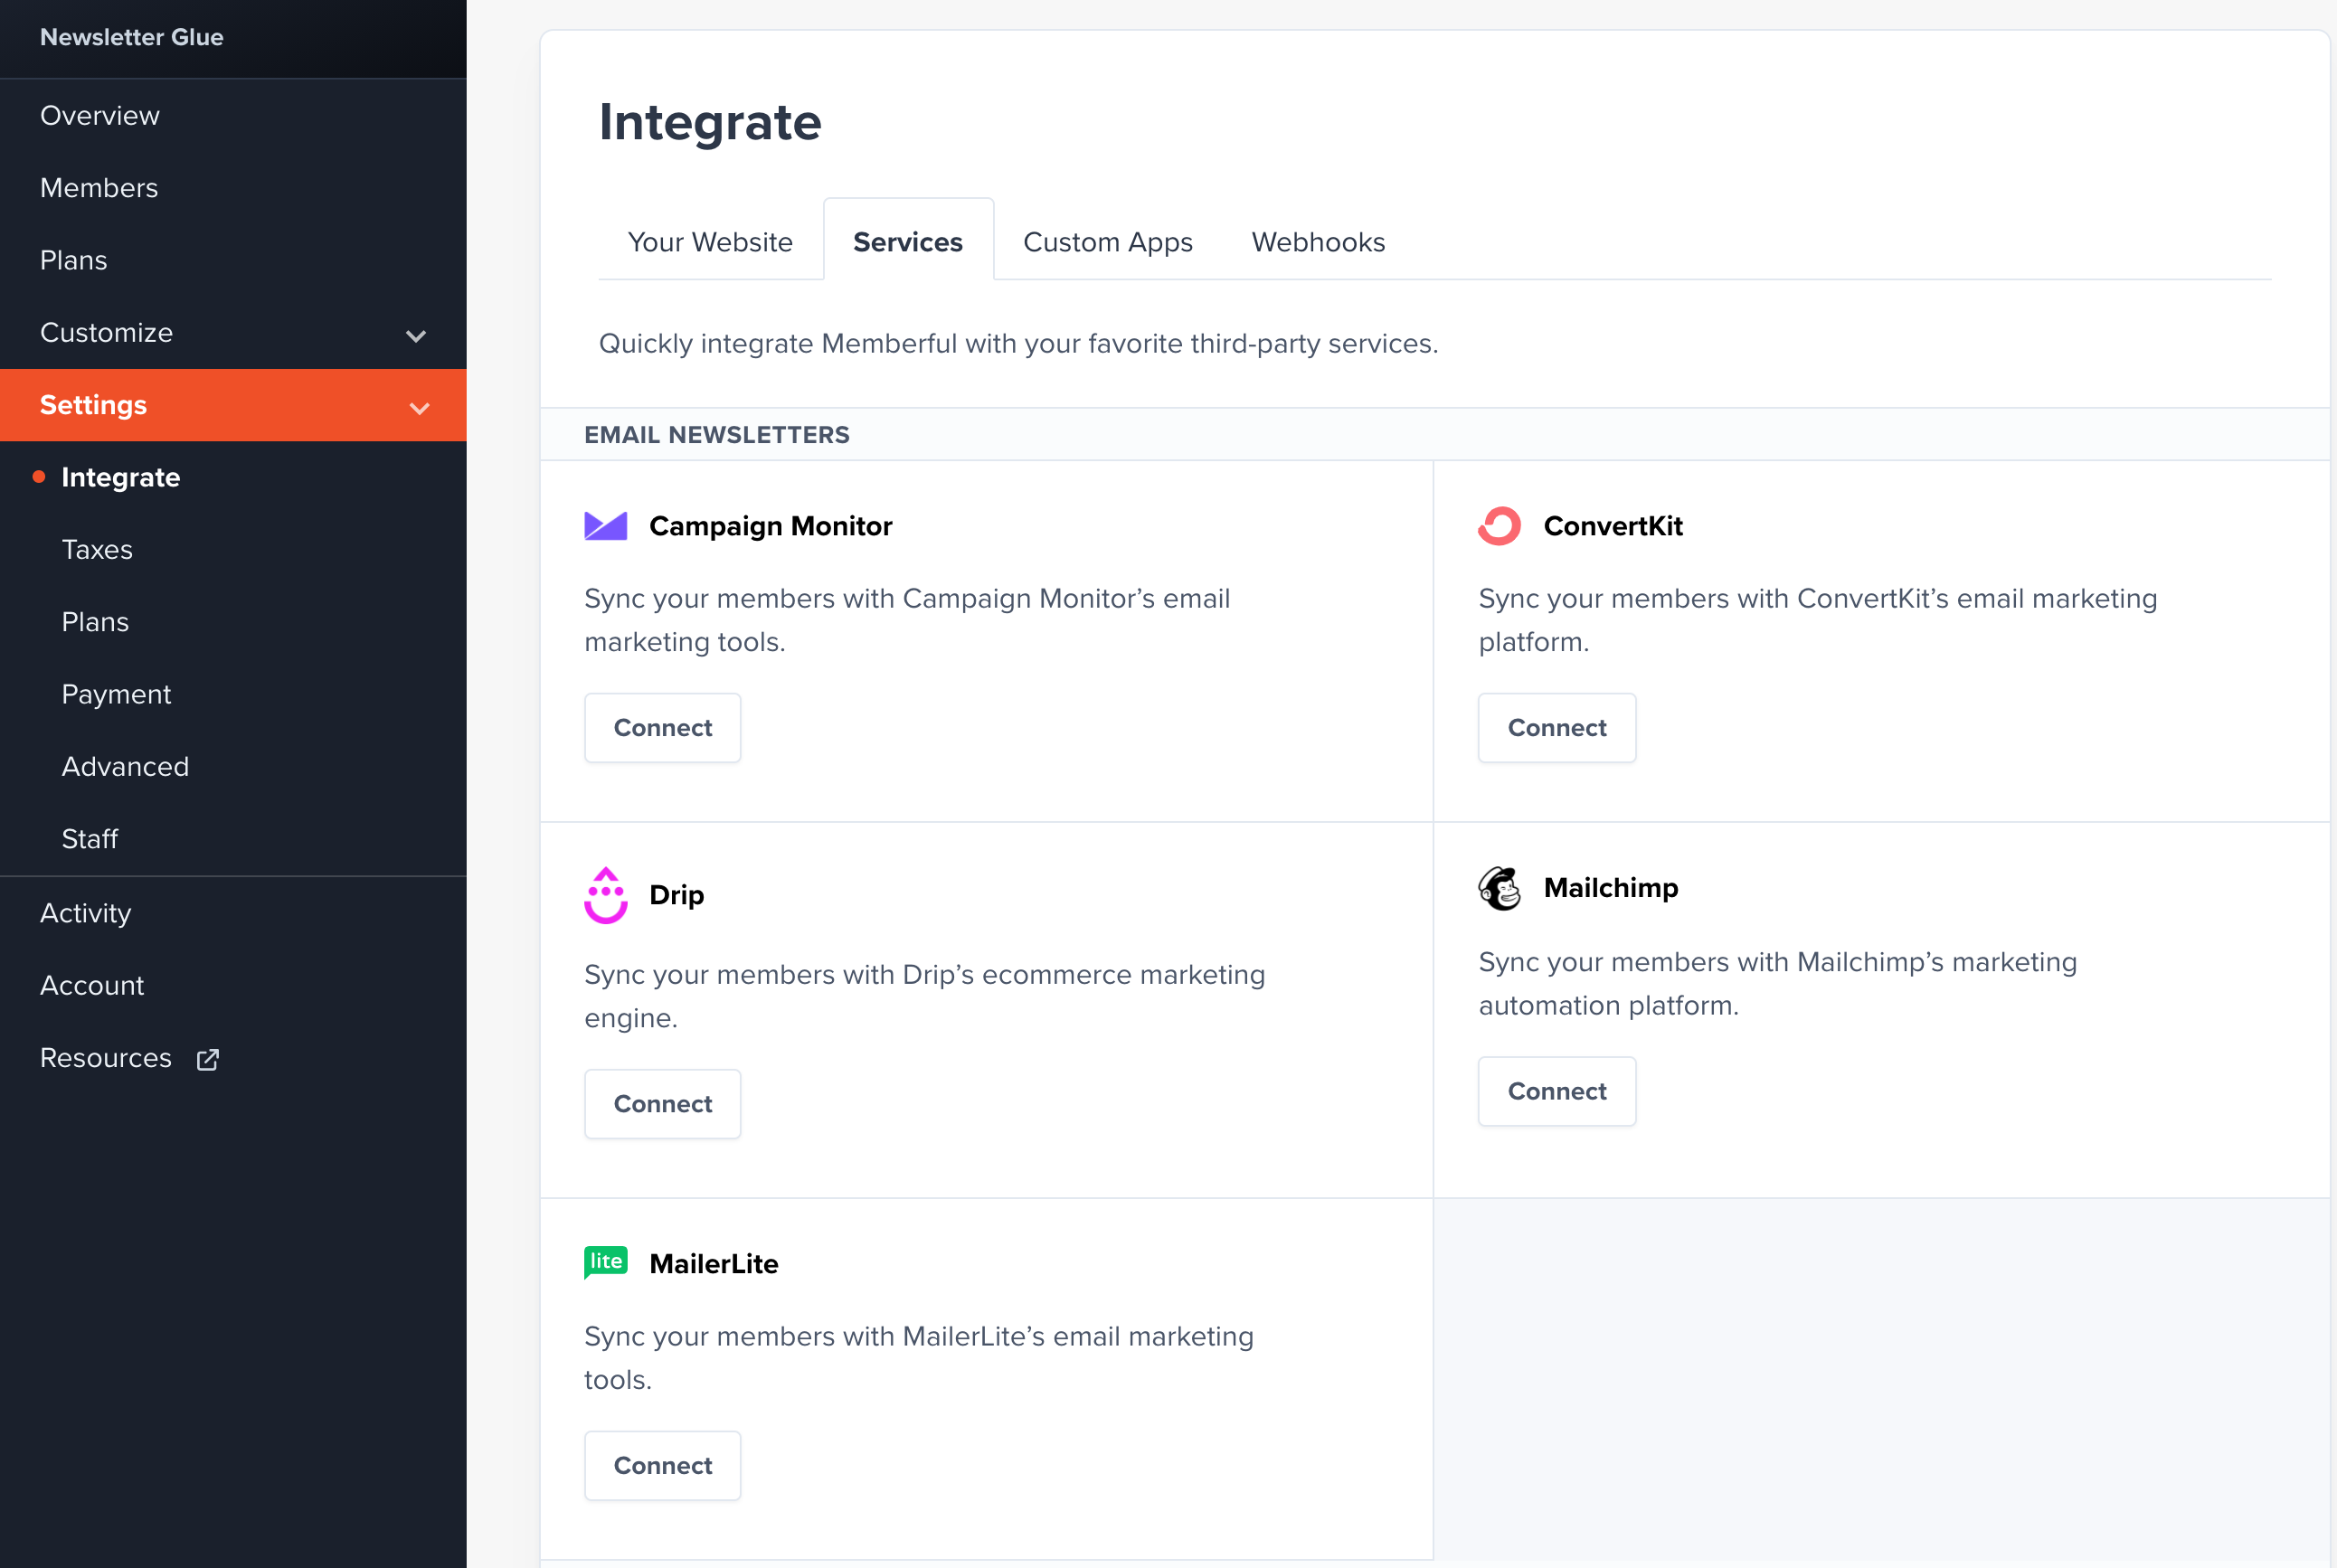
Head to Settings > Integrate > Services. Then click Connect to Mailchimp.
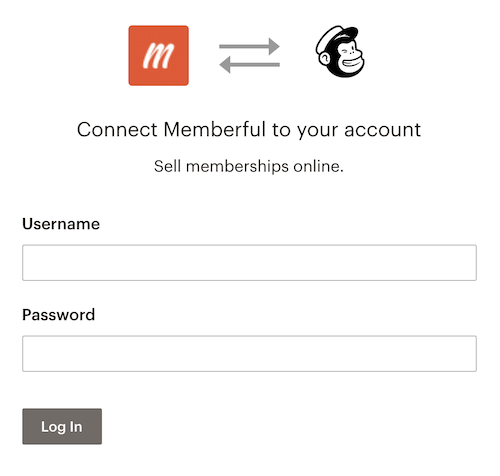
You’ll be taken to Mailchimp where you’ll be asked to sign in and confirm you want to integrate with Memberful.
Then, you’ll be taken back to Memberful where you’ll be asked to choose a list to connect Memberful to.
Remember that list you created just now? It’s time to use it! Select it from the drop down menu.
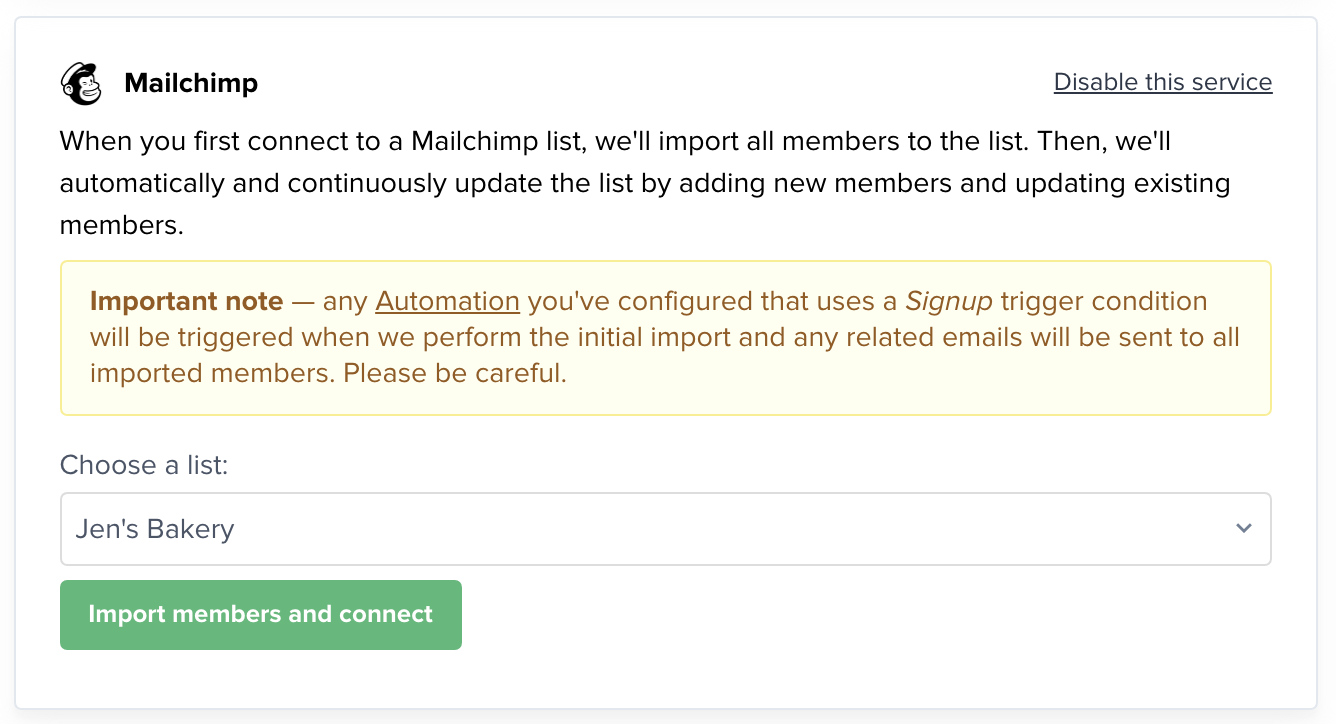
Once you’re connected, Memberful will continuously and automatically update your subscriber list behind the scenes.
When a new member signs up via Memberful, they’ll be automatically added to your Mailchimp list too.
Congratulations! 🎉 You’ve now laid the foundations for your paid newsletter.
Now, we have to connect these foundations to a website so that people can use what you’ve built to pay for your newsletter.
