

This post is part 2 of 3 in the mega guide to setting up a paid newsletter on WordPress with Paid Memberships Pro. Read part 1, 3.
When users buy a newsletter subscription through Paid Memberships Pro, we want their email addresses to be automatically added to the subscriber list on the email service platform. This is only possible if there’s an integration email service provider and Paid Memberships Pro.
We’ll be using Newsletter Glue to create and send newsletters from WordPress. It integrates with a number of email service providers such as Mailchimp, AWeber, MailerLite, Sendy, Sendinblue, and more. On the other hand, Paid Memberships Pro only integrates with Mailchimp and AWeber.
For this tutorial, we’ll use Mailchimp as it integrates with both the plugins.
Integrate Paid Memberships Pro with Mailchimp
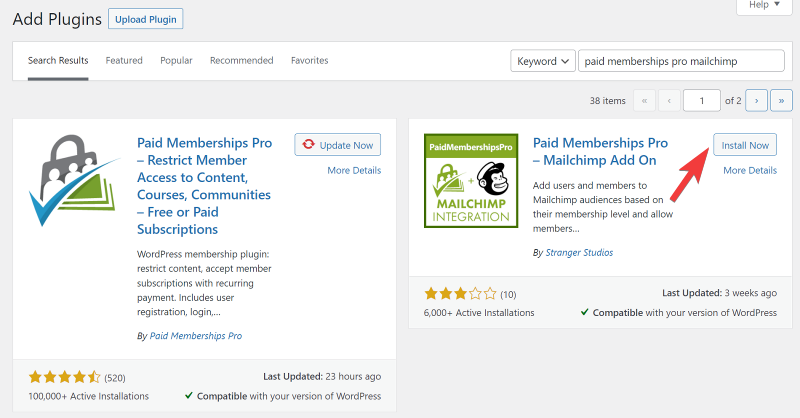
An easy way to integrate Mailchimp with Paid Memberships Pro is by using an add on. You can find the free Paid Memberships Pro – Mailchimp Add On plugin in the WordPress repository. Go to Plugins > Add New and look for it, then install and activate it.
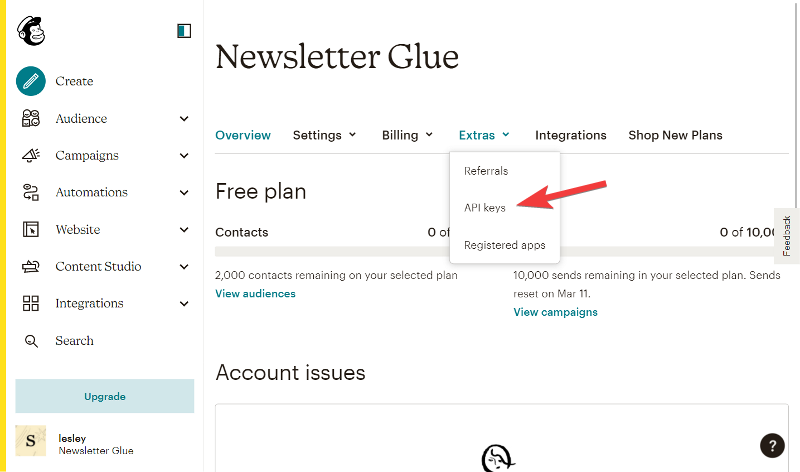
Now, go to the Mailchimp website and log in to your account. Next, go to your Account settings and under Extras, look for the API Keys option. If you don’t already have an API key, you can create one or copy an existing one.
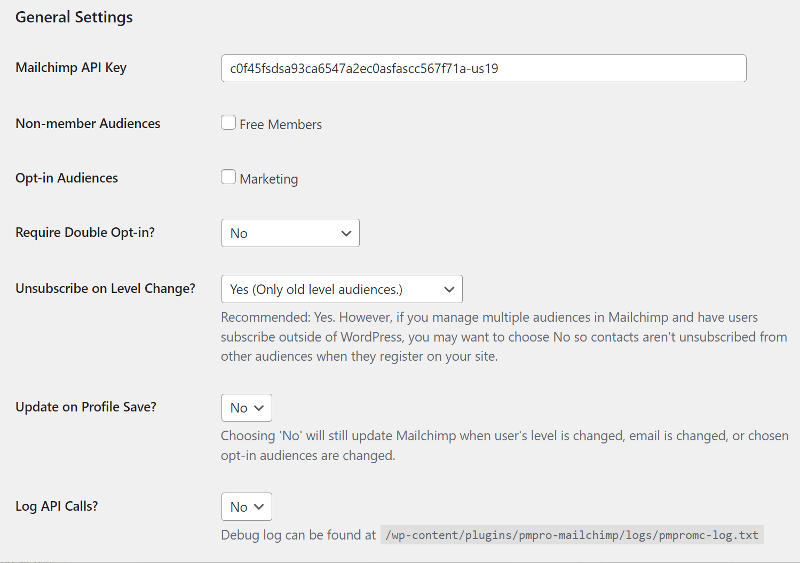
Switch back to your WordPress dashboard and navigate to Settings > PMPro Mailchimp. Paste the API key that you copied into the first box, then click Save Settings at the bottom.
You’ll notice a few changes on the page. First, you’ll see the options to add non-members to a different audience list in your Mailchimp account.
This can come in handy if you want to send these users occasional emails and encourage them to subscribe to a paid membership plan.
Enjoying this post?
Don't miss the next one.
Subscribe to get our latest product updates and blog posts.

If they later subscribe to the membership, they are automatically removed from this list and added to the premium newsletter list.
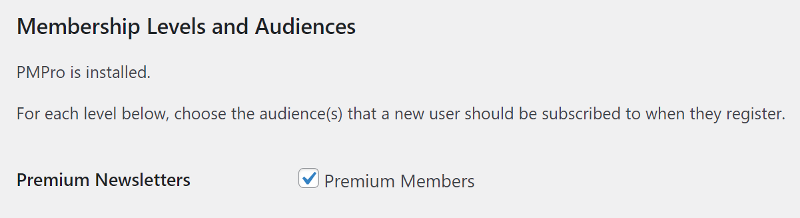
Below, at the bottom of the page, you’ll find a checkbox to add members to a different audience list based on their membership. Since we only have one plan, there will be only one audience list visible.
Our newsletter membership plan is ready and we have successfully integrated Paid Memberships Pro with Mailchimp. But how will users learn about our membership plan and where to buy it from?
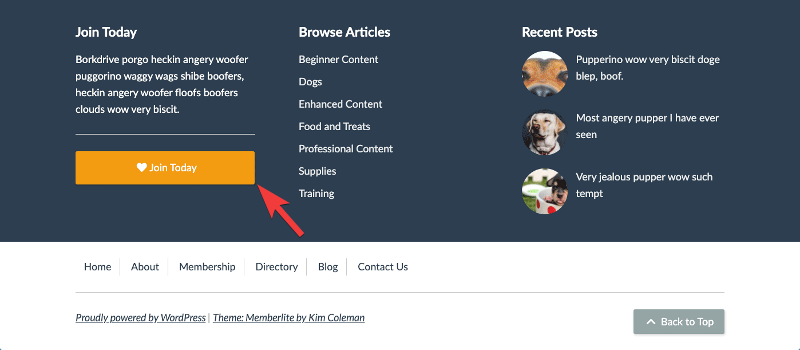
Add buy membership button
Adding a buy membership button is a simple way to increase subscription rates. This button can be added directly to your newsletter form or as part of a widget. When users click the button, they will be taken to a page where they can pay and sign up for your newsletter.
Paid Memberships Pro includes several Gutenberg blocks, one of which is the Membership Checkout Button.
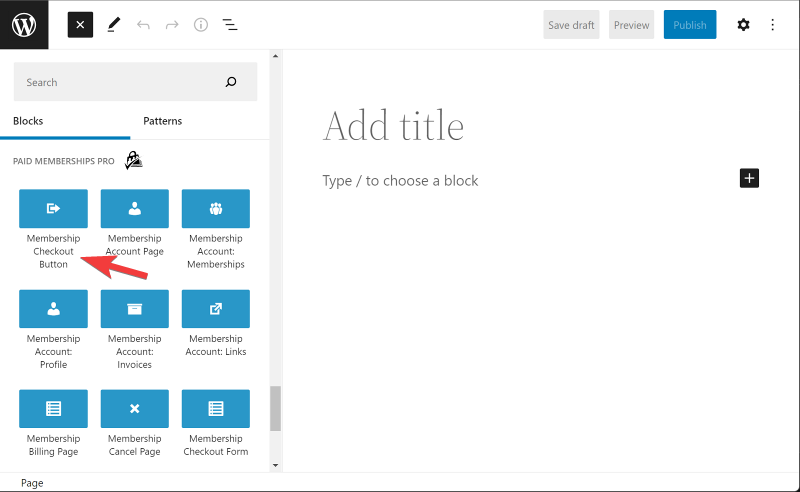
You can use the button block on a page, sidebar, footer, and header of the website and let users easily buy your email newsletter membership plan.
Since we have premium newsletter membership on our website, we want to give access to the content only to the paying subscribers. Let’s see how to do it.
Add new category for paid newsletters
To limit specific posts to members on your email list, you’ll need to add a category and define it in the Paid Memberships Pro settings.
From your WordPress dashboard, navigate to Posts > Categories and add a new category called Newsletter or Premium Newsletter or anything else that makes sense.
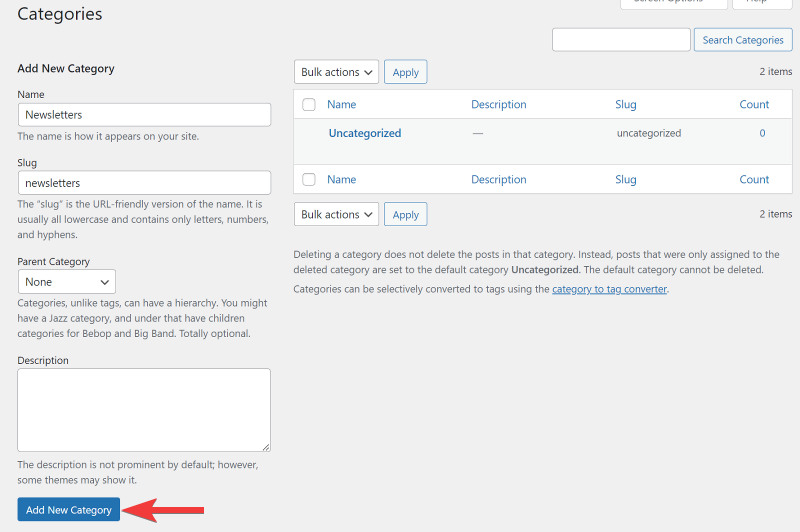
This is important as all future premium content to paying members will be tagged to this category.
Restrict newsletter category to paying subscribers
Now that we’ve created the category, let’s define it in the Paid Memberships Pro settings to limit the content tagged to this category only to the paying members.
Go to Memberships > Settings and open the membership that we created for the newsletter.
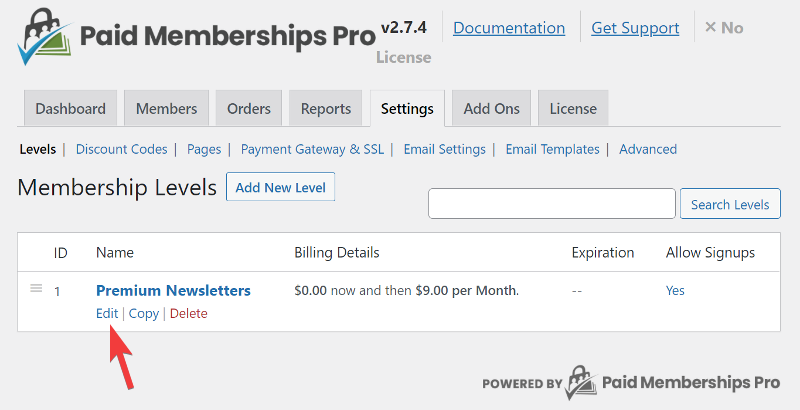
Scroll down to the bottom of the page and under Content Settings, check the box for the newsletter category we created in the previous step.

That’s it. Users with membership access will now only be able to access content from the Newsletter category. This includes access to the newsletter archive.
Sign up for more newsletter building and growth tips.

