
While WordPress can be used to build any kind of website, it’s most commonly used as a blogging platform or as part of an eCommerce site.
When you’re using WordPress for either of these purposes, it’s important to have a way to capture the email address of the visitors so that you can build a connection with them even after they leave the website.
In this article, we’ll look at how to add Mailchimp to WordPress and use it as an email marketing tool.
Why Use Mailchimp for WordPress?
Mailchimp is a free email marketing service that can help you grow your business. It’s used by more than 11 million small businesses and bloggers around the world for everything from creating engaging newsletters to sending automated emails based on subscriber activity.

Unlike many other email marketing services, Mailchimp has a very generous free plan to help everyone get started with email marketing.
Since it integrates seamlessly with WordPress, let’s look at how to create a subscribers form and it to your website.
How to Add MailChimp forms to WordPress
There are three ways to add a Mailchimp signup form to WordPress:
- Using Mailchimp form builder
- Using MC4WP: Mailchimp for WordPress plugin
- Using the Newsletter Glue plugin
Let’s look at all three methods one by one.
Add Mailchimp signup form using the form builder
Mailchimp comes with an in-built form builder that lets you design the form inside the dashboard and add the code to the website.
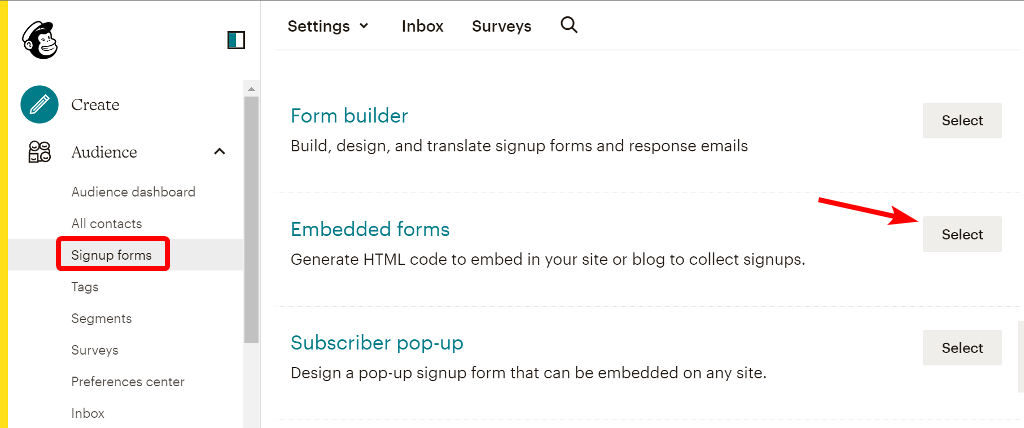
Once into the Mailchimp dashboard, go to Audience > Sign up form and select Embedded forms.
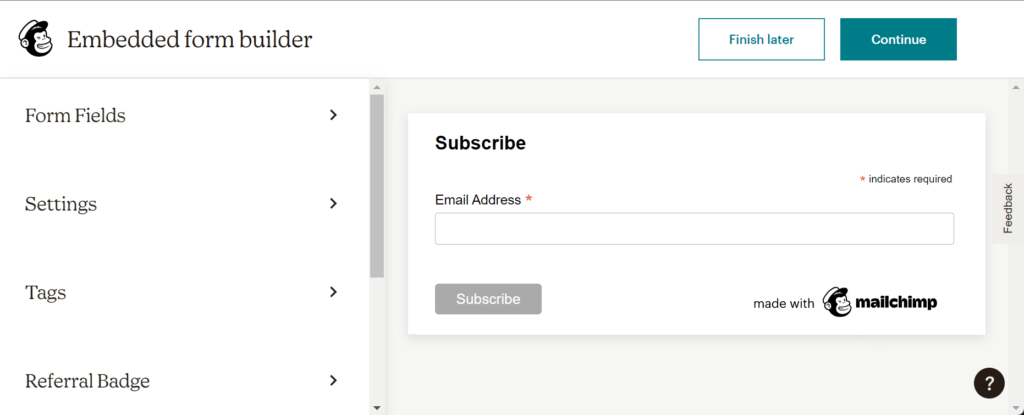
It’ll automatically generate a default form consisting of an email field. You can keep it as it is or include the name field from the sidebar options.
Edit and customize the form and then click on the Continue button on the top right.
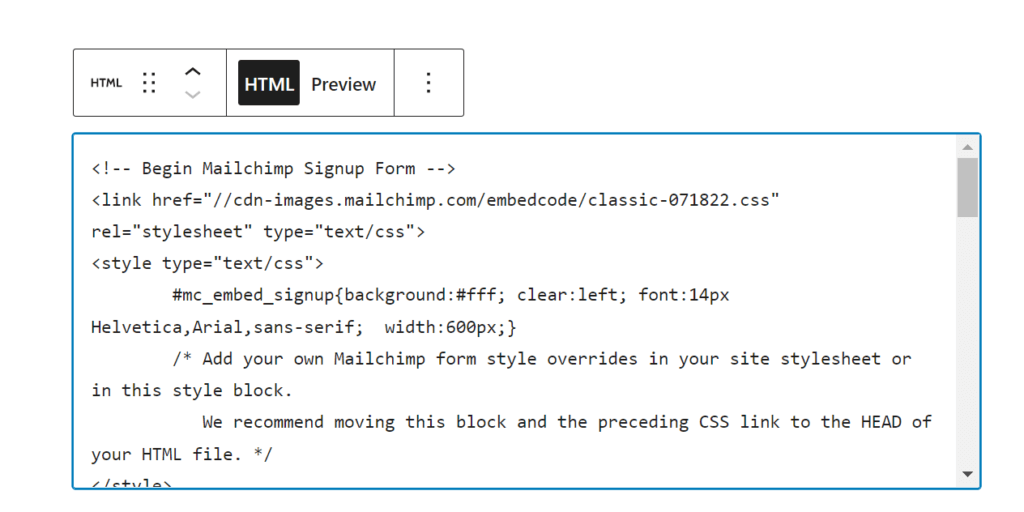
Next, you’ll get a code that you can copy and paste on your website using the HTML block.
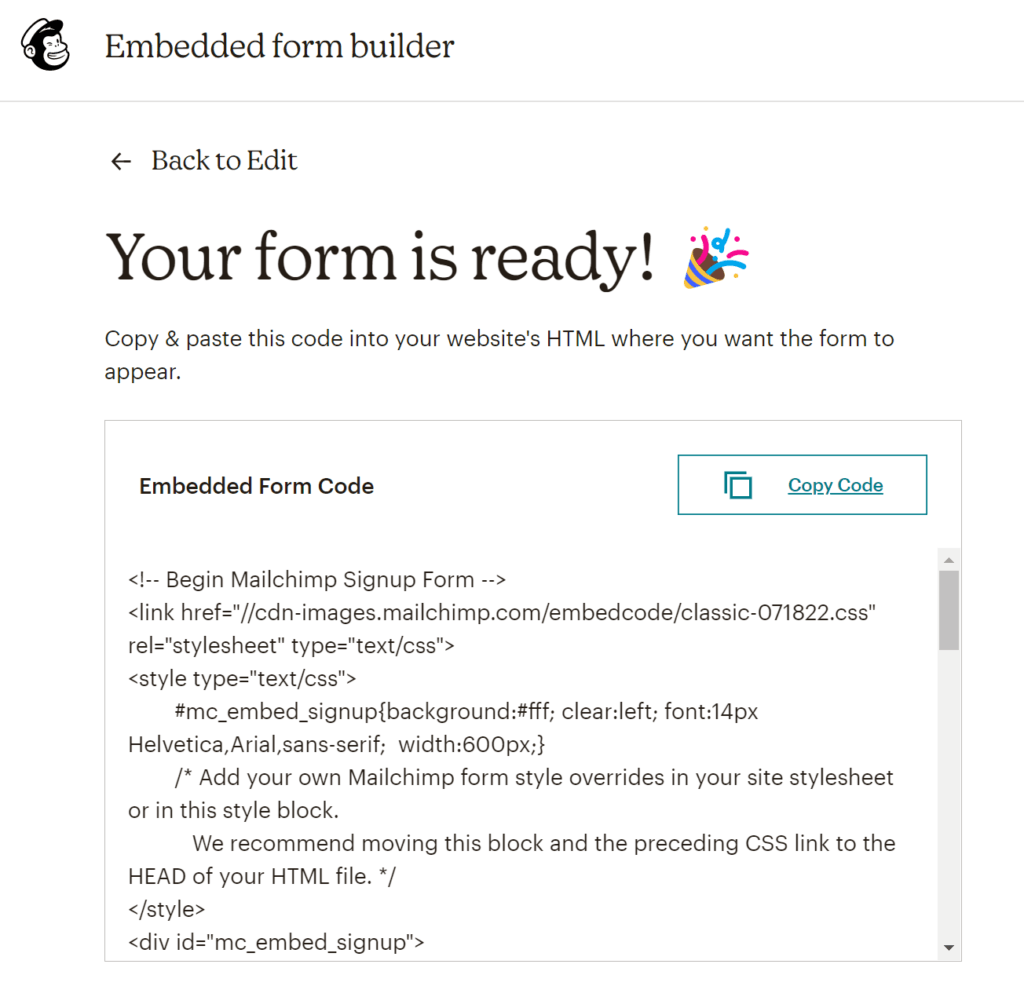
You can paste this code in a sidebar widget, on a page, or anywhere on the website. The code will automatically convert to a fully functional form when you publish the page.
Add Mailchimp signup form using MC4WP: Mailchimp for WordPress
MC4WP: Mailchimp for WordPress is a free plugin available on the WordPress repository. It helps you grow your Mailchimp lists using great looking opt-in forms.
To install the plugin, go to Plugins > Add New in your WordPress dashboard and search for MC4WP: Mailchimp for WordPress in the top-right search box.
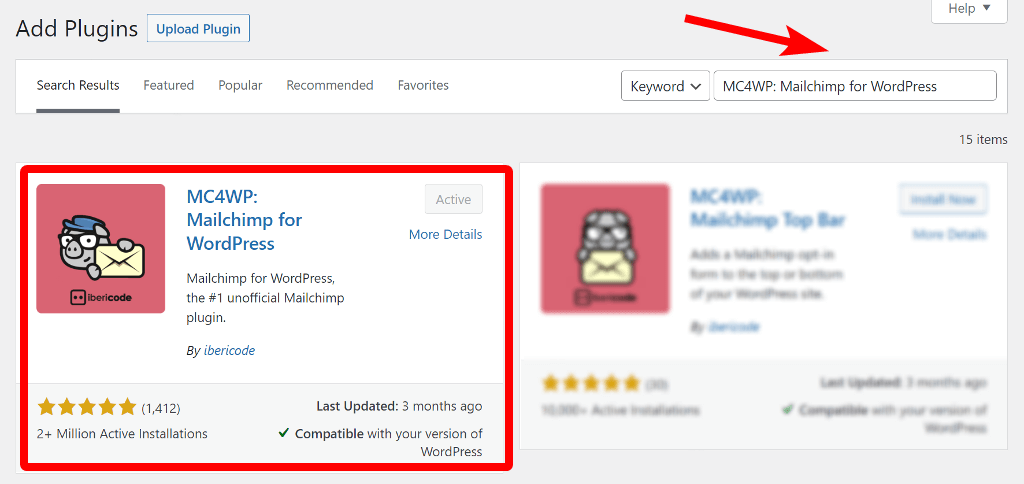
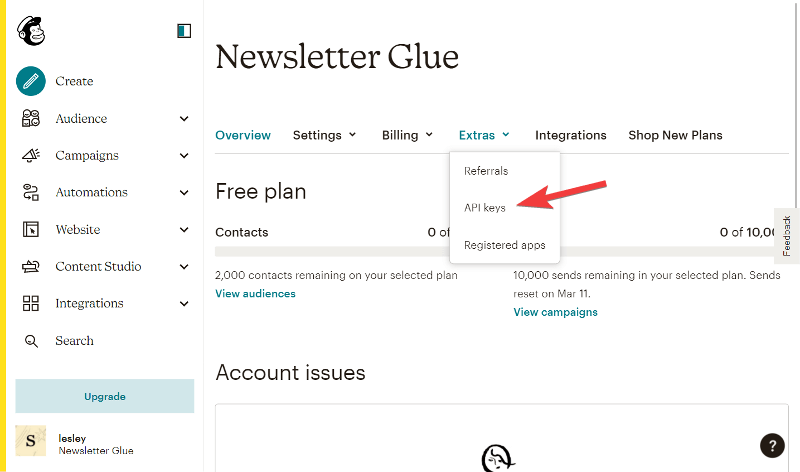
Install and activate the first result and then navigate to MC4WP > Mailchimp. There, you need to input your Mailchimp account API key.
To get the API key, click the link below the box and copy the API or generate a new one.
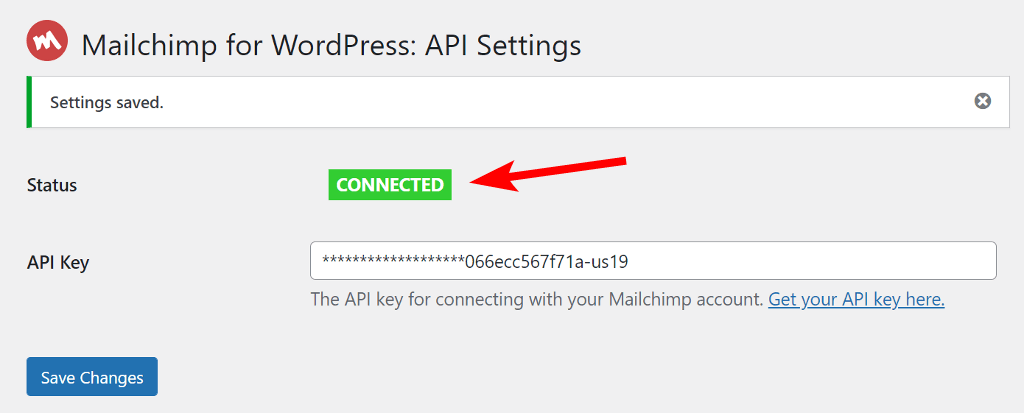
Once you have the API key, paste it in the box on your website and click Save changes. As soon as you do that, it’ll change the status to connected.
Next, go to MC4WP > Forms and click on Add new form. On the new page, give your form a title and select the fields to be added to the form. By default, the form will have the email field and the submit button but you can add more.
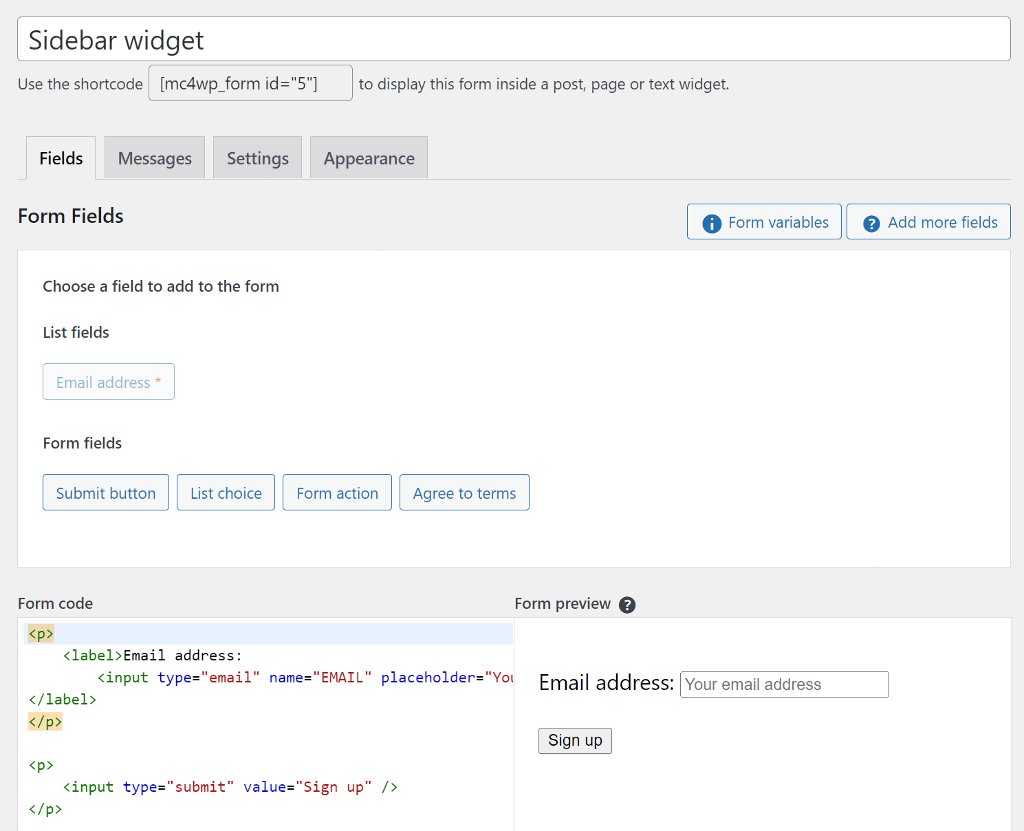
You can check the preview and the HTML code of the form below the settings.
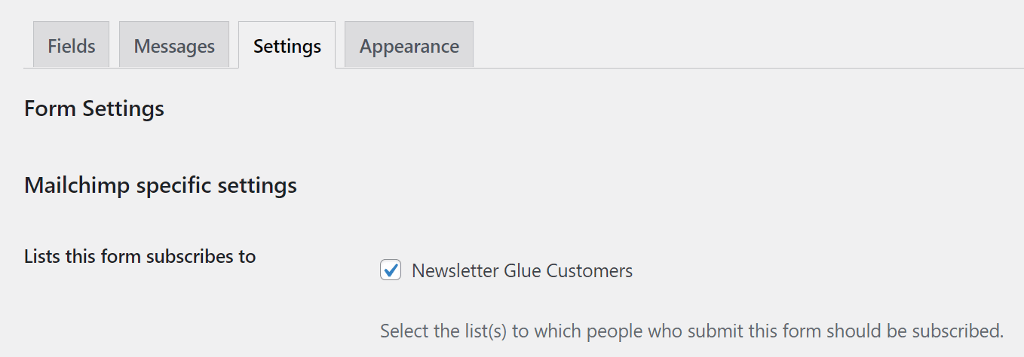
Next, go to the Settings tab and choose the Mailchimp audience to which the subscribers from this form will be added.
Once you are satisfied with the form, copy the shortcode that you see below the title and paste it anywhere on the website where you want to display the form.
Add Mailchimp signup form using Newsletter Glue
Newsletter Glue is more than just an email sign up form plugin. It’s a premium WordPress newsletter plugin that lets you create and design newsletters inside the WordPress Gutenberg editor.
It comes with many custom blocks and subscriber sign up form is one of it.
Since Newsletter Glue is a premium plugin, you’ll need to buy one of its Pro plans from the website to get the plugin file.

Install the Newsletter Glue plugin
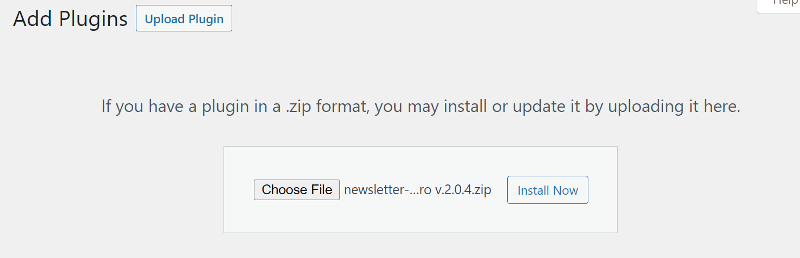
Once you have the plugin file, go to Plugins > Add New and click on the Upload Plugin button at the top. Select the plugin file from your computer to install and activate it.
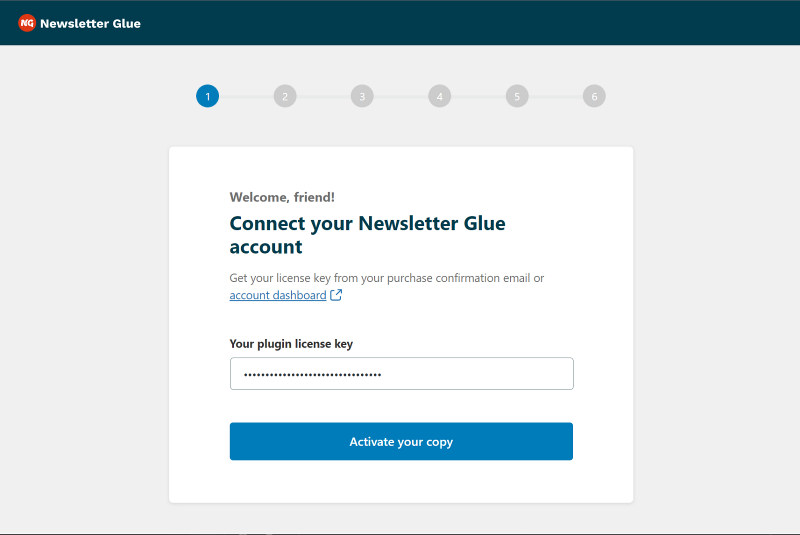
As soon as you activate the plugin, it’ll launch the onboarding wizard, where you can integrate Mailchimp and configure other settings.
Integrate MailerLite and Newsletter Glue
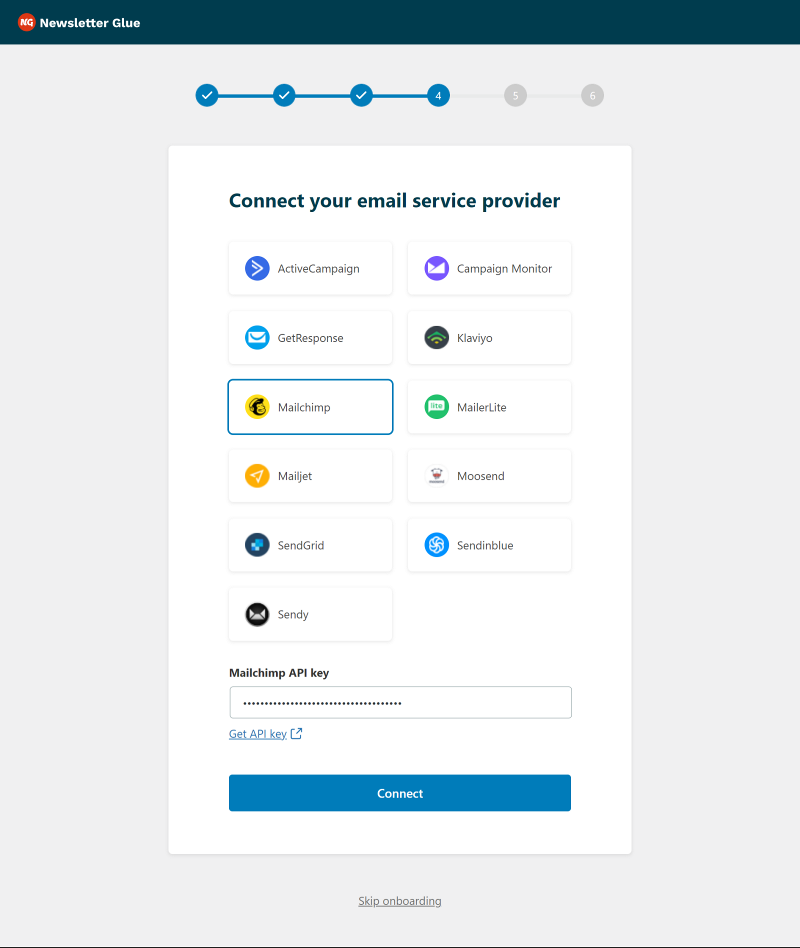
The first step in the onboarding wizard is to validate your license key. Once you do that, you’ll be presented with the different ESPs that integrate with Newsletter Glue.
Since we want to integrate Mailchimp, choose it from the list and paste the API key we obtained in the previous step into the box below.
In the next step, select your Mailchimp audience list and segment and then specify a From name and From email address for the newsletters that will be sent using Newsletter Glue.
To finish the onboarding wizard, personalize your newsletter patterns and add your branding.
Add Newsletter Glue subscriber sign up form
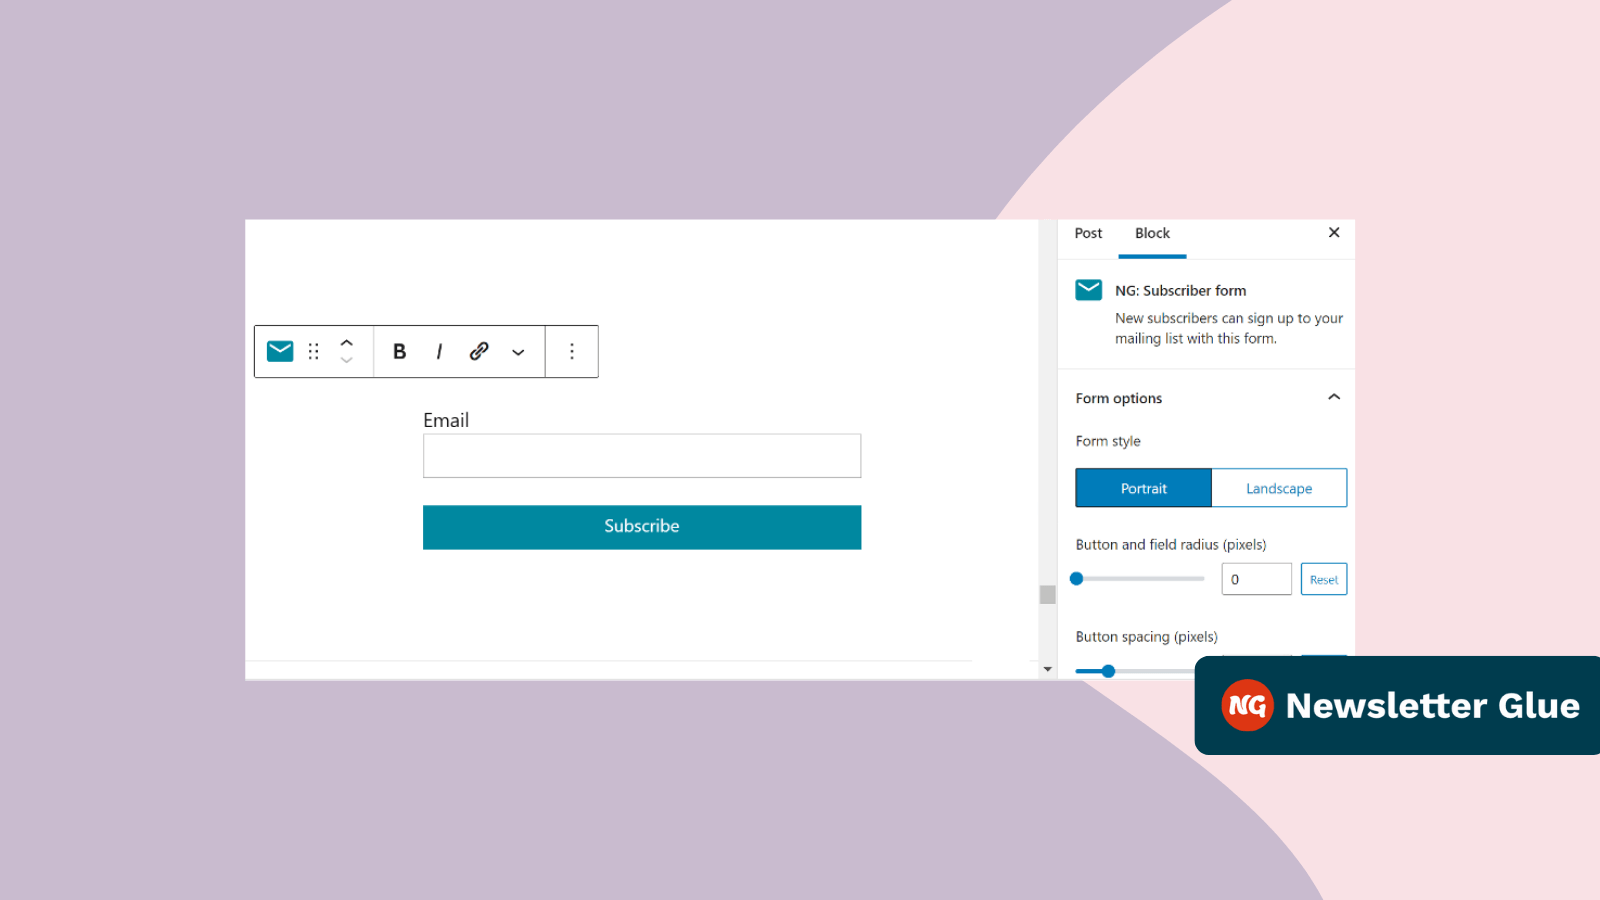
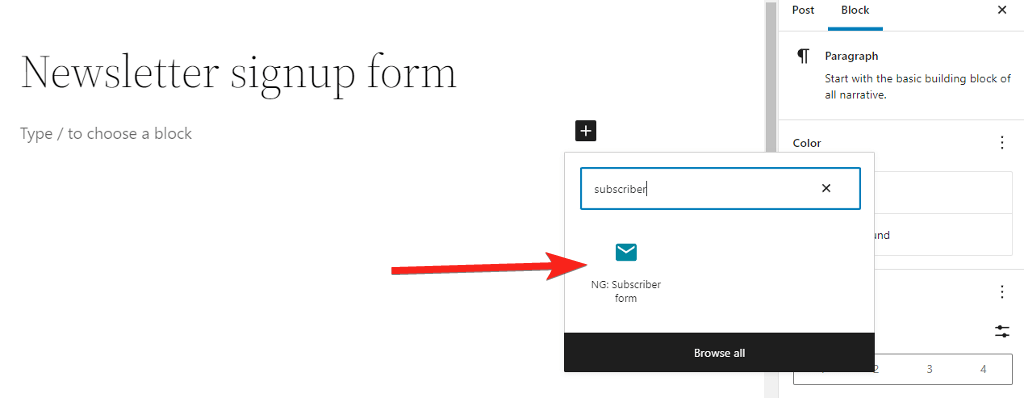
Newsletter Glue comes with custom Gutenberg blocks including the subscriber sign up form. Open or create a new page where you want to add the form and add the “Subscriber form” block to the page.
It’ll automatically add a simple subscriber form with the email field and the submit button. You can find options to customize it on the sidebar.
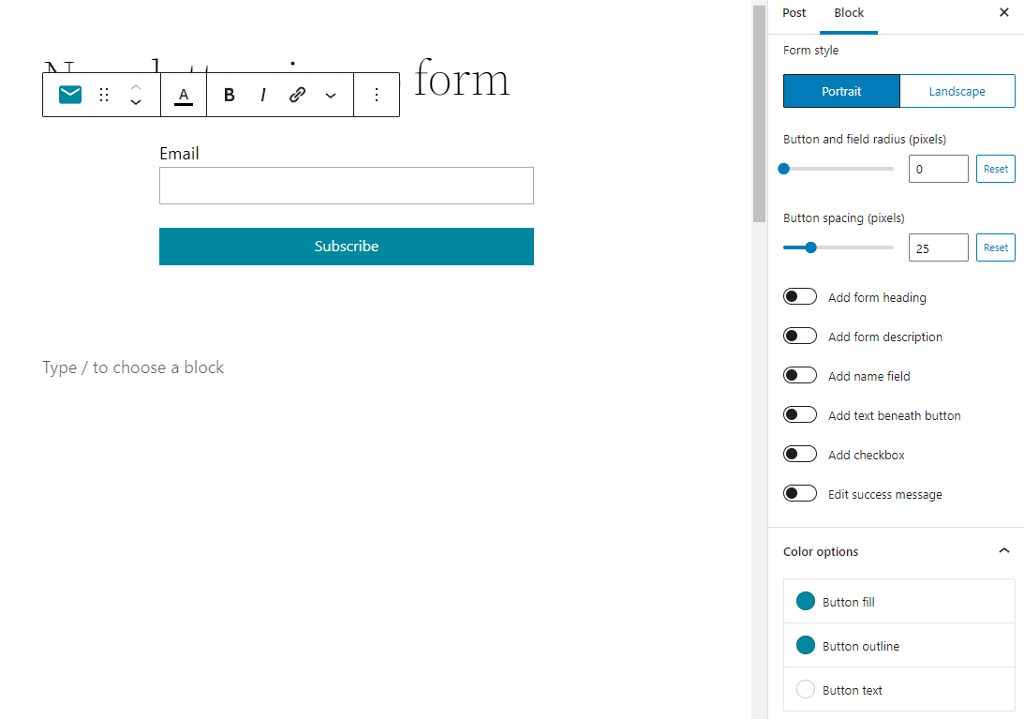
You can add a name field, a form description, a heading, or change the color of the button.
If your sidebar supports Gutenberg editor, you can add the same signup form and customize it for the sidebar widget.
Isn’t it easy to add Mailchimp to WordPress using the Newsletter Glue plugin?
Wait! There’s more that the Newsletter Glue can do. It’s a newsletter plugin for WordPress. Let’s look at how to use it to send Mailchimp emails from the WordPress editor.
Send Mailchimp newsletters from WordPress editor using the Newsletter Glue
Newsletter Glue is a WordPress newsletter plugin that allows you to create and send newsletters using the Gutenberg editor.
Apart from Mailchimp, it includes 11 more ESP integrations, allowing you to choose what works best for you.
As we’ve already set up and integrated Mailchimp with the plugin, navigate to Newsletters > Add New Newsletter and create a newsletter using the WordPress block editor.
Newsletter Glue comes with custom blocks that are helpful in designing and controlling how content shows up in your newsletter.
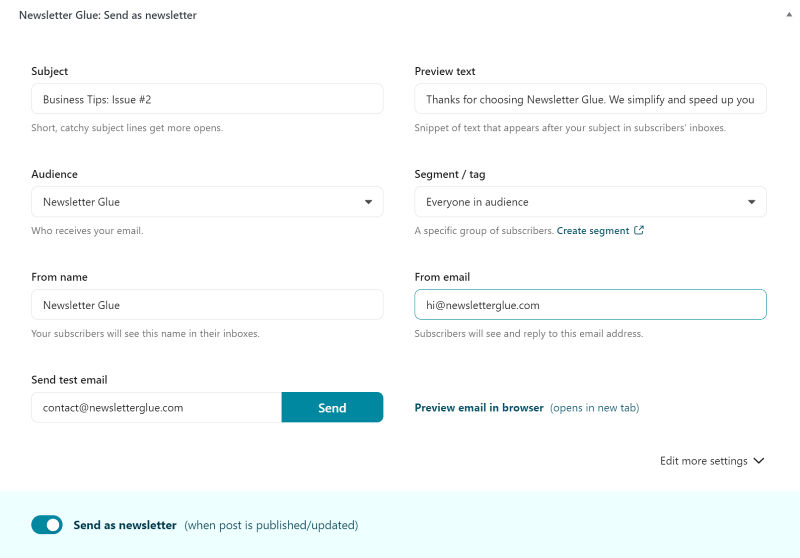
When your newsletter is ready, scroll down to the Newsletter Glue metabox. Most of the fields in the settings panel will be pre-populated based on the information you entered in the onboarding wizard. You only need to add a subject and a preview text.
Once its ready, you can preview or send a test email to ensure it’s perfect and exactly how you want it.

After you’re satisfied with everything, toggle the Send as newsletter button and hit the Publish button at the top.

At the bottom of your post, you should see a notification that says, ‘Your newsletter is on its way!’
Takeaway
Mailchimp is a great service to use with WordPress. It comes with many features that’ll help you grow your business. Integrating it with WordPress will allow you to collect visitor data that you can use to connect with them and convert them into leads and loyal followers.
Newsletter Glue is the perfect plugin to complement Mailchimp because it not only allows you to create an email sign up form, but it also allows you to send newsletters directly from the WordPress editor.
