Are you looking to collect subscribers from your WordPress website to your MailerLite account?
MailerLite is a popular email marketing service among beginners as it makes creating email campaigns simple and offers a generous free plan.
In this article, I’ll walk you through adding the MailerLite email signup form to your WordPress site in a few easy steps.
Let’s get started.
How to add MailerLite to WordPress and collect subscribers
There are two ways you can integrate MailerLite with WordPress. The first method is to use the official MailerLite plugin, which only allows you to create different email signup forms.
The second method is to use the Newsletter Glue plugin, which not only allows you to create email signup forms but also lets you send newsletters directly from the WordPress dashboard.
In this tutorial, we’ll look at both methods and let you decide which one is best for your use case.
1. Add MailerLite to WordPress using the official plugin

MailerLite has an official plugin on the WordPress repository that lets you integrate MailerLite to WordPress using API keys.
You can use it to create different signup forms and place them in the sidebar with a widget or anywhere on the website with a shortcode.
Let’s look at the step-by-step process of how to add MailerLite to WordPress using the official plugin.
Install and setup the plugin
Assuming that you already have a MailerLite account and a WordPress website, the first step is to install the MailerLite plugin on your WordPress website. Go to Plugins > Add New from your website dashboard and search for MailerLite.
Install the first result that you see and then activate the plugin.
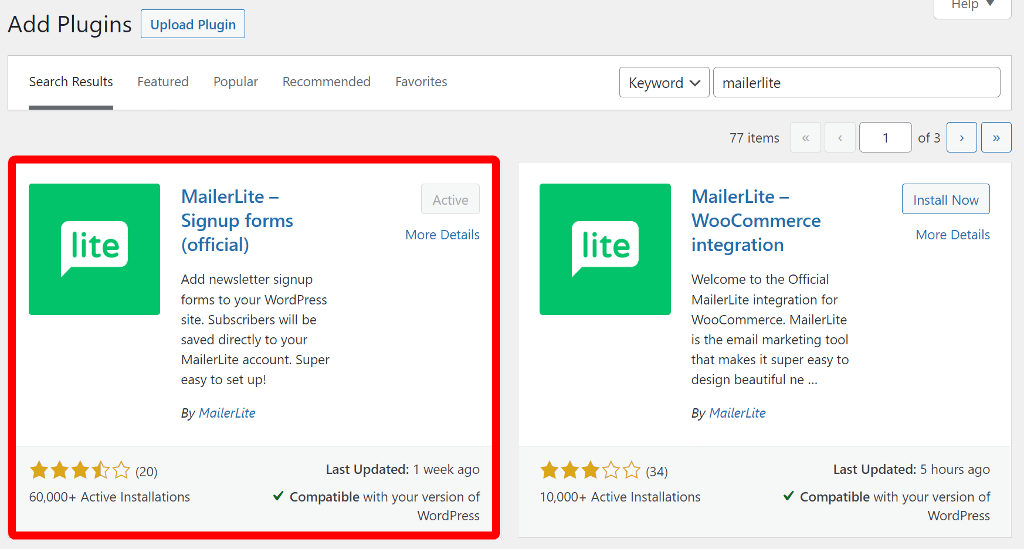
This will add a new item to your WordPress navigation menu. Go to MailerLite > Settings and there, you’ll need to add the API key from your account.
Generate API key token
If you’re already logged into your MailerLite account, go to this link and click the Use button under MailerLite API.
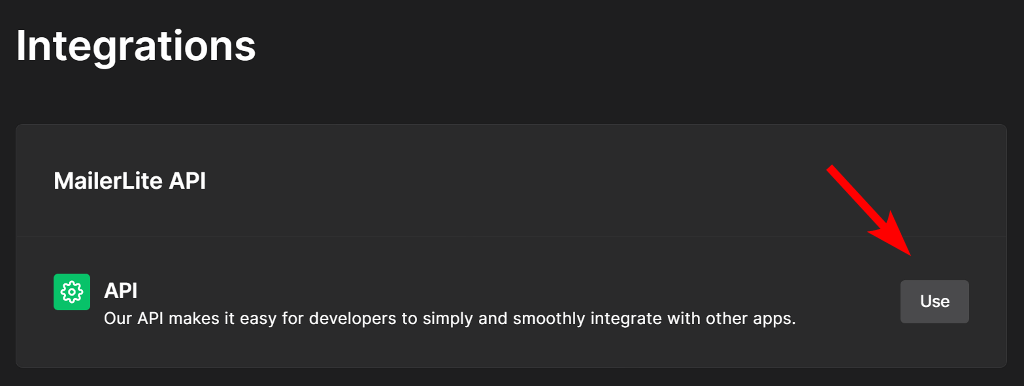
On the new page, click Generate new token and in the popup that appears, enter a name you’ll recognize later. Then, to obtain the API code, click on the Create token button.
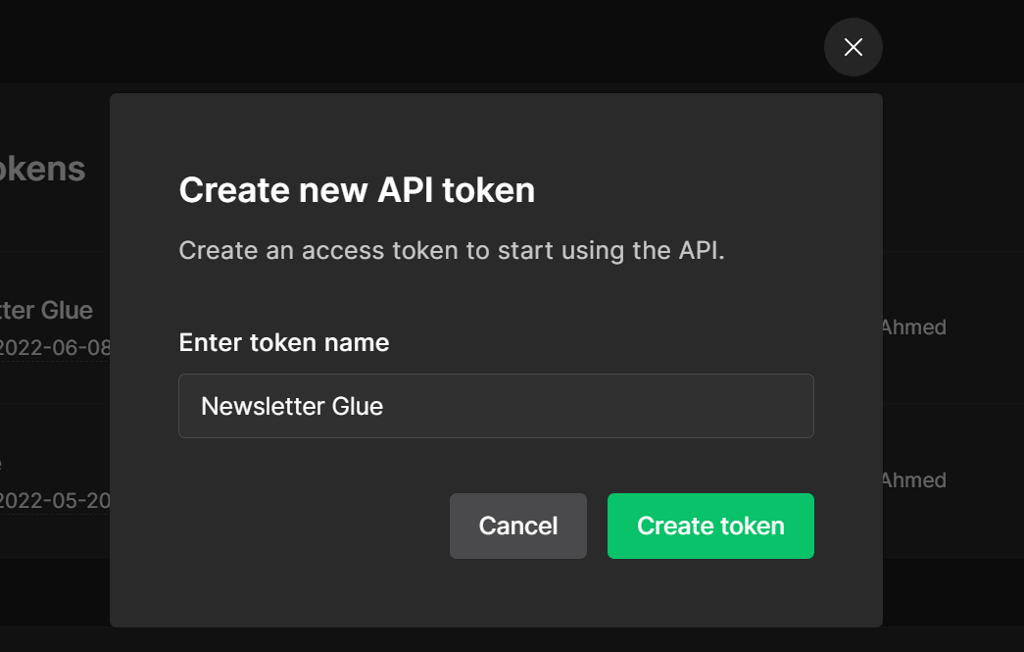
MailerLite will generate a unique code that you must copy and store somewhere safe because it’ll only be displayed once. If it’s lost, you’ll have to generate a new one again.
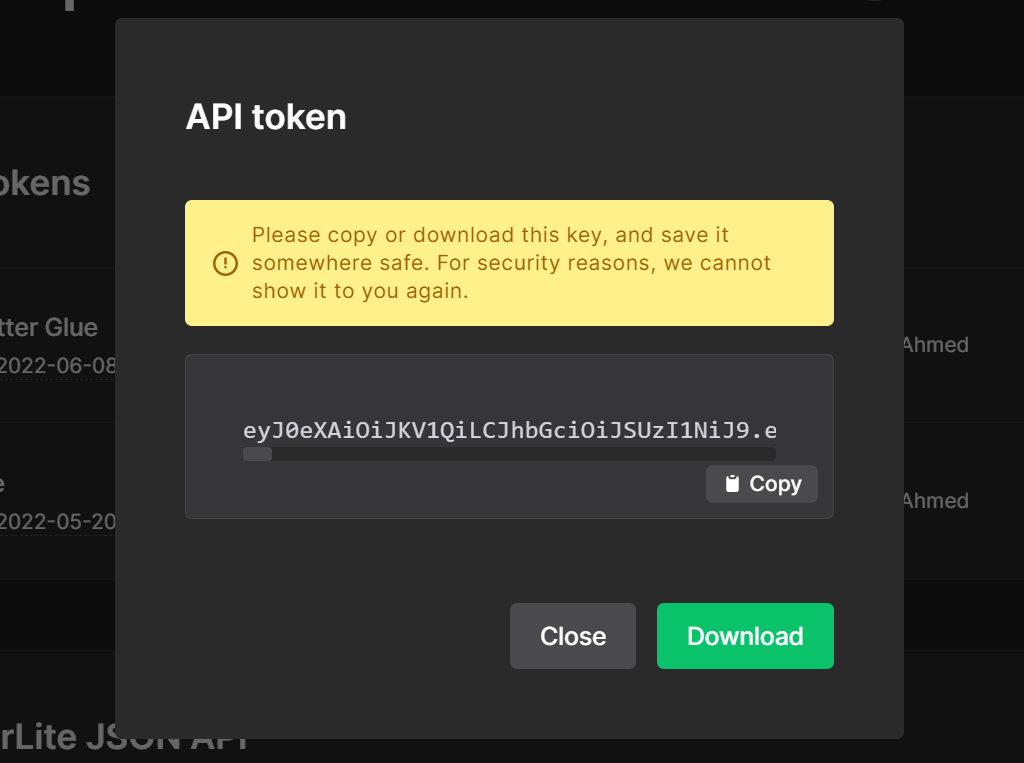
Switch back to your website and on the MailerLite settings page, paste the API key you copied and click the Save this key button.

This will integrate MailerLite with WordPress, allowing you to create signup forms for your website.
Add email signup forms using the MailerLite plugin
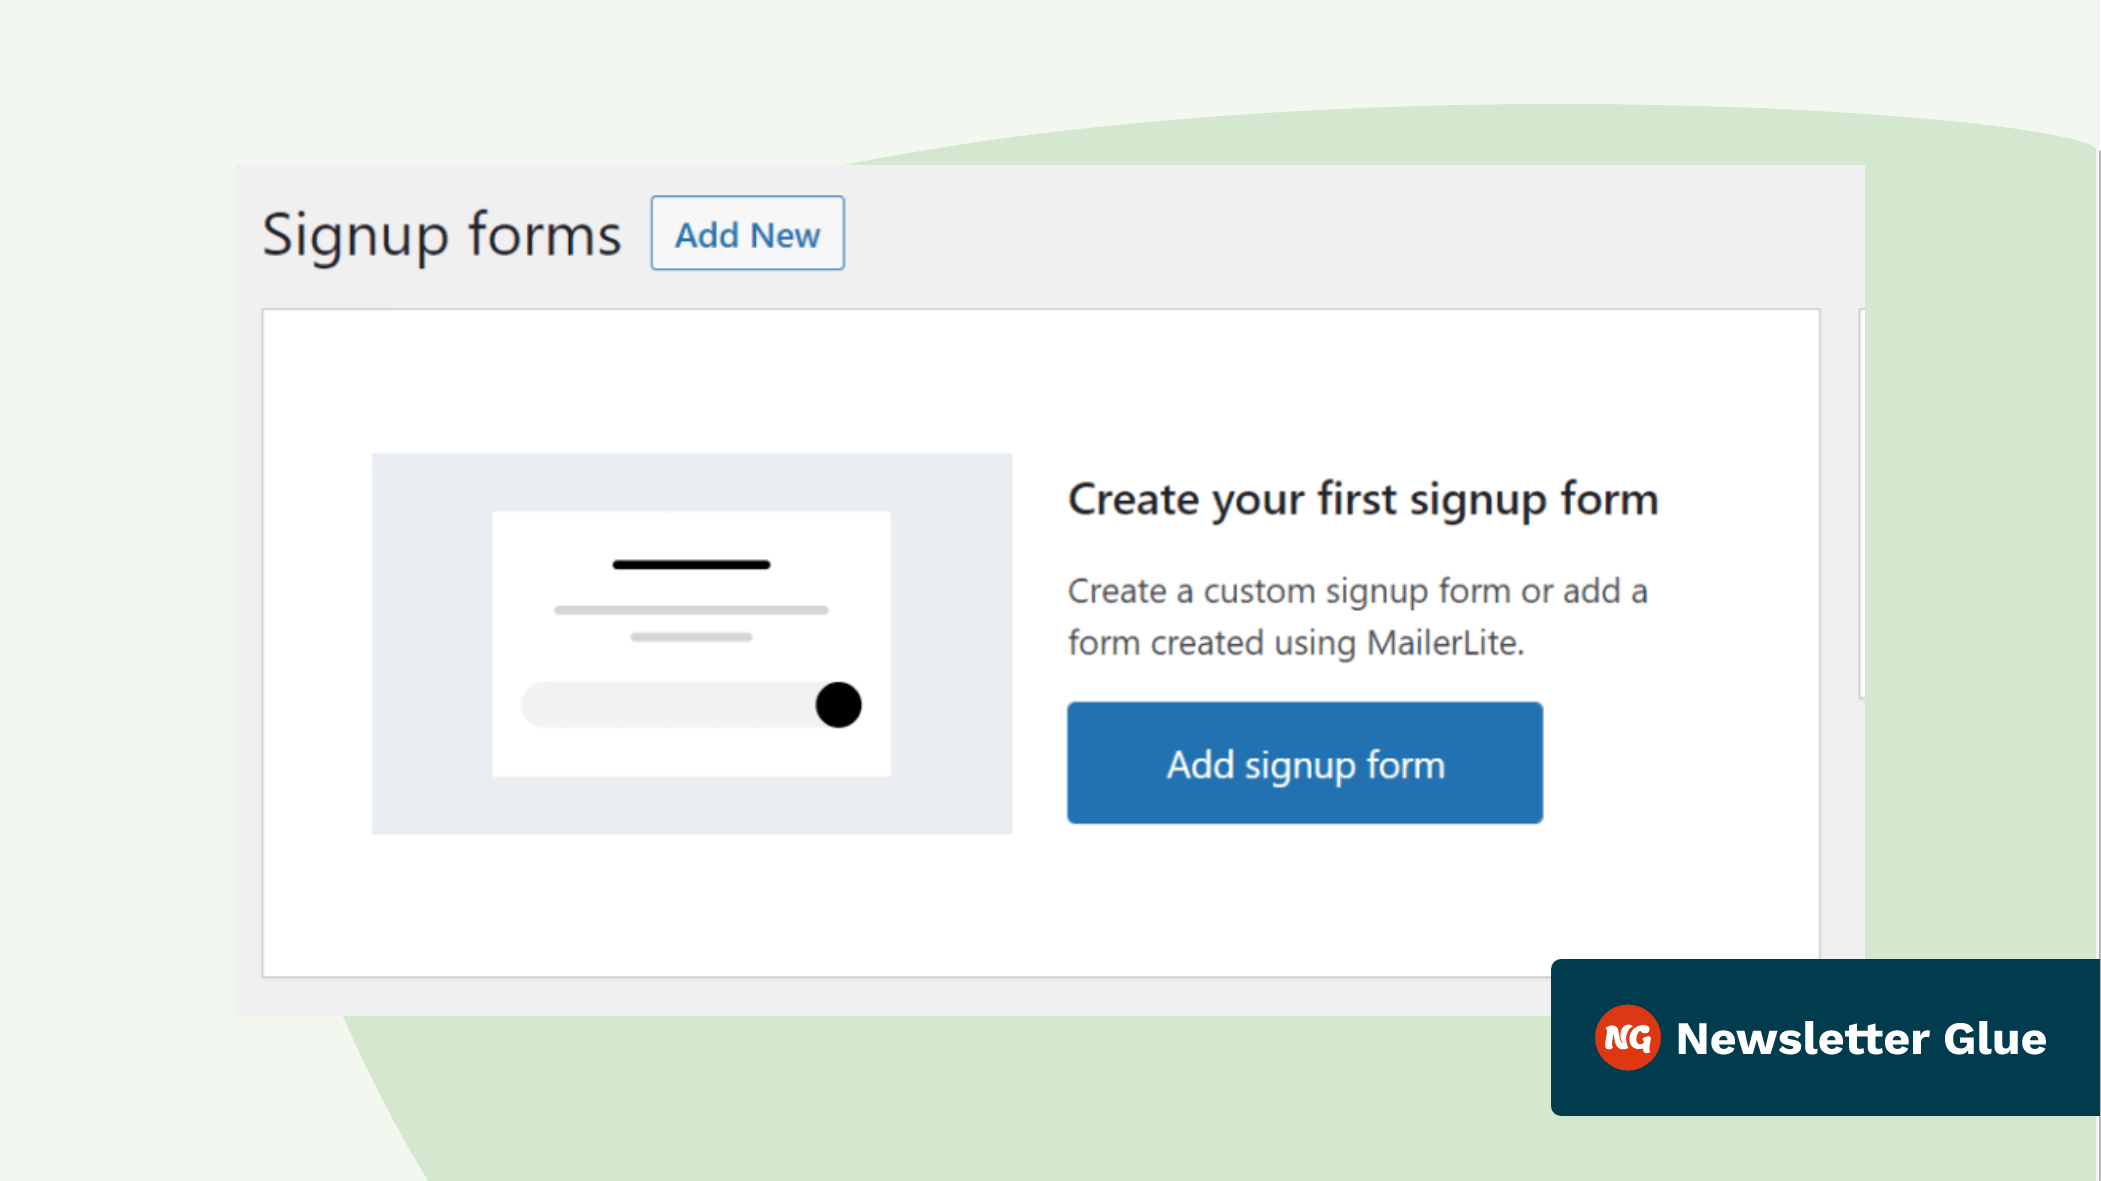
After completing the MailerLite API integration, navigate to MailerLite > Signup forms and click the Add signup form button.
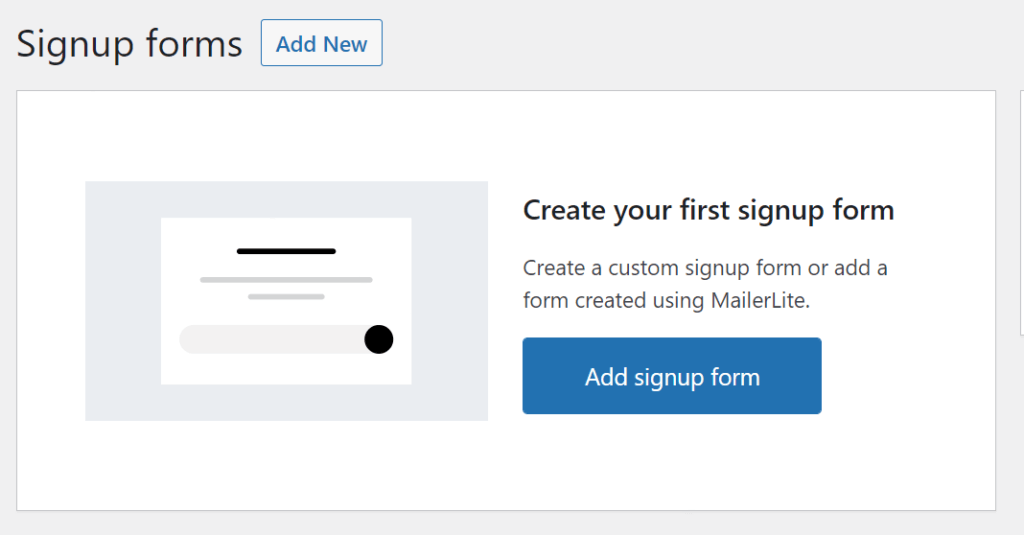
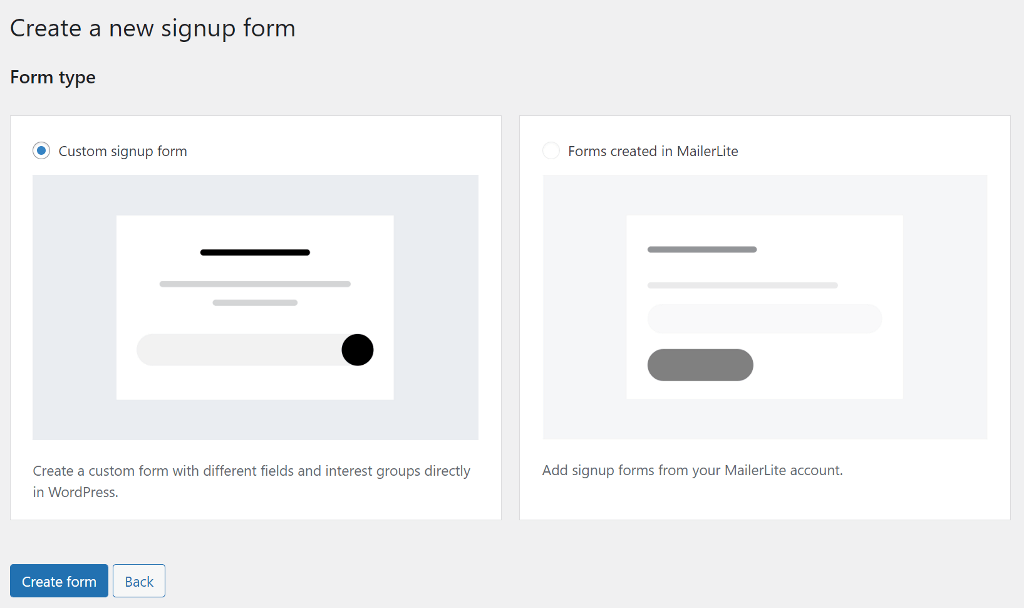
It will prompt you to select a form type. You can select an existing signup form in your MailerLite account or create a new custom form in the WordPress dashboard.
For this tutorial, we’ll select the custom signup form. Select that and click the Create form button at the bottom.
Give your new form a name and select the group that the people who submit this form should be subscribed to.
On the next page under the Form details section, enter the custom message if you want or use the default ones.
Next, switch to the Form fields section and select all of the relevant fields you want to include in the form. We recommend only having the email field to keep the form simple and make it easy for visitors to subscribe.
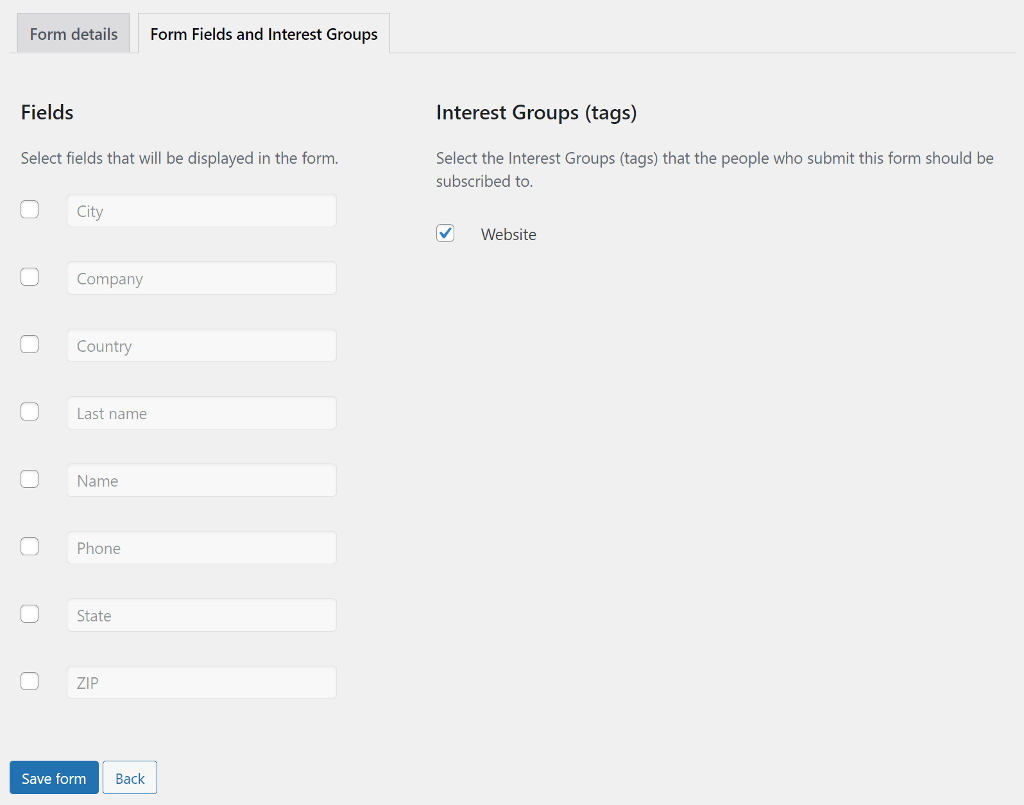
The email field is automatically included in the form, so you don’t need to select any of the field from this section.
Next, copy the shortcode that you see below the form title and paste it into the post, page, or text widget.

That’s it! Isn’t it easy to integrate MailerLite with WordPress?
Let’s also take a look at another method of MailerLite integration using Newsletter Glue plugin.
2. Add MailerLite to WordPress using the Newsletter Glue plugin
Every email marketing service, including MailerLite, has an email builder that lets you create and design newsletters using a drag and drop editor. Every email builder is different and has a learning curve that some people find it overwhelming.
Since you already have a WordPress website and are comfortable with its editor, using it to create newsletters would result in a more efficient workflow.
Let’s see how to integrate MailerLite using Newsletter Glue and use it to send newsletters.
Get the Newsletter Glue plugin

Newsletter Glue is a premium newsletter plugin for WordPress, so you’d need to buy one of its Pro plans from the website to get the plugin file.
After you purchase the plugin, you get access to the zip file you need to install on your website.
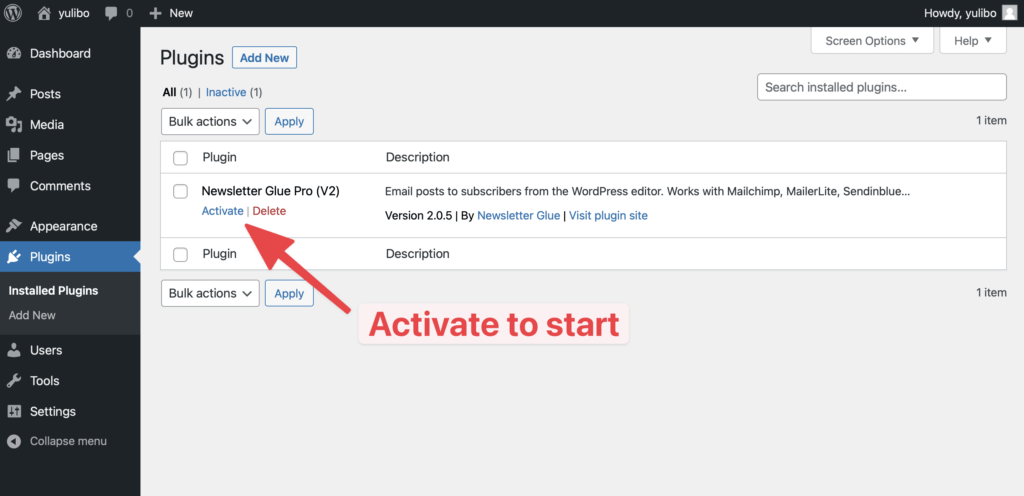
Go to Plugins > Add New and click on the Upload Plugin button at the top. Select the zip file from your computer, install it, and then activate it.

This will launch the onboarding wizard, where you can integrate MailerLite and configure other settings.
Integrate MailerLite and Newsletter Glue

The first step in the onboarding wizard is to validate your license key. Once you do that, you’ll be presented with the different ESPs that integrate with Newsletter Glue.

Since we want to integrate MailerLite, select that from the list and paste the API key into the box below.
In the next step, you can select the groups and segments from your MailerLite account, set your from name and from email, and set your branding to complete the onboarding process.
Once the plugin is set up, the next step is to add the email signup form to your website.
Create a new email signup form
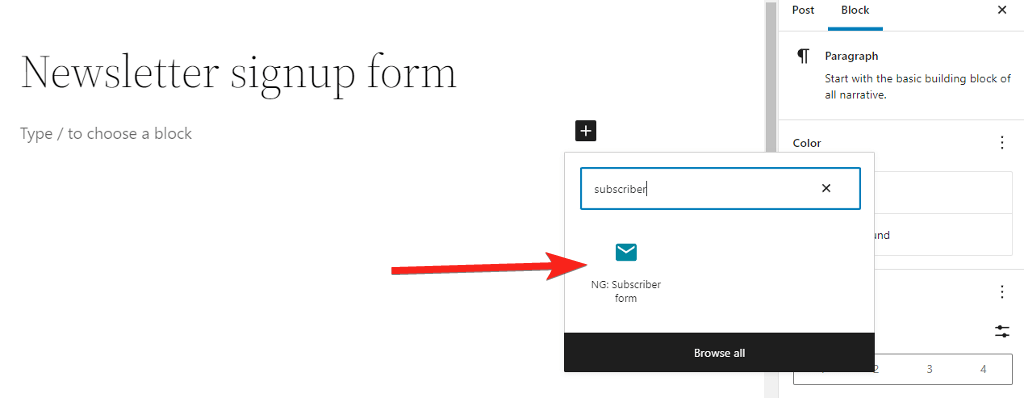
Newsletter Glue works with the Gutenberg editor and includes a number of custom newsletter blocks, one of which is the Subscriber form block.
Open or create a new page where you want to add the signup form and add the “Subscriber form” block to the page.
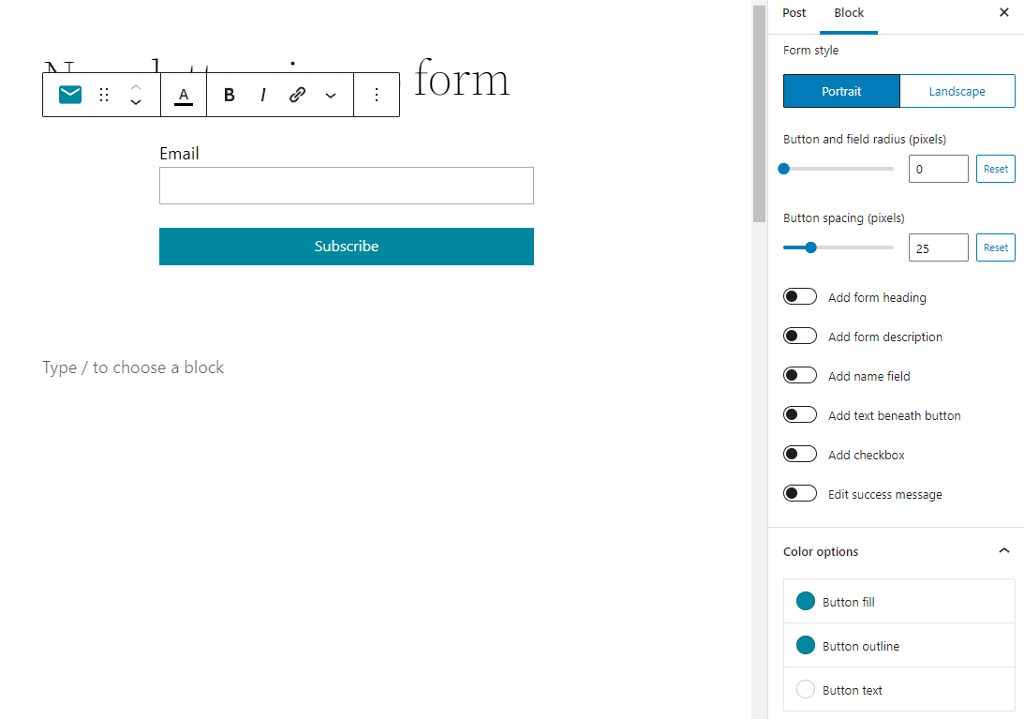
It’ll automatically create a simple signup form with email address and you can add other options and customize it from the sidebar.
You can add a name field, a form description, a heading, or change the color of the button.
If your sidebar supports Gutenberg editor, you can create the same signup form and add it to the sidebar widget.
That’s how simple it is to integrate MailerLite with WordPress using the Newsletter Glue plugin. But it doesn’t end here. Newsletter Glue is more than just a plugin for creating email signup forms.
Bonus: Start sending newsletters using the WordPress editor
Newsletter Glue is a WordPress newsletter plugin that lets you use the Gutenberg editor to create and send newsletters.
Apart from MailerLite, it comes with 11 more ESP integrations, so you can choose what fits best for you.
After the plugin is installed and integrated with your favorite ESP, navigate to Newsletters > Add New Newsletter and create a newsletter using the WordPress block editor.
Newsletter Glue comes with custom blocks that are helpful in designing and controlling how content shows up in your newsletter.
Once your newsletter is ready, scroll down to the Newsletter Glue metabox. Most of the fields in the settings panel will be pre-filled based on the information you entered in the onboarding wizard. You only need to add a subject and a preview text.

Before publishing your newsletter, you can preview it or send a test email to ensure it’s perfect and exactly how you want it.

Once you are ready to publish the newsletter, toggle the Send as newsletter button and hit the Publish button at the top.

At the bottom of your post, you should see a notification that says, ‘Your newsletter is on its way!’

Takeaway
Integrating MailerLite with WordPress is easy. You can either use the official MailerLite plugin that lets you create simple email signup forms or use Newsletter Glue that apart from creating email signup form, also lets you create and send newsletters using the WordPress editor.

