Introducing the newsletter editor
In v.1.3 of Newsletter Glue, we introduced the newsletter editor. It’s a custom post type that we’ve created specifically for newsletter writing.
This lets you publish newsletters separately from your blog posts.
Where to find the newsletter editor
In your left-hand admin panel, look for Newsletters (beta). The options you see there are all part of the newsletter editor custom post type.
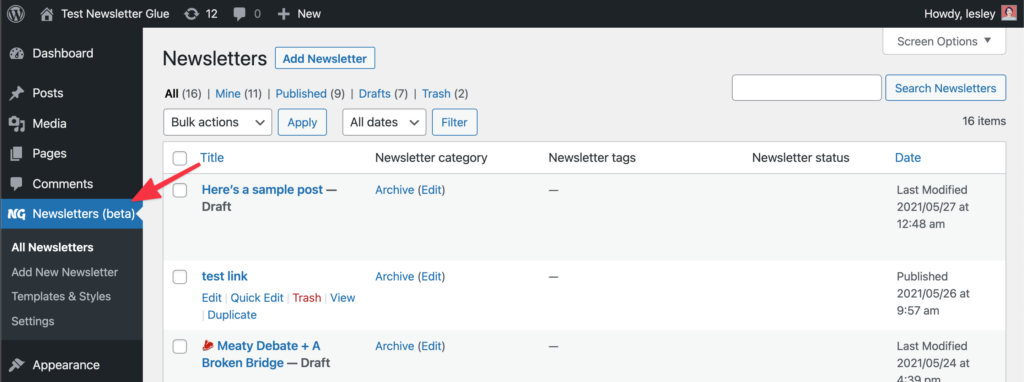
All newsletters shows you a list of all your newsletters created inside the newsletter editor.
Add new newsletter lets you create a newsletter using the newsletter editor.
Templates & Styles takes you to a list of all patterns. From there you can click on **Add pattern** to create a new pattern which can be used in the newsletter editor or any where else.
Settings takes you to Newsletter Glue’s settings and defaults options.
What’s different about the newsletter editor and why you should use it?
You can use the newsletter editor when you want to specifically write a newsletter, not just a blog post that you send to subscribers.
The newsletter editor also gives you more newsletter-specific features, which you’ll learn about below.
To learn why we built the newsletter editor, read this product update.
The newsletter editor also uses the Gutenberg block editor, just like for blog posts.
Newsletter editor displays your newsletter theme
The newsletter editor displays the styles you have set in the Newsletter Theme Designer.
In contrast, the blog post editor displays the styles set by your blog theme.
In this example, you can see that we’ve set the header colours to green in the Newsletter Theme Designer (which you can find under Settings > Newsletter Theme Designer tab).
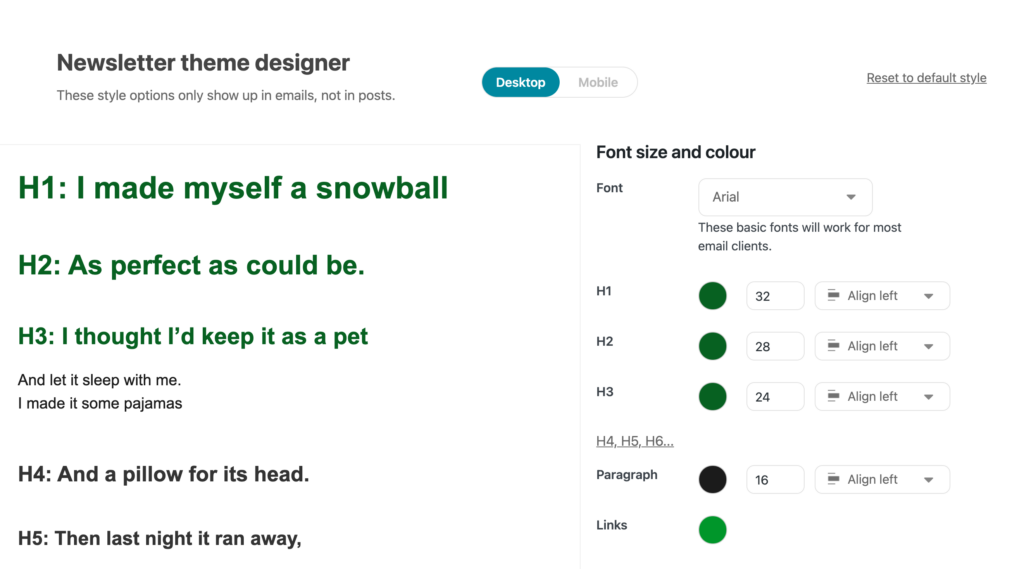
And because we set it to green in the Newsletter Theme Designer, when we write posts inside the newsletter editor, you can see that the headers appear as green by default.
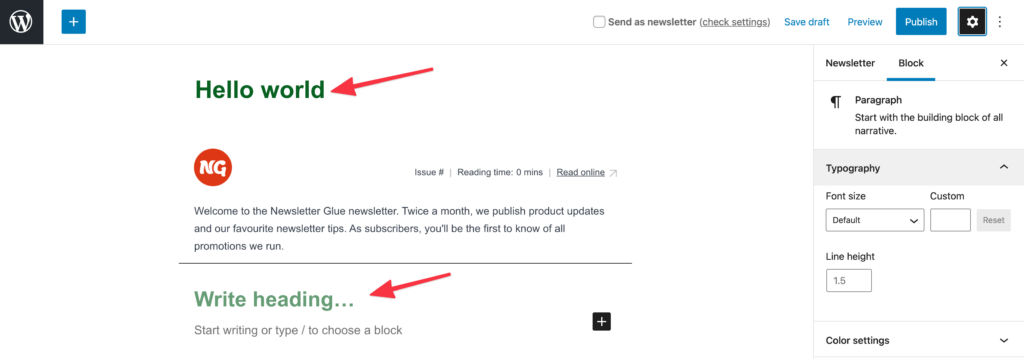
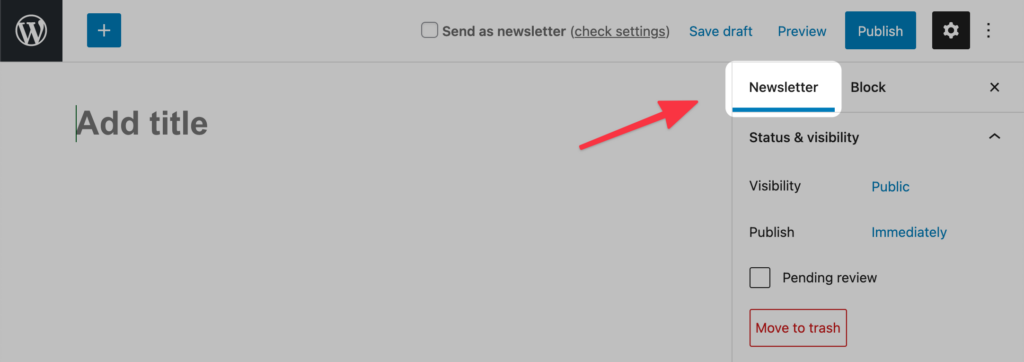
Sometimes, when you’re inside the block editor, you might get mixed up and forget if you’re writing a blog post or newsletter. If that happens, simply look for the Newsletter tab.
Using other block plugins in the newsletter editor
We’ve limited the use of other block plugins in the newsletter editor for one simple reason: They’re optimised for the web, not email.
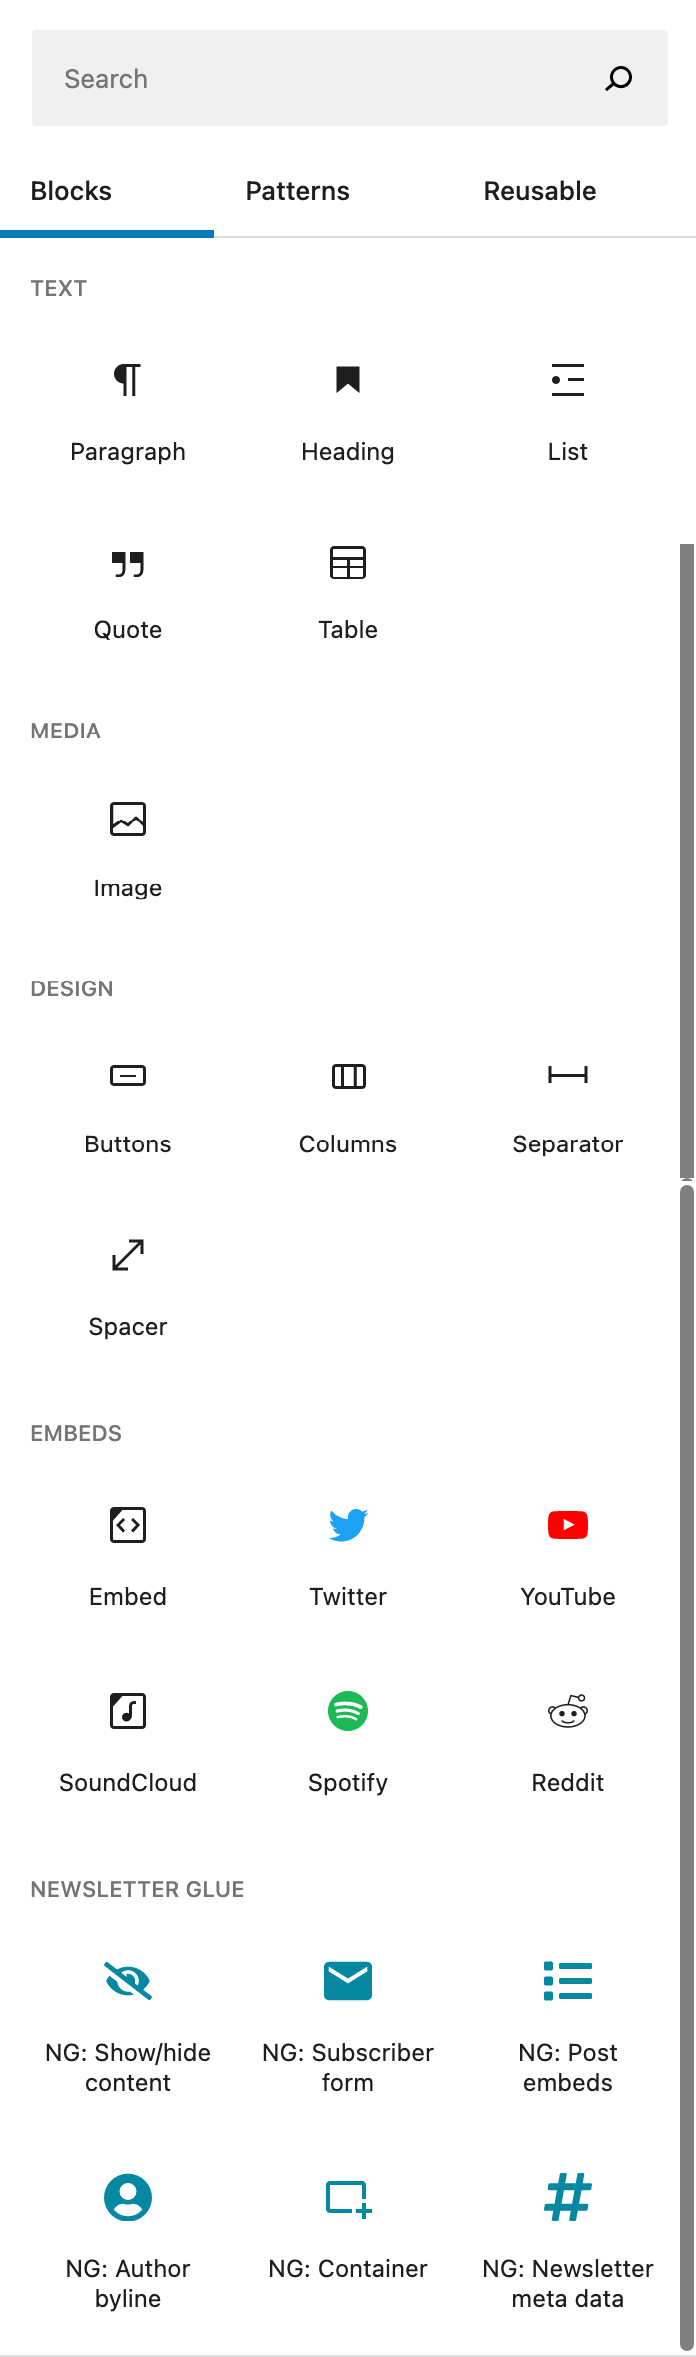
Only the core WordPress blocks that we’ve enabled and our custom newsletter blocks are email-optimised.
Due to the open nature of WordPress, it’s hard for us to fully remove every single block plugin from the newsletter editor. So if you see blocks that aren’t from the core or us, please test them extensively before including them in your newsletter or simply avoid using them to be safe.
SEO plugins such as Yoast or Rank Math should work normally in the newsletter editor.
Here’s a list of the blocks that are enabled by us and are email-optimised:
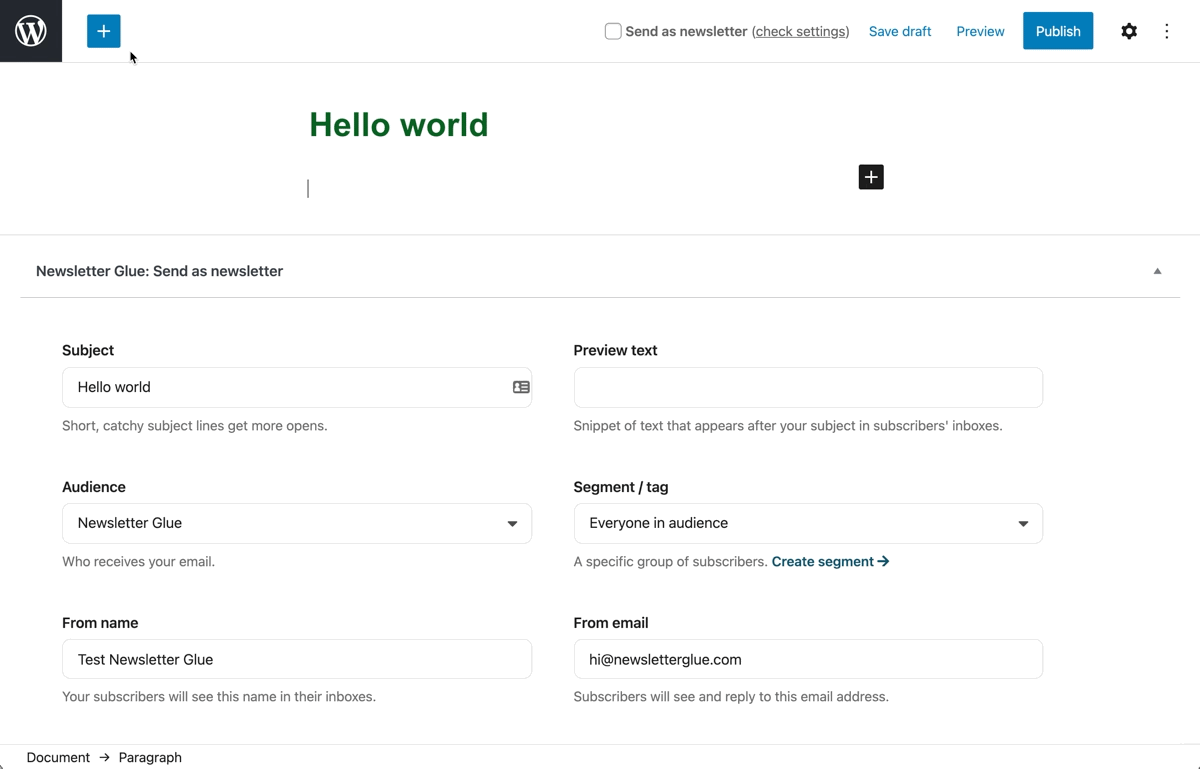
Writing a post in the newsletter editor
If you’ve used the Gutenberg block editor before, you should already be familiar with how the newsletter editor works.
Our favourite way to use the newsletter editor is by first adding a pattern you’ve created in the pattern editor. Then writing your newsletter inside the pattern. Learn how to create patterns in the pattern editor.
To insert pattern:
- Click on the blue button with the plus sign on the top left hand corner, next to the WordPress logo.
- Navigate to the pattern tab
- Select the relevant category
- Click on your pattern, and it will load in the newsletter editor.
Once you’re done, write your newsletter like you would a blog post.
If this is your first time sending a newsletter, check out this doc on sending your very first email newsletter.
Web view – Choose how your newsletter will look on your website.
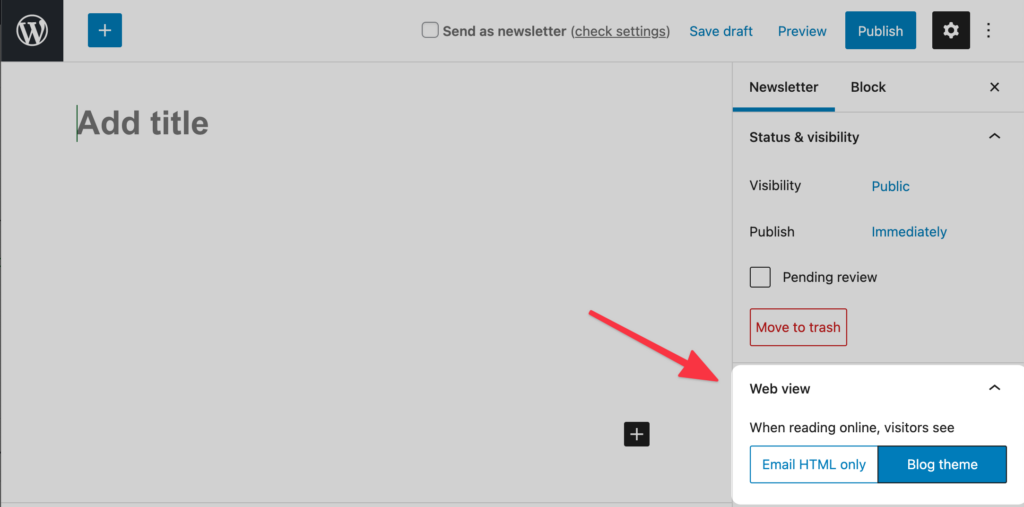
Web view lets you decide what visitors will see when they browse your newsletter online.
If you would like to see what each looks like, toggle them, then hit the Preview link at the top right hand corner, next to the Publish button.
For a more cohesive experience between your newsletter and the rest of your site, you should select Blog theme.
Note that if you select blog theme, the newsletter post will show your content using your blog theme styling, not the newsletter theme designer styling.
To separate the look and feel of your newsletter from the rest of your site, you can select Email HTML only.
Avoid using Email HTML only unless you have added navigation directly into your newsletter. Or site visitors will have a hard time navigating away from this newsletter link.
If you’re trying to provide properly formatted html versions for people who have trouble viewing the email in their email client, use Email HTML only for read online links which you can find in the metadata block.
Categories and tags
Categories
We’ve created our own Newsletter taxonomy and our categories live there. This means that newsletter categories live separately from your blog post categories.
The default category is called archive. And you can therefore access all your newsletters under example.com/newsletter/archive. Feel free to create new categories inside the newsletter block editor.
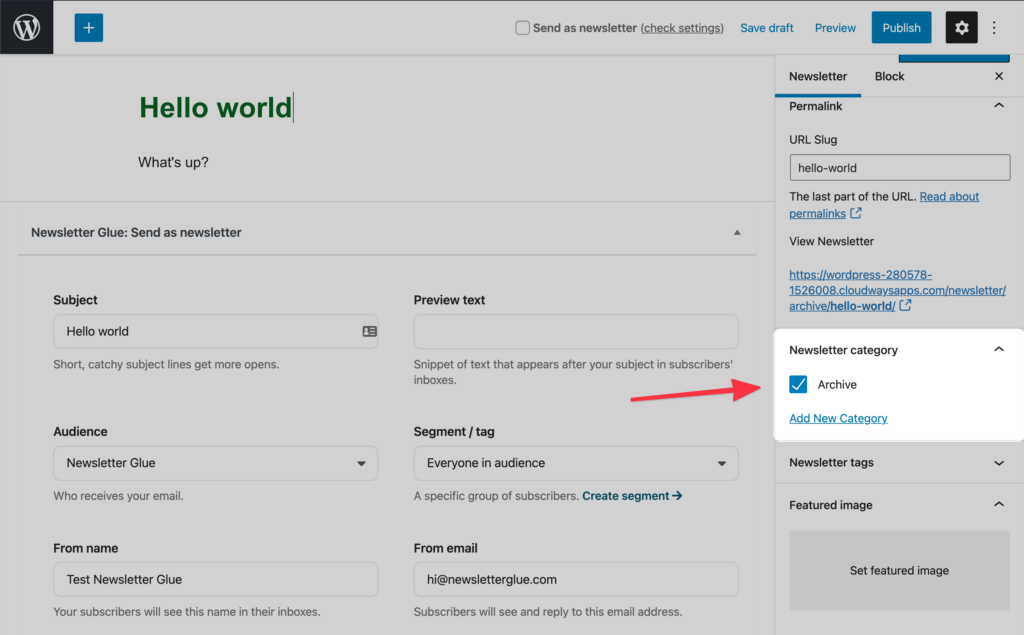
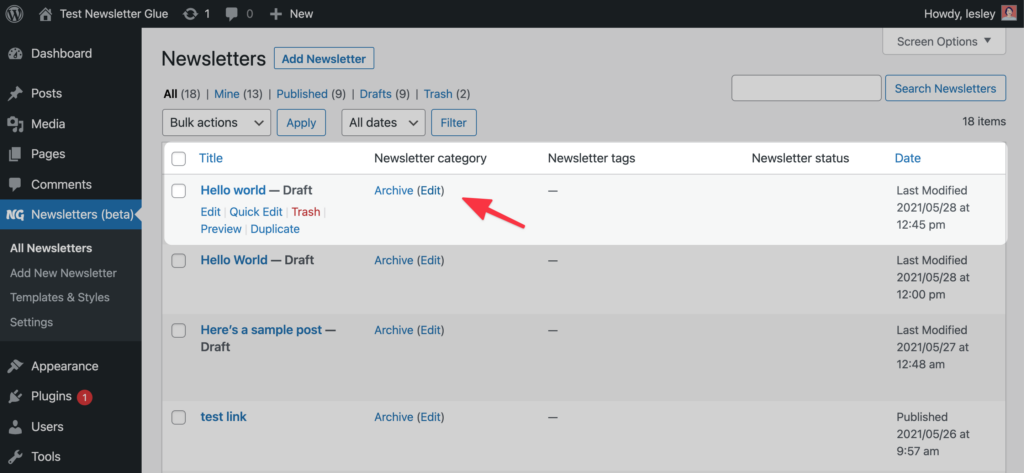
You can also edit the category by clicking on Edit inside the All Newsletters page.
Tags
Tags are not using a separate taxonomy. Instead, it’s simply the core WordPress tags. This lets you categorise your newsletters using the existing tags you’ve set up for your blog posts.
You can therefore manage your newsletter tags in exactly the same way you’ve been managing your existing tags.
Learn more
Learn how to add newsletter archives to your site.
Learn how to build patterns in our pattern editor
Mergetags – Coming soon!