Did you know that apart from publishing newsletters immediately, you can also schedule them? Scheduling allows you to set a time in the future when your newsletter will automatically be published on your website and sent from your email service provider.
- To schedule a newsletter, click Newsletters > Emails from the WordPress dashboard.
- Click the Add Campaign button to start creating a new newsletter.
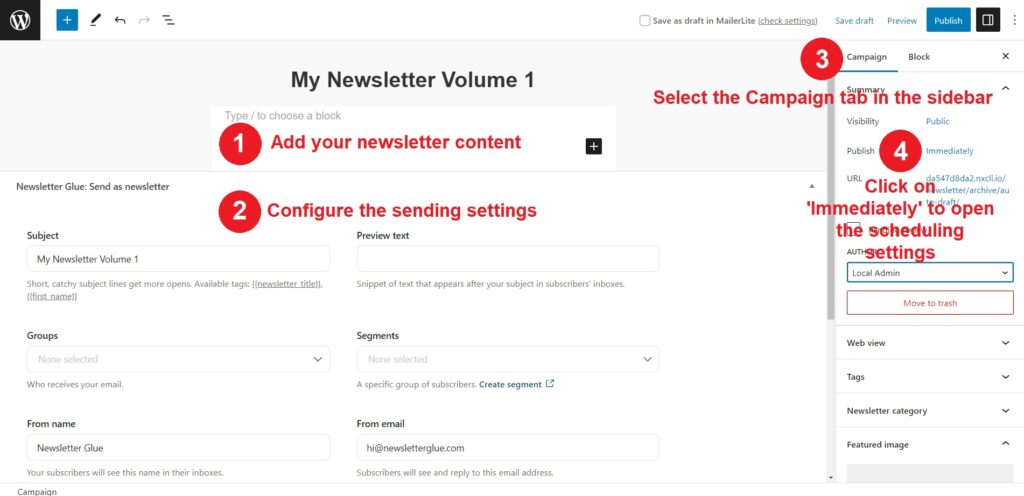
- After you’ve added all your content and configured the sending settings for your newsletter, click on Campaign in the settings sidebar on the left side of the screen.
- Next to the Publish in the Summary, click on the Immediately link to open up the scheduling settings.
- You can use the scheduling options to set the day, date, and time you want your newsletter to be published.
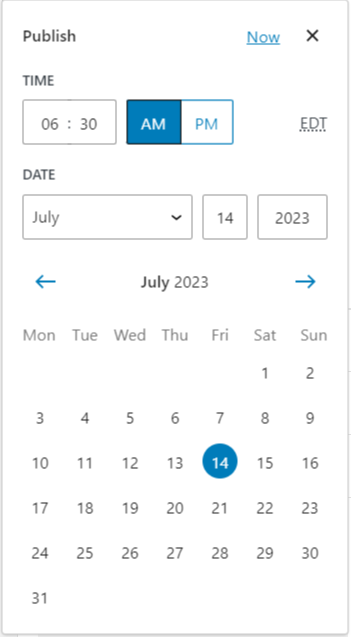
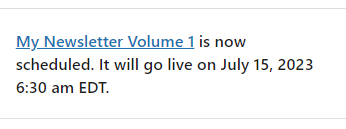
- Once you’ve set the date and time for your newsletter, you can click the Schedule button at the top right side of the page to schedule your newsletter.
Note: scheduling relies on wp-cron to work, so ensure it works on your site before you use this feature.
Once you’ve scheduled a newsletter, you can always go back to edit its content or change the scheduled date and time.