
If you’re accustomed to the speed and flexibility of the WordPress block editor, using an email service provider (like Mailchimp or Sendinblue) feels like a step backwards. Everything takes 2-3x longer.
In this post, you’ll learn how you can publish newsletters inside the modern block editor and save time.
Use cases
Before we dive into , here’s benefits from writing newsletters in the block editor.
If you write weekly roundups ☑️
Before:
Publishers would write posts in WordPress then hop over to Mailchimp (or your preferred email service) and spend hours transferring images, headlines and copy before sending it off.
With Newsletter Glue:
Blog publishers write posts in WordPress. And stay in WordPress to write your weekly roundups too. This saves time, and the familiarity with WordPress makes the experience more pleasant.
The post embed block lets you quickly add and style multiple posts in your newsletter.
In addition, you’ll now have a built-in newsletter archive to share with readers.
If you write long form newsletters 📰
Before:
Write in Google docs and painstakingly copy into your email service. Having to reformat every element one by one.
With Newsletter Glue:
The WordPress block editor is great with copy and paste from Google docs. Takes a couple of seconds and your entire post is ready and properly formatted.
Use callout cards to bring attention to different sections and a newsletter template for your header and footer.
You’ll also benefit from a native archive with all your past issues.
If you’re an agency 🧰
Before:
Extended training sessions where you have to teach your clients both WordPress and their email service. You’ll also have to set up two separate templates for them. Both of which, they might accidentally change.
You try to convince them to send out weekly newsletters, but they’re already shorthanded and they just don’t do it (even though they know it’ll be good for their business).
With Newsletter Glue:
Save hours of training and support by setting everything up in WordPress. Build a newsletter template once for your clients and so that their newsletter looks professional and consistent from day 1.
Sending newsletters inside the block editor is ally fast and clients are significantly more likely to do so. Their business grows and they have you to thank for it.
2 ways to publish newsletters in the WordPress block editor
- Using RSS feeds: Add an RSS feed to your email service provider (like MailerLite). This lets you email pre-populated posts on a schedule.
To use the block editor, you’ll have to build a custom HTML template and a custom post type.
This is slightly advanced and requires some code and patience to set up. But it gives you extreme control over every detail. Chris Coyier of CSS Tricks wrote a detailed article on how he’s set this up for their own newsletter. - Using Newsletter Glue: Newsletter Glue connects your WordPress site to your email service provider via API.
It lets you write newsletters like blog posts in the post editor. When you’re ready, you hit ‘Publish’ to send your email newsletters to subscribers.
Set up takes minutes and doesn’t require any code. It is the simplest newsletter plugin for WordPress.
In the rest of this post you’ll learn:
- How to set up the free Newsletter Glue plugin
- Tips for publishing newsletters inside the block editor
Set up Newsletter Glue
Once you’ve purchased the plugin, you’ll need to download and install the plugin.
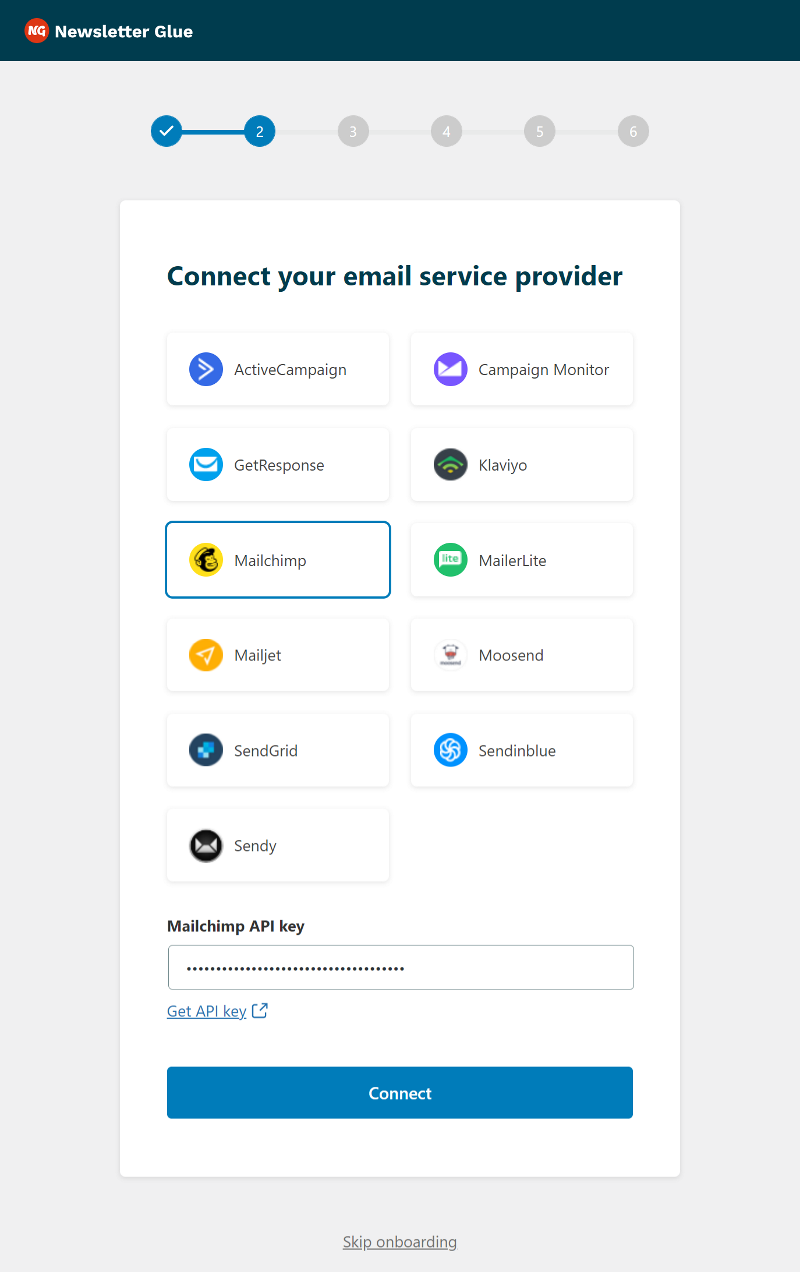
Onboarding wizard: Connect your email service provider
Takes less than a minute to run through our onboarding wizard, connect your API key and set your email defaults.
You’ll then be greeted by our sample post. Follow the instructions there to learn more about the plugin.
Send as newsletter
Then head to the end of the post and look for the Send as newsletter features.
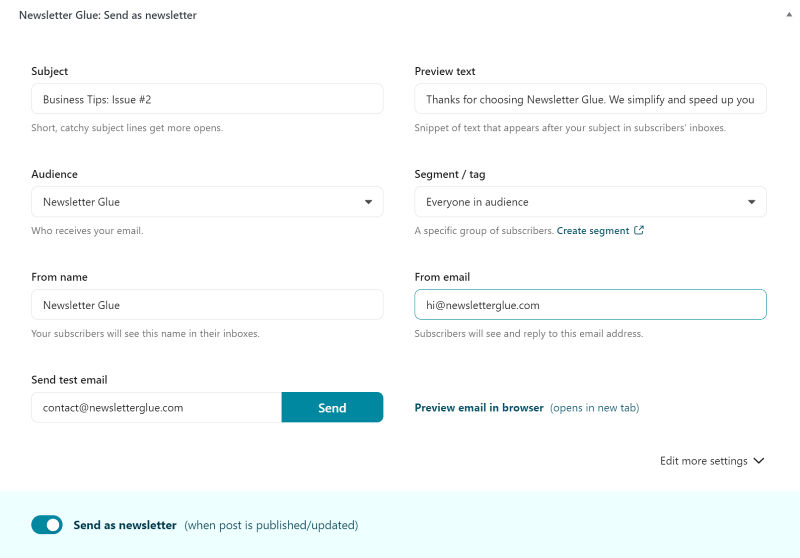
Send your first test email
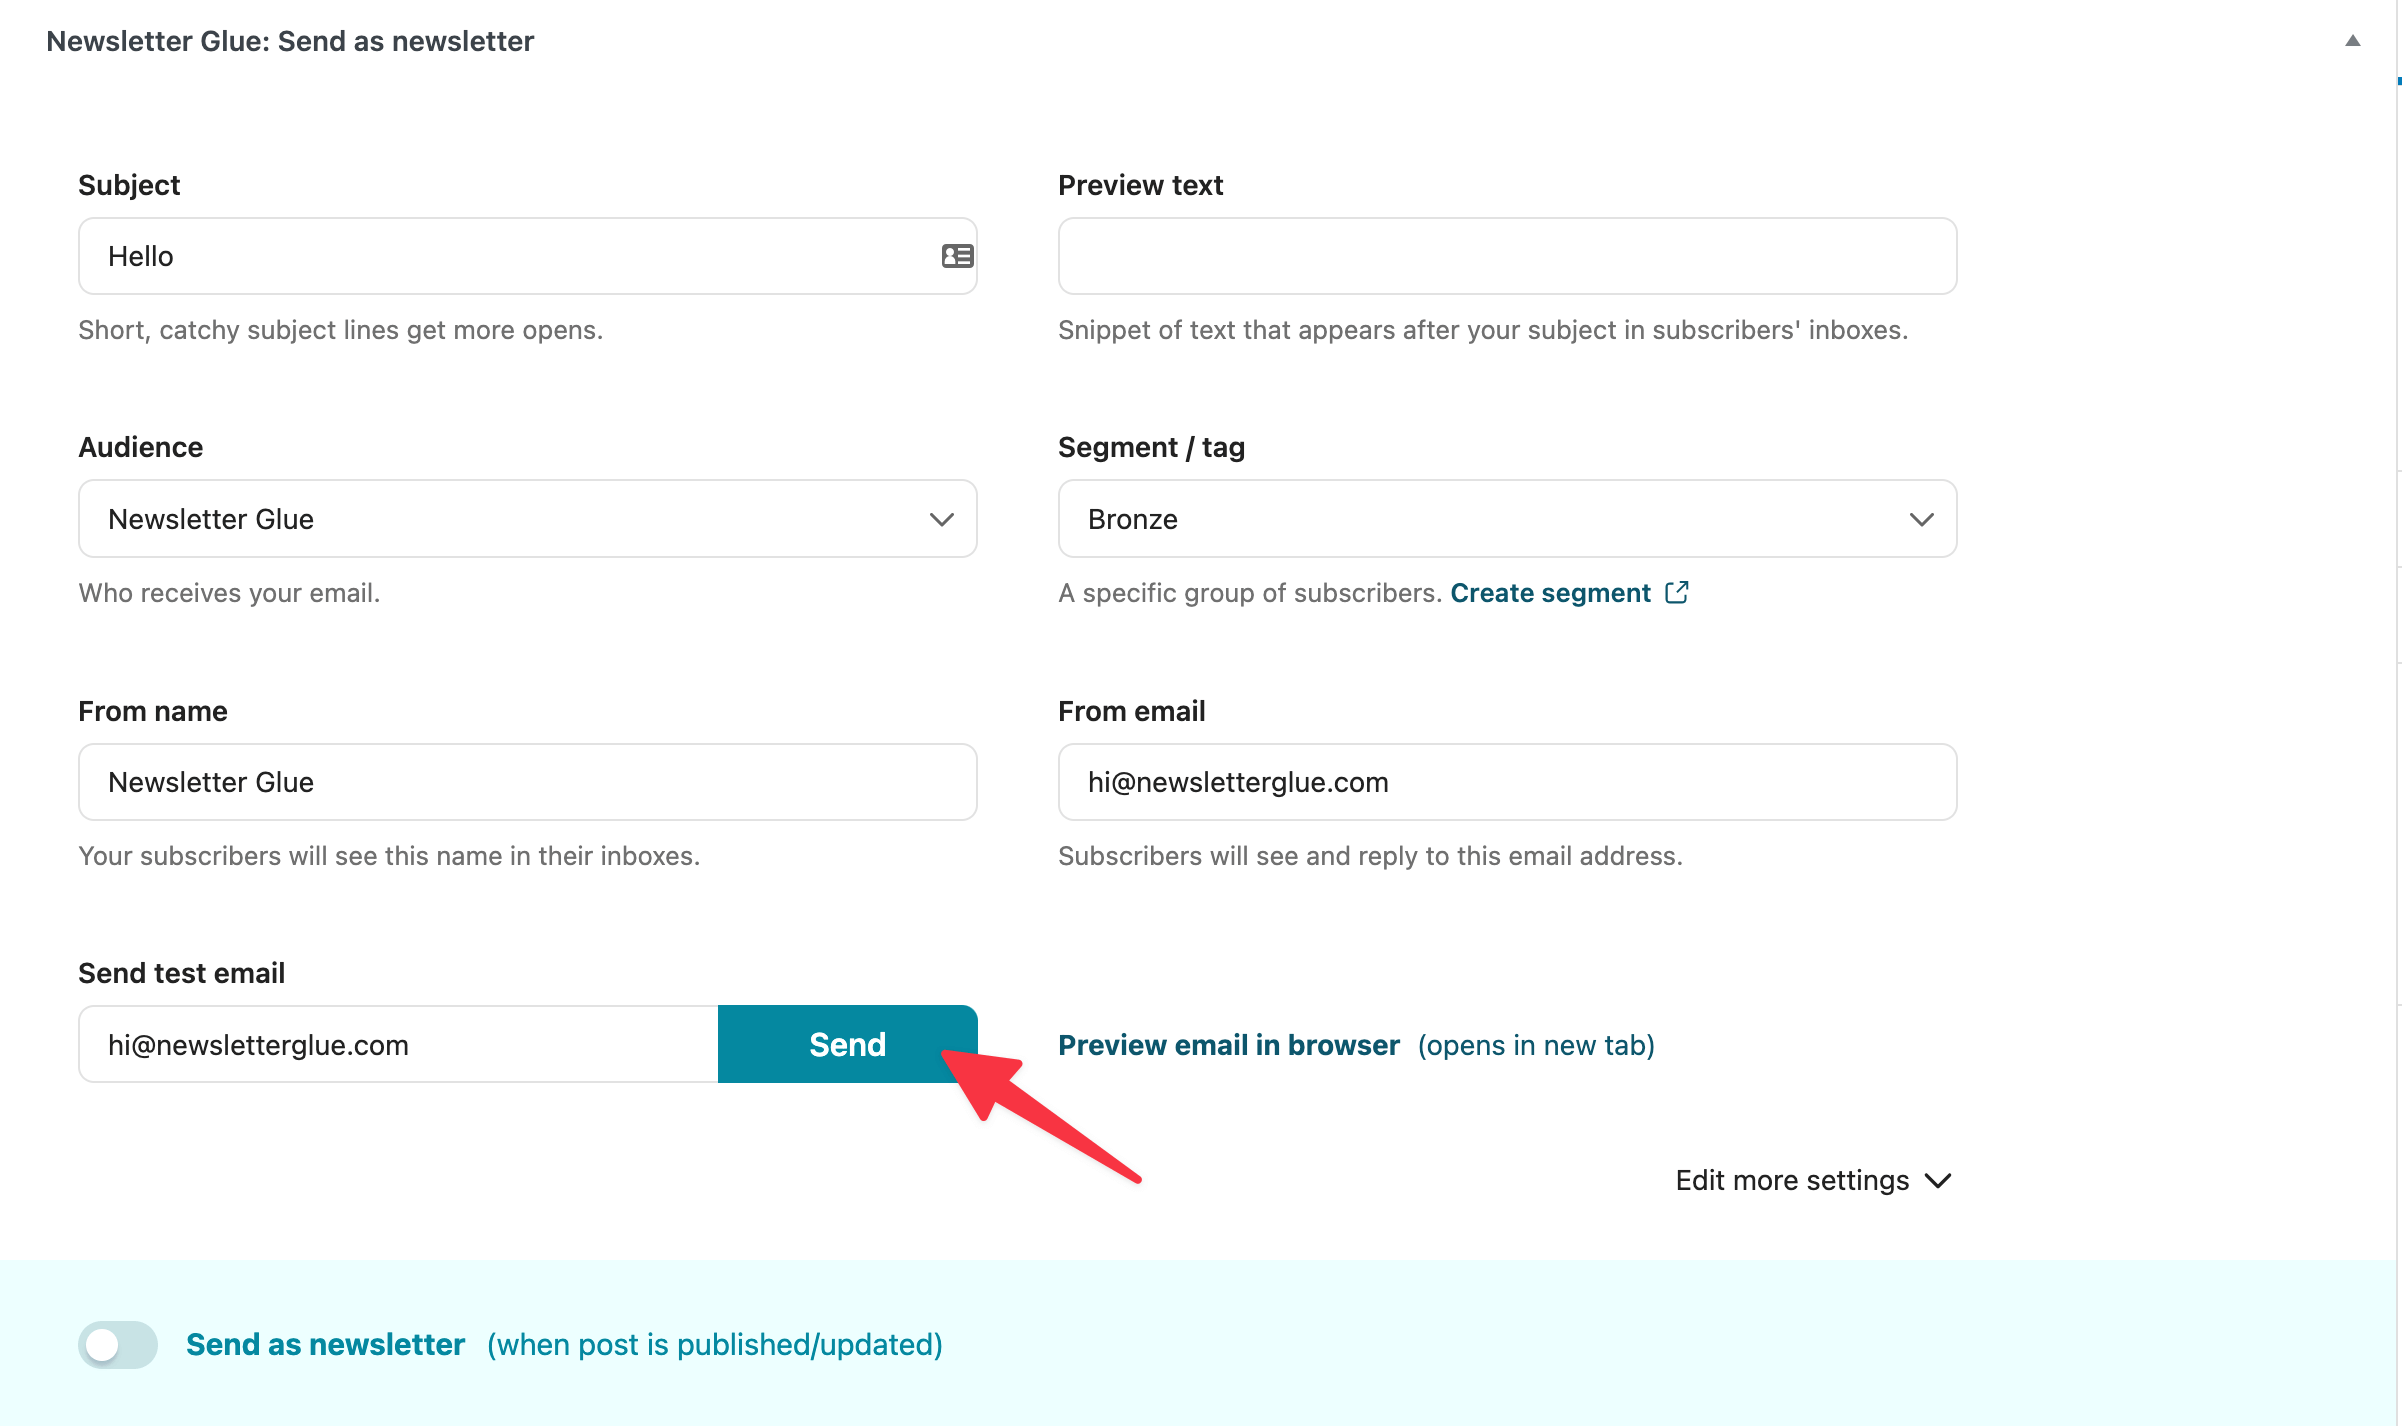
Everything is pre-filled based on the email defaults you chose during onboarding.
When you’re ready, click Send to send your first test email.
Publish and send newsletter

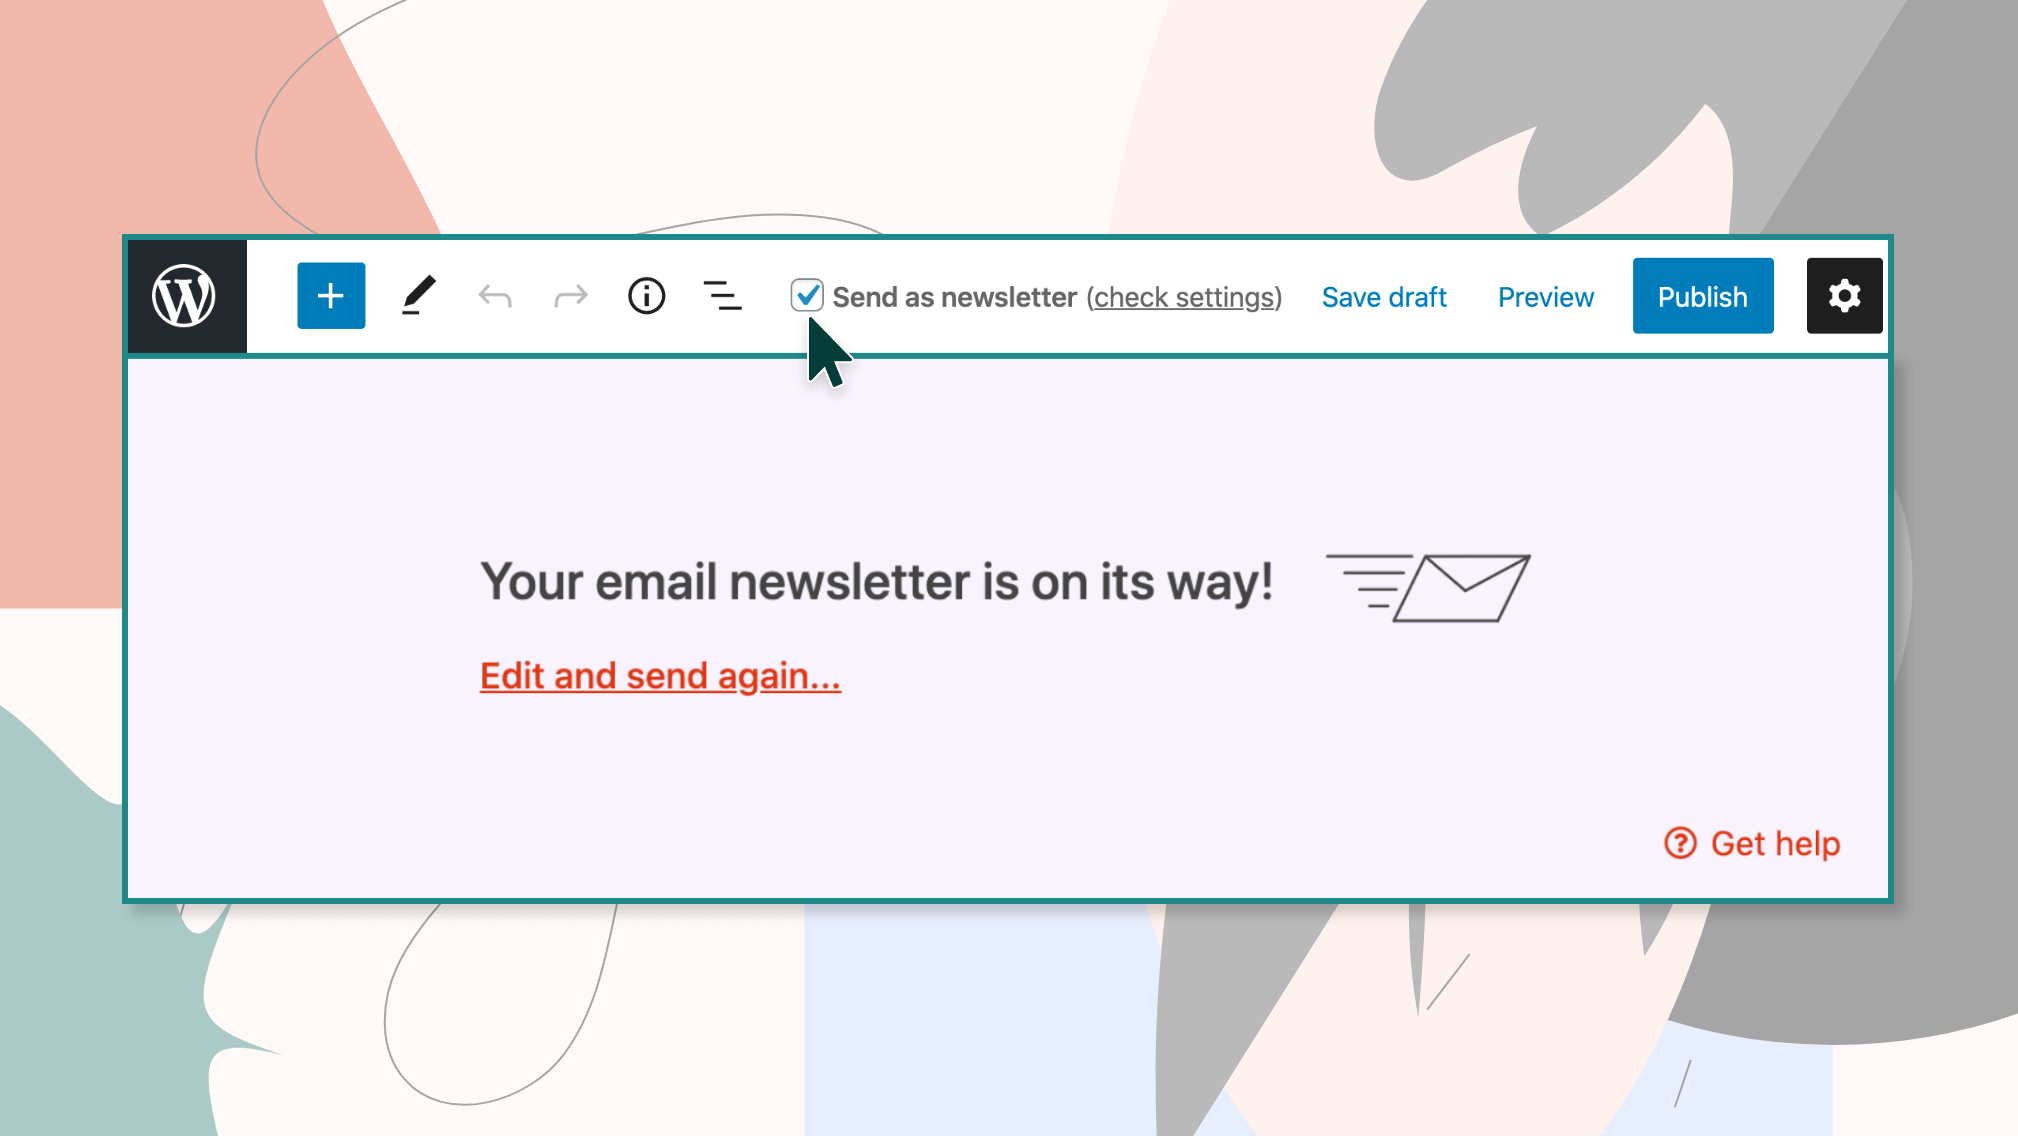
Once you’re ready to publish, toggle on the Send as newsletter switch at the bottom.
After you toggle on Send as newsletter, you’ll also see a checkbox in the admin header show up. This serves as a double confirmation so that if you are editing the post, you’ll still be able to see if you’re about to send a newsletter upon publishing, without having to scroll all the way back down.
Once you’ve pubilshed your post, you should see a notification with the words ‘Your newsletter is on its way!’ at the bottom of your post.
How it’s sent
Your email newsletter is sent via API to your email service provider (ESP). From there, your ESP delivers your email.
This gives you the best of both worlds – the ease of the WordPress block editor, and the deliverability of a professional ESP.
Tips for building newsletters inside WordPress
Now that you’ve learnt how Newsletter Glue works, you’re ready to use it to publish your first actual newsletter.
Here are some quick tips for doing so…
Tip 1: Show/hide content block
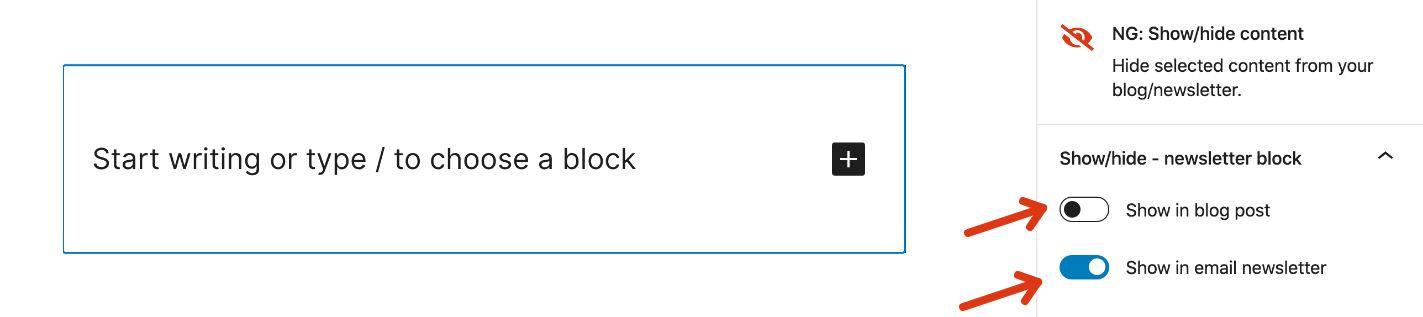
This block comes in the free Newsletter Glue plugin.
Anything inside the block can be hidden from the blog or newsletter, depending on how you toggle the options.
Adding the block to your post
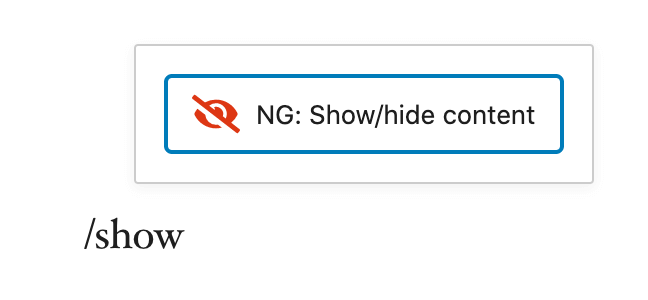
Simply type /show and click on the NG: Show/hide content block that appears. You can also type /ng as a shortcut.
Example uses for the show/hide content block
- Add a footer to your newsletter that you don’t want appearing in your blog
- Add a read more button (the core WordPress button block works) to appear in your newsletter, to direct people to your blog.
- If you add the read more button, you’ll also want to hide part of your blog post from the newsletter.
Tip 2: Newsletter archive = Newsletter category
Now that you’re writing newsletters directly from blog posts, it’s easy to create a newsletter archive.
Simply create a new category Newsletters, and add all your newsletter posts in it.
And you’re done!
It’s now easy to share your newsletter archive or just some old issues with your readers.
Tip 3: Use our custom newsletter blocks for a more professional-looking newsletter
Newsletter Glue Pro gives you more ways to build a professional newsletter.
Here are some live examples:
Author byline
Add this to the top of your newsletters

Newsletter metadata
Add this to the top of each newsletter.

Callout cards
Subscriber forms
Add forms to your blog posts (and hide them from your newsletter). Here’s an example of a form.
This is a live example, so if you enter your email, you’ll sign up for our mailing list.
Summary: How you can create newsletters in WordPress
There are lots of novel use cases for the Gutenberg block editor, and sending newsletters is one of them.
With Newsletter Glue, you can publish newsletters quickly and easily without leaving the block editor.
Use newsletter templates to speed up your workflow and save hours every week.
